oVirt est un logiciel de virtualisation gratuit et open source utilisé sous Linux comme les systèmes d'exploitation tels que Fedora, CentOS et RHEL. En d'autres termes, nous pouvons dire que oVirt est l'alternative de VMware vSphere sous Linux. La communauté Ovirt est fondée et soutenue par Red Hat et est considérée comme un projet en amont pour Red Hat Enterprise Virtualization (RHEV ).
oVirt se compose de deux composants principaux :
- oVirt Engine
- oNœud Virt
Moteur oVirt est une interface utilisateur graphique ou nous pouvons dire qu'il s'agit d'un portail d'administrateur Web à partir duquel nous pouvons gérer des machines virtuelles, des ressources de calcul, de réseau et de stockage.
oNœud Virt est soit un serveur RHEL / CentOS ou Fedora sur lequel le service vdsm est opérationnel. Le nœud Ovirt agira en tant qu'hyperviseur (KVM) sur lequel toutes les machines virtuelles seront créées.
Dans cet article, nous allons installer la dernière versionoVirt 4.0.3 sur CentOS 7 / RHEL 7 . Nous utiliserons deux serveurs, l'un agira en tant que moteur ovirt et l'autre agira en tant que nœud ovirt. Ci-dessous les détails :
Moteur oVirt :ovirtengine.example.com (192.168.1.30 )
oVirt Node :ovirtnode.example.com (192.168.1.40)
Mettez à jour les entrées ci-dessous dans le fichier /etc/hosts au cas où vous n'auriez pas votre serveur DNS local.
192.168.1.30  ovirtengine.example.com
192.168.1.40  ovirtnode.example.com
Étapes d'installation d'oVirt Engine sur CentOS 7 / RHEL 7
Voici les exigences minimales pour ovirt-engine :
- Système d'exploitation minimal ( CentOS 7.x / RHEL 7.x )
- Serveur double cœur
- 4 Go de RAM
- 25 Go d'espace disque
- Carte LAN 1 Gbit/s
Effectuez les étapes suivantes l'une après l'autre pour installer le moteur ovirt.
Étape : 1 Mettez à jour le serveur à l'aide de la commande yum
Installez la dernière mise à jour sur le serveur à l'aide de la commande yum ci-dessous.
[[email protected] ~]# yum update -y
Une fois les mises à jour installées, redémarrez le serveur.
Étape :2 Activer le référentiel oVirt 4.0.3
Les packages de moteur ovirt ne sont pas disponibles dans les référentiels CentOS et RHEL yum. Exécutez la commande ci-dessous pour définir et activer le répertoire ovirt 4.0
[[email protected] ~]# yum install http://resources.ovirt.org/pub/yum-repo/ovirt-release40.rpm
Étape :3 Installez le package oVirt Engine à l'aide de la commande yum
Exécutez la commande yum suivante pour installer le moteur ovirt.
[[email protected] ~]# yum install ovirt-engine -y
Étape 4 Démarrer le programme d'installation du moteur ovirt
Exécutez la commande 'engine-setu p’ depuis la console, il lancera le programme d’installation du moteur ovirt et posera de manière interactive des séries de questions lors de l’installation et enregistrera toutes les réponses dans un fichier de réponses. Le fichier de réponses peut être réutilisé afin d'automatiser l'installation.
[[email protected] ~]# engine-setup --generate-answer=/root/answer.txt
[ INFO ] Stage: Initializing
[ INFO ] Stage: Environment setup
 Configuration files: ['/etc/ovirt-engine-setup.conf.d/10-packaging-jboss.conf', '/etc/ovirt-engine-setup.conf.d/10-packaging.conf']
 Log file: /var/log/ovirt-engine/setup/ovirt-engine-setup-20160918040600-2gbi6m.log
 Version: otopi-1.5.2 (otopi-1.5.2-1.el7.centos)
[ INFO ] Stage: Environment packages setup
[ INFO ] Yum Downloading: base/7/x86_64 (0%)
[ INFO ] Yum Downloading: updates/7/x86_64 (0%)
[ INFO ] Stage: Programs detection
[ INFO ] Stage: Environment setup
[ INFO ] Stage: Environment customization

 --== PRODUCT OPTIONS ==--

 Configure Engine on this host (Yes, No) [Yes]: Yes
 Configure Image I/O Proxy on this host? (Yes, No) [Yes]: Yes
 Configure WebSocket Proxy on this host (Yes, No) [Yes]: Yes
 Please note: Data Warehouse is required for the engine. If you choose to not configure it on this host, you have to configure it on a remote host, and then configure the engine on this host so that it can access the database of the remote Data Warehouse host.
 Configure Data Warehouse on this host (Yes, No) [Yes]: Yes
 Configure VM Console Proxy on this host (Yes, No) [Yes]: Yes

 --== PACKAGES ==--

[ INFO ] Checking for product updates...
[ INFO ] No product updates found

 --== NETWORK CONFIGURATION ==--

 Host fully qualified DNS name of this server [ovirtengine.example.com]: ovirtengine.example.com
[WARNING] Failed to resolve ovirtengine.example.com using DNS, it can be resolved only locally
 Setup can automatically configure the firewall on this system.
 Note: automatic configuration of the firewall may overwrite current settings.
 Do you want Setup to configure the firewall? (Yes, No) [Yes]: No

 --== DATABASE CONFIGURATION ==--

 Where is the DWH database located? (Local, Remote) [Local]: Local
 Setup can configure the local postgresql server automatically for the DWH to run. This may conflict with existing applications.
 Would you like Setup to automatically configure postgresql and create DWH database, or prefer to perform that manually? (Automatic, Manual) [Automatic]: Automatic
 Where is the Engine database located? (Local, Remote) [Local]: Local
 Setup can configure the local postgresql server automatically for the engine to run. This may conflict with existing applications.
 Would you like Setup to automatically configure postgresql and create Engine database, or prefer to perform that manually? (Automatic, Manual) [Automatic]: Automatic

 --== OVIRT ENGINE CONFIGURATION ==--

 Engine admin password:
 Confirm engine admin password:
[WARNING] Password is weak: it is too simplistic/systematic
 Use weak password? (Yes, No) [No]: Yes
 Application mode (Virt, Gluster, Both) [Both]: Both

 --== STORAGE CONFIGURATION ==--

 Default SAN wipe after delete (Yes, No) [No]: No

 --== PKI CONFIGURATION ==--

 Organization name for certificate [example.com]: example.com

 --== APACHE CONFIGURATION ==--

 Setup can configure the default page of the web server to present the application home page. This may conflict with existing applications.
 Do you wish to set the application as the default page of the web server? (Yes, No) [Yes]: Yes
 Setup can configure apache to use SSL using a certificate issued from the internal CA.
 Do you wish Setup to configure that, or prefer to perform that manually? (Automatic, Manual) [Automatic]: Automatic

 --== SYSTEM CONFIGURATION ==--

 Configure an NFS share on this server to be used as an ISO Domain? (Yes, No) [No]: No

 --== MISC CONFIGURATION ==--

 Please choose Data Warehouse sampling scale:
 (1) Basic
 (2) Full
 (1, 2)[1]: 1

 --== END OF CONFIGURATION ==--

[ INFO ] Stage: Setup validation
[WARNING] Warning: Not enough memory is available on the host. Minimum requirement is 4096MB, and 16384MB is recommended.
 Do you want Setup to continue, with amount of memory less than recommended? (Yes, No) [No]: Yes

 --== CONFIGURATION PREVIEW ==--

 Application mode : both
 Default SAN wipe after delete : False
 Update Firewall : False
 Host FQDN : ovirtengine.example.com
 Engine database secured connection : False
 Engine database host : localhost
 Engine database user name : engine
 Engine database name : engine
 Engine database port : 5432
 Engine database host name validation : False
 DWH database secured connection : False
 DWH database host : localhost
 DWH database user name : ovirt_engine_history
 DWH database name : ovirt_engine_history
 DWH database port : 5432
 DWH database host name validation : False
 Engine installation : True
 PKI organization : example.com
 Configure local Engine database : True
 Set application as default page : True
 Configure Apache SSL : True
 DWH installation : True
 Configure local DWH database : True
 Engine Host FQDN : ovirtengine.example.com
 Configure Image I/O Proxy : True
 Configure VMConsole Proxy : True
 Configure WebSocket Proxy : True

 Please confirm installation settings (OK, Cancel) [OK]: OK

[ INFO ] Stage: Transaction setup
[ INFO ] Stopping engine service
[ INFO ] Stopping ovirt-fence-kdump-listener service
[ INFO ] Stopping dwh service
[ INFO ] Stopping Image I/O Proxy service
[ INFO ] Stopping websocket-proxy service
[ INFO ] Stage: Misc configuration
[ INFO ] Stage: Package installation
[ INFO ] Stage: Misc configuration
[ INFO ] Upgrading CA
[ INFO ] Initializing PostgreSQL
[ INFO ] Creating PostgreSQL 'engine' database
[ INFO ] Configuring PostgreSQL
[ INFO ] Creating PostgreSQL 'ovirt_engine_history' database
[ INFO ] Configuring PostgreSQL
[ INFO ] Creating CA
[ INFO ] Creating/refreshing Engine database schema
[ INFO ] Creating/refreshing DWH database schema
[ INFO ] Configuring Image I/O Proxy
[ INFO ] Setting up ovirt-vmconsole proxy helper PKI artifacts
[ INFO ] Setting up ovirt-vmconsole SSH PKI artifacts
[ INFO ] Configuring WebSocket Proxy
[ INFO ] Creating/refreshing Engine 'internal' domain database schema
[ INFO ] Generating post install configuration file '/etc/ovirt-engine-setup.conf.d/20-setup-ovirt-post.conf'
[ INFO ] Stage: Transaction commit
[ INFO ] Stage: Closing up
[ INFO ] Starting engine service
[ INFO ] Starting dwh service
[ INFO ] Restarting ovirt-vmconsole proxy service

 --== SUMMARY ==--

[ INFO ] Restarting httpd
 In order to configure firewalld, copy the files from
 /etc/ovirt-engine/firewalld to /etc/firewalld/services
 and execute the following commands:
 firewall-cmd --permanent --add-service ovirt-postgres
 firewall-cmd --permanent --add-service ovirt-https
 firewall-cmd --permanent --add-service ovirt-fence-kdump-listener
 firewall-cmd --permanent --add-service ovirt-imageio-proxy
 firewall-cmd --permanent --add-service ovirt-websocket-proxy
 firewall-cmd --permanent --add-service ovirt-http
 firewall-cmd --permanent --add-service ovirt-vmconsole-proxy
 firewall-cmd --reload
 The following network ports should be opened:
 tcp:2222
 tcp:443
 tcp:5432
 tcp:54323
 tcp:6100
 tcp:80
 udp:7410
 An example of the required configuration for iptables can be found at:
 /etc/ovirt-engine/iptables.example
 Please use the user '[email protected]' and password specified in order to login
 Web access is enabled at:
 http://ovirtengine.example.com:80/ovirt-engine
 https://ovirtengine.example.com:443/ovirt-engine
 Internal CA E2:96:0B:A0:6C:1E:B5:0D:BB:7B:B5:29:4D:88:92:5A:DA:1E:95:BC
 SSH fingerprint: 1f:7b:59:12:01:8c:b5:d7:21:49:3b:e9:e4:d1:72:da
[WARNING] Warning: Not enough memory is available on the host. Minimum requirement is 4096MB, and 16384MB is recommended.

 --== END OF SUMMARY ==--

[ INFO ] Stage: Clean up
 Log file is located at /var/log/ovirt-engine/setup/ovirt-engine-setup-20160918040600-2gbi6m.log
[ INFO ] Generating answer file '/var/lib/ovirt-engine/setup/answers/20160918041930-setup.conf'
[ INFO ] Generating answer file '/root/answer.txt'
[ INFO ] Stage: Pre-termination
[ INFO ] Stage: Termination
[ INFO ] Execution of setup completed successfully
[[email protected] ~]#
Dans le cas où le pare-feu est activé sur votre serveur, exécutez les étapes mentionnées dans la sortie ci-dessus.
Étape : 5 Accédez au portail de l'administrateur Web d'oVirt Engine.
Ouvrez le navigateur Web et tapez URL :
https://ovirtengine.example.com
ou
https://IP_Address
Remplacez le nom de domaine ou l'adresse IP selon votre configuration.
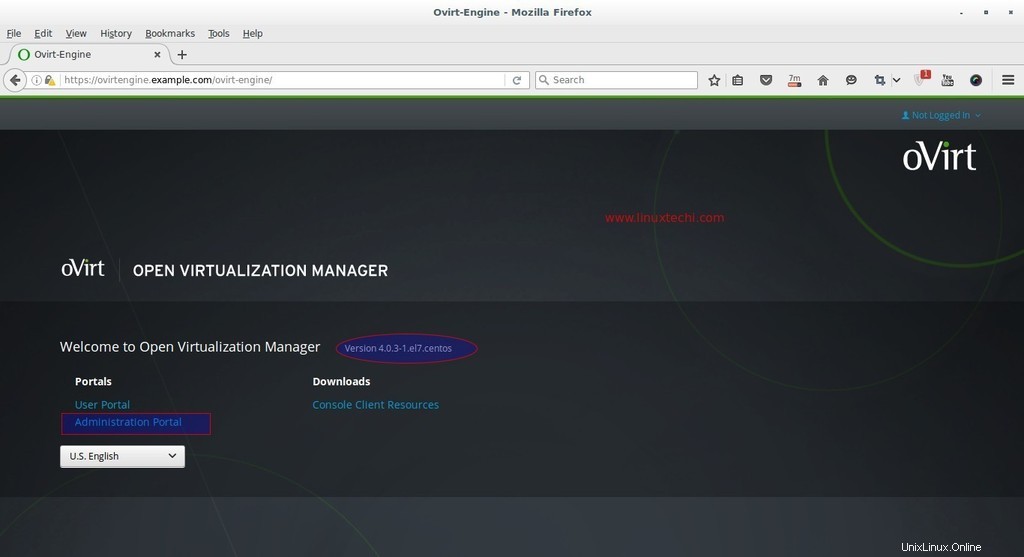
Cliquez sur Portail administrateur.
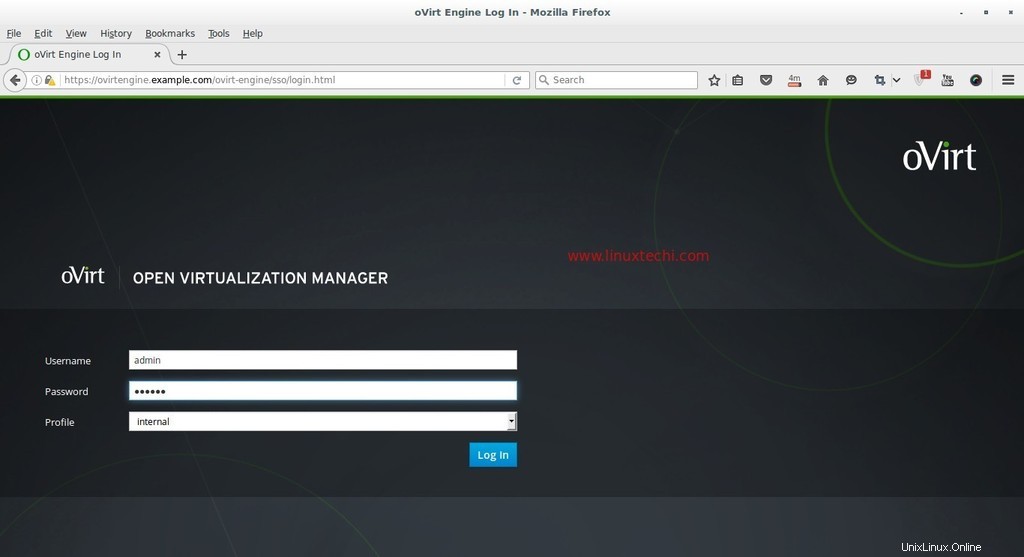
Entrez le nom d'utilisateur en tant que 'admin ' et le mot de passe que nous avons mentionné lors de l'installation et du profil comme interne.
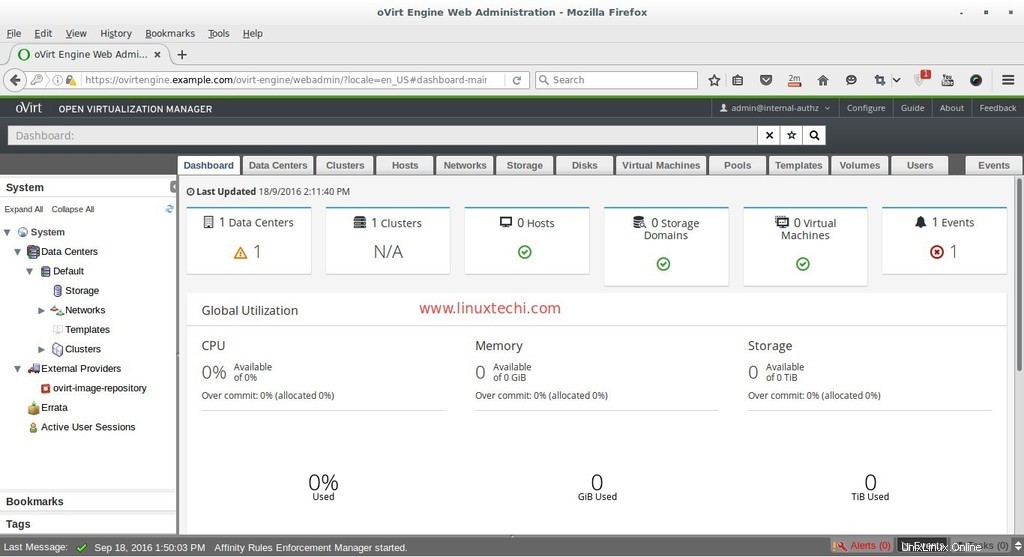
À ce stade, l'installation du moteur ovirt est terminée, installez maintenant le nœud ovirt.
Étapes d'installation du nœud oVirt (hyperviseur)
oVirt Node peut être configuré de deux manières différentes. La première méthode consiste à télécharger l'hyperviseur ou ovirt-node iso fichier depuis son site Web officiel et installez le serveur à partir du fichier iso téléchargé.
La deuxième méthode consiste à rendre CentOS existant , RHEL et Fedora serveur en tant que nœud ovirt en installant le package vdsm dessus, puis nous ajouterons cet hôte ou ce serveur manuellement à partir du portail de l'administrateur du moteur ovirt.
La configuration minimale requise pour oVirt Node est :
- Système double cœur
- 10 Go de RAM physique
- 10 Go d'espace disque
- Carte LAN 1 Gbit/s
Dans ce tutoriel, je vais avec la première méthode, j'ai déjà téléchargé l'iso oVirt 4.0 Node dossier. Gravez le fichier iso téléchargé sur un DVD ou une clé USB et démarrez le serveur avec DVD/USB en suivant les instructions à l'écran.

Sélectionnez la première option "Installer oVirt Node 4.0.3 ‘
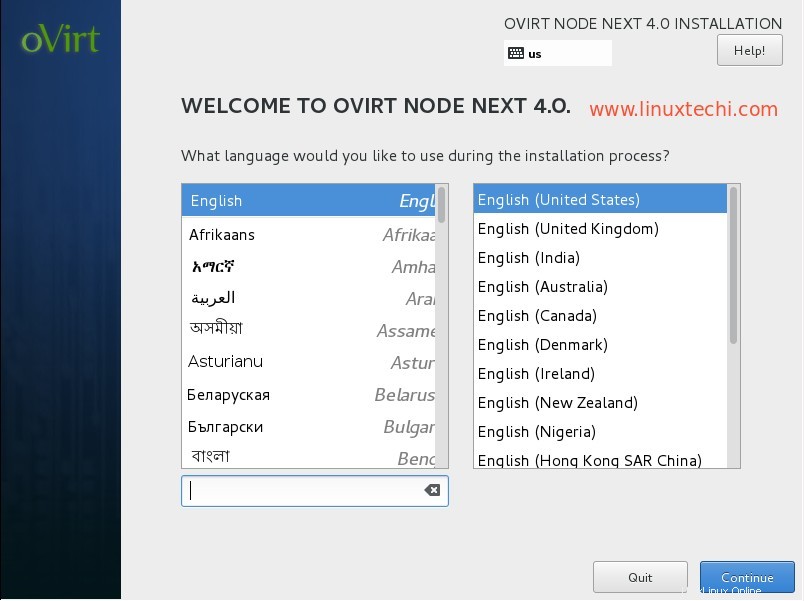
Sélectionnez la langue et cliquez sur Continuer …
À l'étape suivante, effectuez les étapes suivantes :
- Configurer la mise en réseau
- Définir le nom d'hôte
- Sélectionner le disque pour l'installation du système d'exploitation
- Date et heure selon la configuration
- Disposition du clavier
Dans mon cas, le nom d'hôte est "ovirtnode.example.com " et l'adresse IP est 192.168.1.40
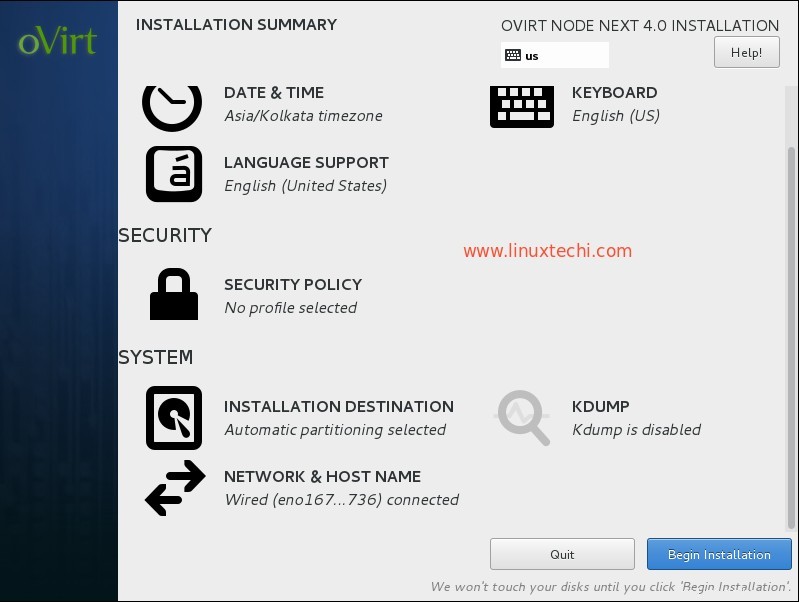
Cliquez sur Commencer l'installation
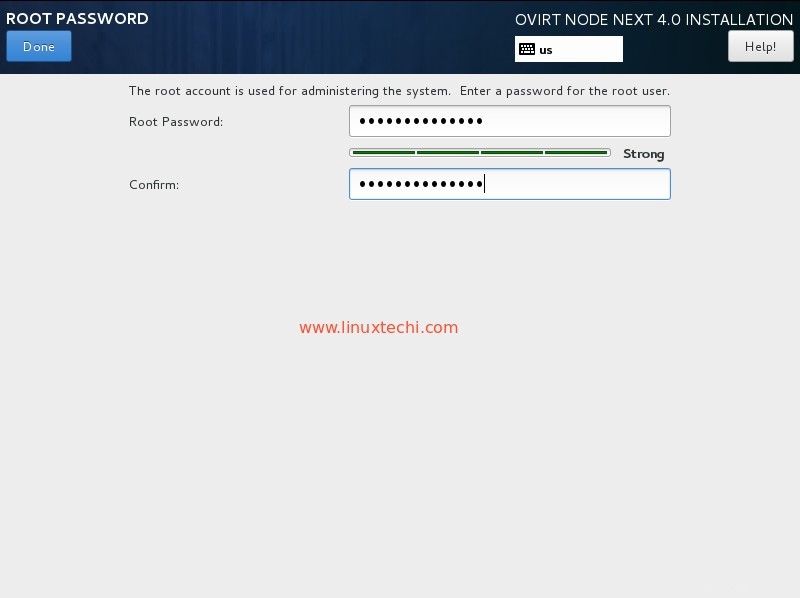
Définissez le mot de passe root et cliquez sur terminé
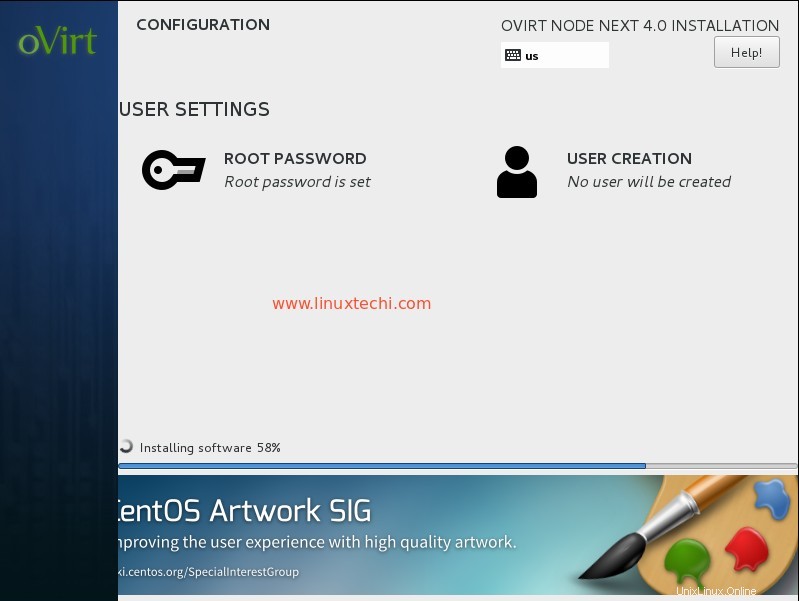
L'installation du nœud oVirt 4.0.3 est en cours.
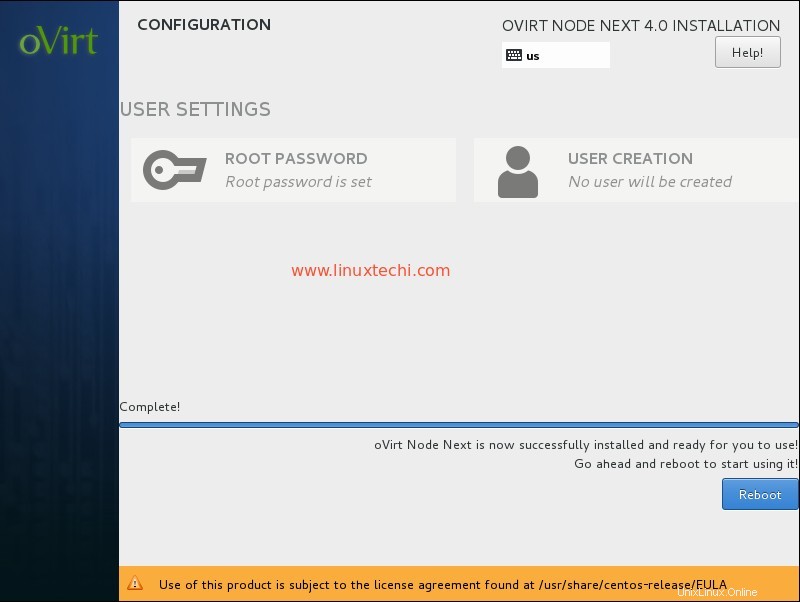
Une fois l'installation terminée, redémarrez votre serveur.
Ajouter un nœud oVirt (ovirtnode.example) dans le moteur ovirt à partir du portail de l'administrateur Web.
Connectez-vous au portail administrateur, accédez à l'onglet Hôtes -> cliquez sur Nouveau
Spécifiez les détails du nœud ovirt.
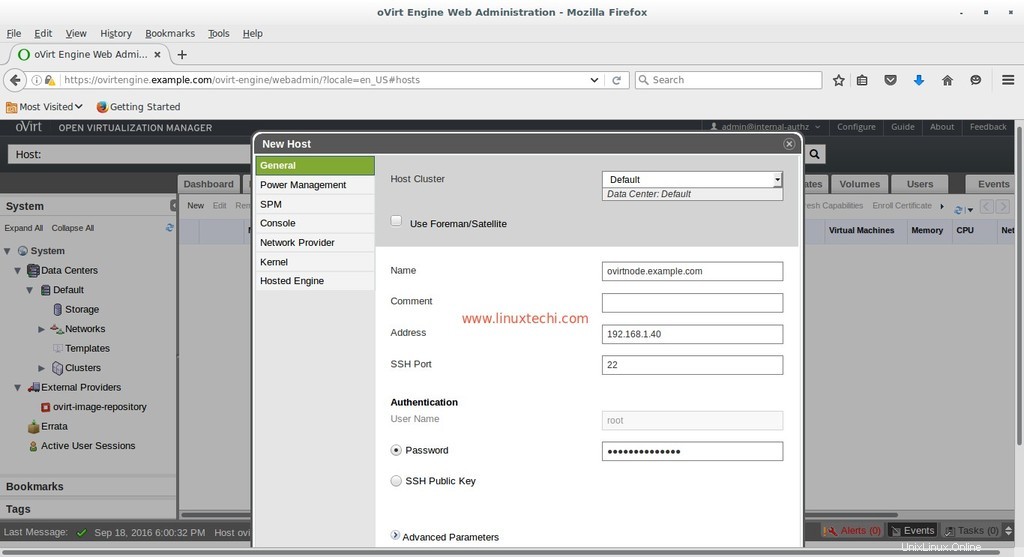
Une fois terminé avec les entrées, cliquez sur OK.

Comme je fais cette configuration dans mon laboratoire, je ne vais donc pas "Configurer la gestion de l'alimentation “. Cliquez sur OK
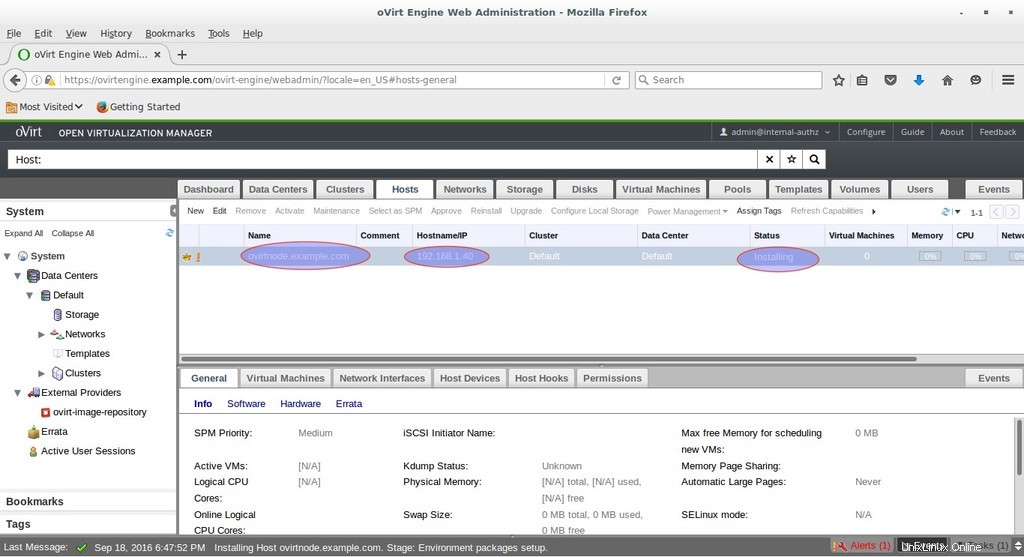
Comme nous pouvons le voir ci-dessous, le moteur ovirt installe le logiciel sur le nœud ovirt. Dans le cas où l'hôte n'est pas activé après l'installation du logiciel, sélectionnez Hôte et cliquez sur Activer
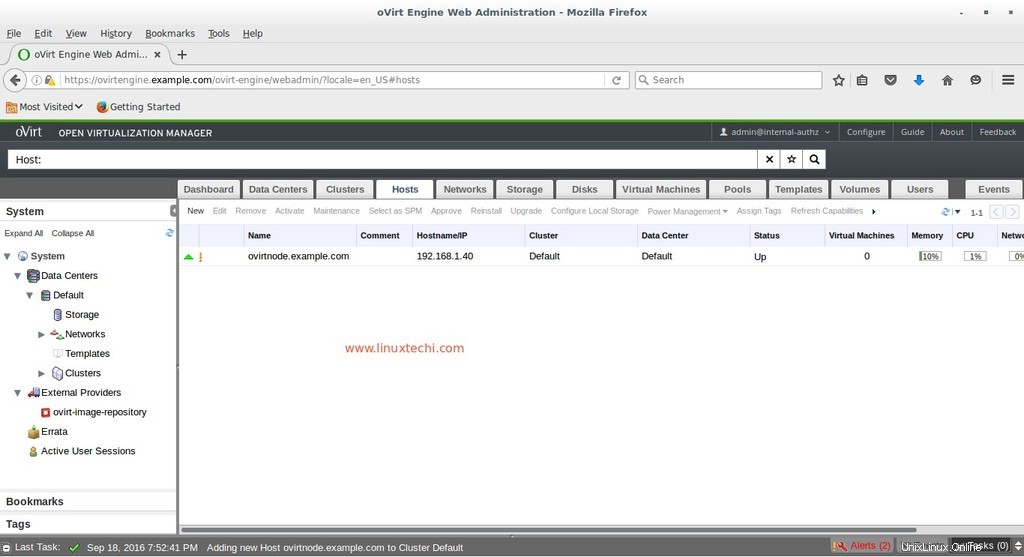
Comme nous pouvons le voir, l'hôte est maintenant activé.
C'est tout. J'espère que vous aimez les étapes d'installation et de configuration d'oVirt 4.0.3. Dans le prochain article, nous verrons comment créer des centres de données, des clusters et des machines virtuelles.