Sandstorm est une plate-forme gratuite et open-source pour les applications Web et les serveurs. Vous pouvez déployer de nombreuses applications, notamment WordPress, GitLab, MediaWiki, Apache Wave et la messagerie Web RoundCube à l'aide de Sandstorm. Il est livré avec une interface Web simple et conviviale qui vous aide à installer et à gérer des applications sur votre serveur. Comparé à d'autres plates-formes, Sandstorm est conçu dès le départ pour être radicalement plus facile à utiliser.
Dans cet article, nous vous montrerons comment installer Sandstorm sur CentOS 8 VPS.
Prérequis
- Un nouveau serveur CentOS 8 sur la plate-forme cloud Atlantic.Net
- Un mot de passe root configuré sur votre serveur
Étape 1 - Créer un serveur cloud Atlantic.Net
Tout d'abord, connectez-vous à votre serveur Atlantic.Net Cloud. Créez un nouveau serveur en choisissant CentOS 8 comme système d'exploitation avec au moins 2 Go de RAM. Connectez-vous à votre serveur cloud via SSH et connectez-vous à l'aide des informations d'identification mises en évidence en haut de la page.
Une fois que vous êtes connecté à votre serveur CentOS 8, exécutez la commande suivante pour mettre à jour votre système de base avec les derniers packages disponibles.
dnf update -y
Étape 2 - Configurer le nom d'hôte
Avant de commencer, vous devrez définir un nom d'hôte complet pour votre serveur. Vous pouvez le définir à l'aide de la commande suivante :
hostnamectl set-hostname sandstorm.example.com
Une fois que vous avez terminé, vous pouvez passer à l'étape suivante.
Étape 3 - Installer Sandstorm
Sandstorm fournit un script d'installation automatique qui facilite l'installation de Sandstorm sur votre serveur.
Vous pouvez télécharger le script d'installation de Sandstorm à l'aide de la commande suivante :
curl https://install.sandstorm.io >install.sh
Une fois le script téléchargé, exécutez le script téléchargé pour lancer l'installation :
bash install.sh
Il vous sera demandé de sélectionner l'option d'installation comme indiqué ci-dessous :
Sandstorm makes it easy to run web apps on your own server. You can have:

1. A typical install, to use Sandstorm (press enter to accept this default)
2. A development server, for working on Sandstorm itself or localhost-based app development
Appuyez sur Entrée pour sélectionner l'option par défaut. Vous devriez voir le résultat suivant :
How are you going to use this Sandstorm install? [1]
We're going to:

* Install Sandstorm in /opt/sandstorm
* Automatically keep Sandstorm up-to-date
* Create a service user (sandstorm) that owns Sandstorm's files
* Configure Sandstorm to start on system boot (with systemd)
* Listen for inbound email on port 25.

Rest assured that Sandstorm itself won't run as root.
OK to continue? [yes]
Appuyez sur Entrée continuer. Vous devriez voir le résultat suivant :
NOTE: It looks like your system already has some other web server installed
      (port 80 and/or 443 are taken), so Sandstorm cannot act as your main
      web server.

      This script can set up Sandstorm to run on port 6080 instead,
      without HTTPS. This makes sense if you're OK with typing the port number
      into your browser whenever you access Sandstorm and you don't need
      security. This also makes sense if you are going to set up a reverse proxy;
      if so, see https://docs.sandstorm.io/en/latest/administering/reverse-proxy/

      If you want, you can quit this script with Ctrl-C now, and go uninstall
      your other web server, and then run this script again. It is also OK to
      proceed if you want.

OK to skip automatic HTTPS setup & bind to port 6080 instead? [yes]
Appuyez sur Entrée pour lier le port Sandstorm à 6080 . Vous devriez voir le résultat suivant :
Note: Sandstorm's storage will only be accessible to the group 'sandstorm'.
As a Sandstorm user, you are invited to use a free Internet hostname as a subdomain of sandcats.io,
a service operated by the Sandstorm development team.
...
Sandcats.io protects your privacy and is subject to terms of use. By using it,
you agree to the terms of service & privacy policy available here:
https://sandcats.io/terms https://sandcats.io/privacy

Choose your desired Sandcats subdomain (alphanumeric, max 20 characters).
Type the word none to skip this step, or help for help.
What *.sandcats.io subdomain would you like? [] none
Tapez aucun et appuyez sur Entrée . Une fois l'installation terminée, vous devriez voir la sortie suivante :
URL users will enter in browser: [http://sandstorm.example.com:6080]
Sandstorm requires you to set up a wildcard DNS entry pointing at the server.
This allows Sandstorm to allocate new hosts on-the-fly for sandboxing purposes.
Please enter a DNS hostname containing a '*' which maps to your server. For
example, if you have mapped *.foo.example.com to your server, you could enter
"*.foo.example.com". You can also specify that hosts should have a special
prefix, like "ss-*.foo.example.com". Note that if your server's main page
is served over SSL, the wildcard address must support SSL as well, which
implies that you must have a wildcard certificate. For local-machine servers,
we have mapped *.local.sandstorm.io to 127.0.0.1 for your convenience, so you
can use "*.local.sandstorm.io" here. If you are serving off a non-standard
port, you must include it here as well.
Wildcard host: [*.sandstorm.example.com:6080]

Your server is now online! Visit this link to start using it:

  http://sandstorm.example.com:6080/setup/token/7f7f36c9e39f738a69564622123be64b373141a5

NOTE: This URL expires in 15 minutes. You can generate a new setup URL by running
'sudo sandstorm admin-token' from the command line.


To learn how to control the server, run:
  sandstorm help
À ce stade, Sandstorm est installé et écoute sur le port 6080. Vous pouvez le vérifier avec la commande suivante :
ss -antpl | grep 6080
Vous devriez voir la page suivante :
LISTEN 0 128 0.0.0.0:6080 0.0.0.0:* users:(("sandstorm/gtway",pid=28336,fd=7),("sandstorm/montr",pid=28265,fd=7),("sandstorm/top",pid=28262,fd=7))
Étape 4 – Accéder à l'interface utilisateur Web Sandstorm
Maintenant, ouvrez votre navigateur Web et accédez à Sandstorm en utilisant l'URL http://sandstorm.example.com:6080/setup/token/7f7f36c9e39f738a69564622123be64b373141a5 . Vous serez redirigé vers la page suivante :
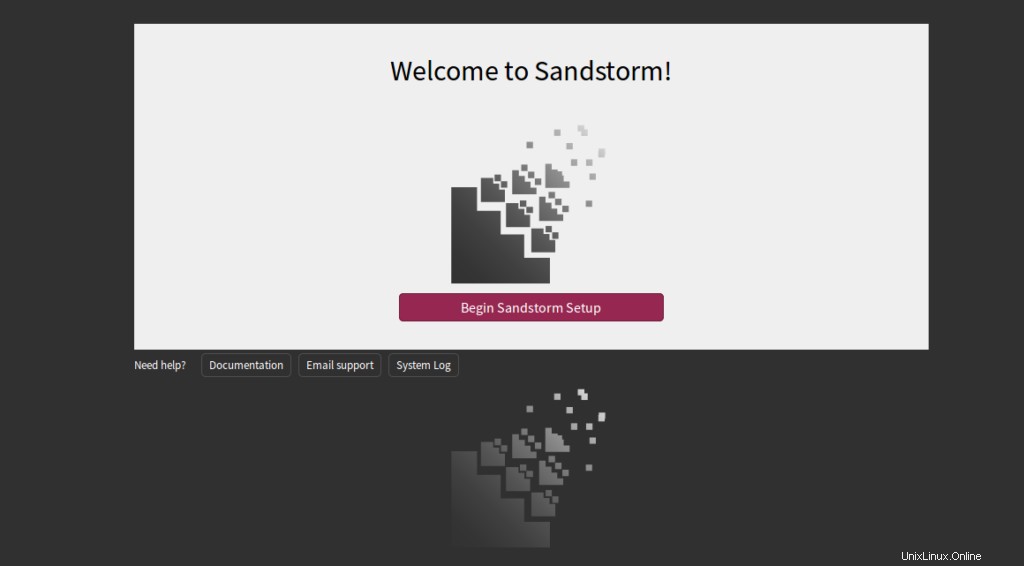
Cliquez sur Commencer la configuration de Sandstorm . Vous devriez voir la page suivante :
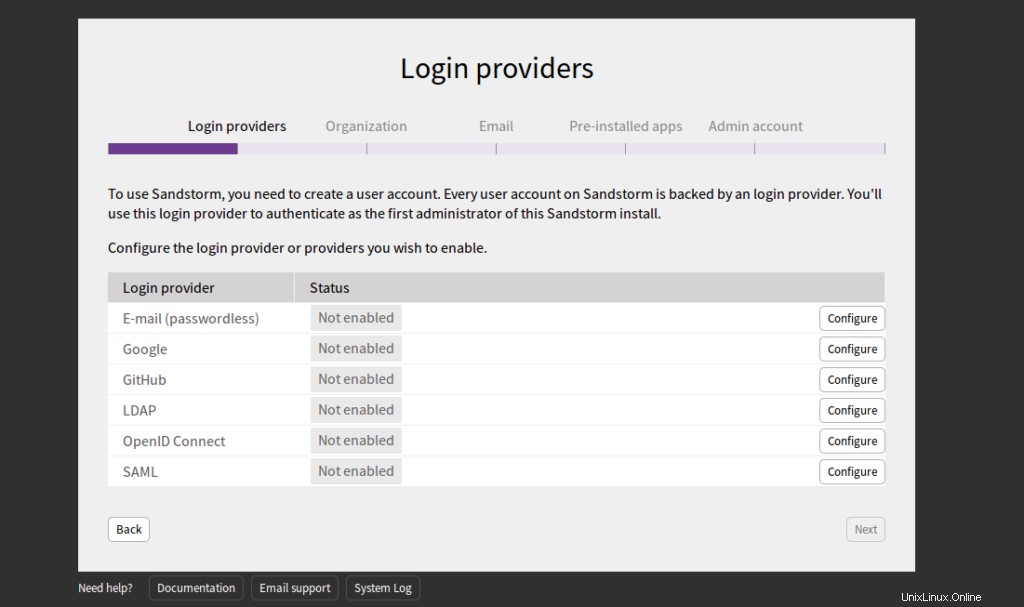
Sélectionnez E-mail et cliquez sur Configurer bouton. Vous devriez voir la page suivante :
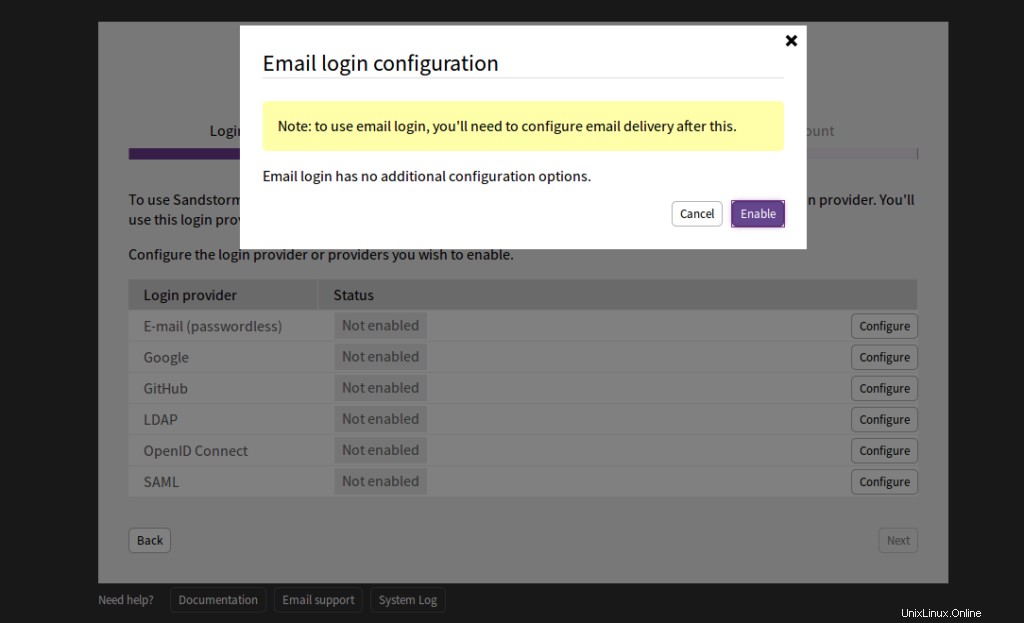
Cliquez sur Activer . Vous devriez voir la page suivante :
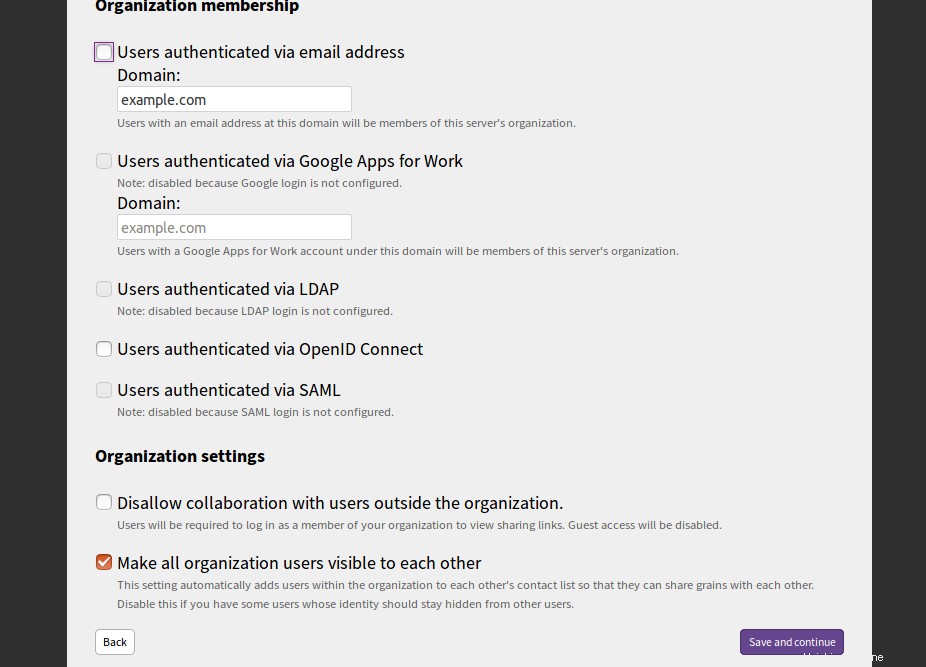
Fournissez le domaine de votre serveur de messagerie et cliquez sur Enregistrer et continuer bouton. Vous devriez voir la page suivante :
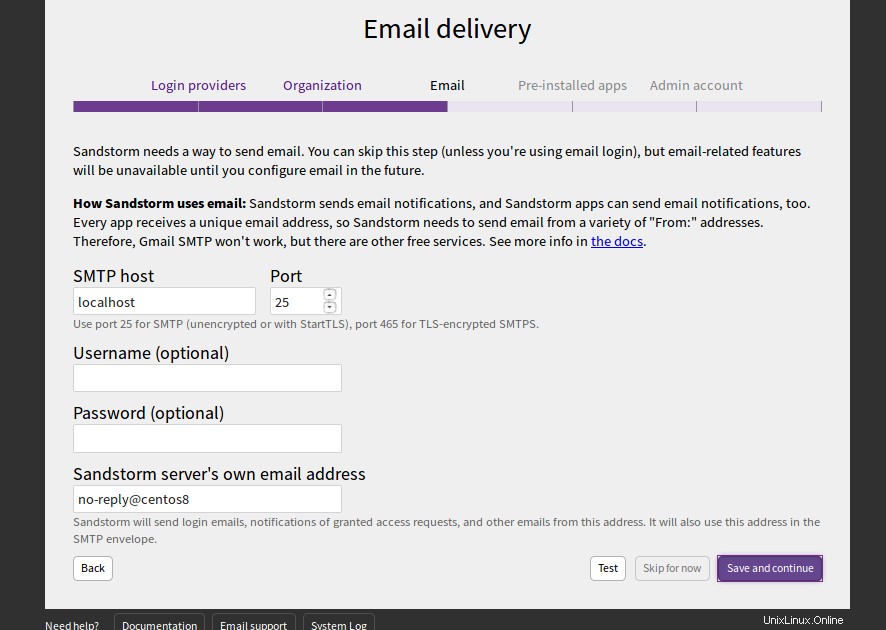
Fournissez votre hôte SMTP, votre port, votre nom d'utilisateur et votre mot de passe et cliquez sur le bouton Enregistrer et continuer bouton. Vous devriez voir la page suivante :
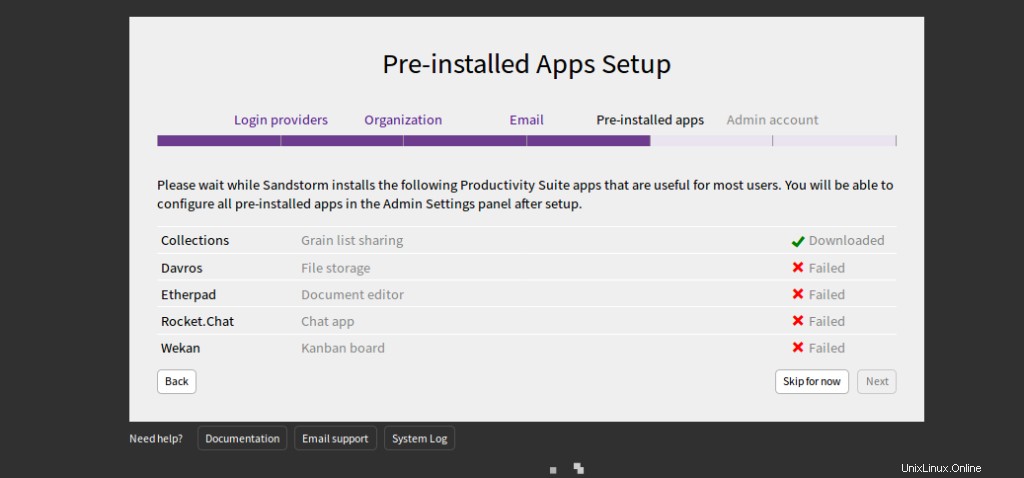
Cliquez sur Ignorer pour l'instant . Vous devriez voir la page suivante :
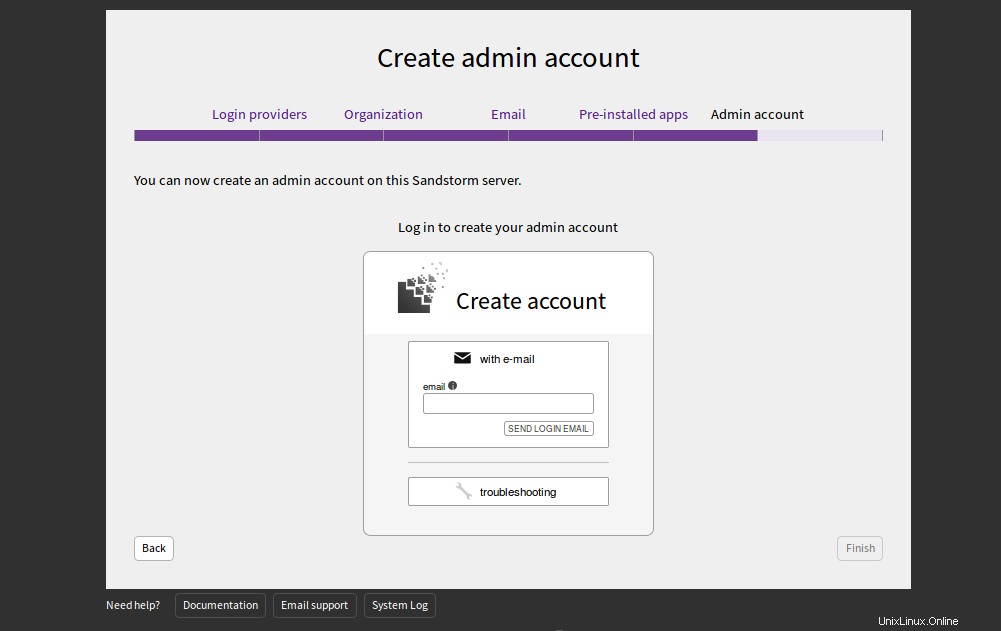
Fournissez votre adresse e-mail et cliquez sur ENVOYER E-MAIL DE CONNEXION. Vous devriez recevoir un email avec les identifiants de connexion. Vous pouvez utiliser ces identifiants pour vous connecter au serveur Sandstorm.
Conclusion
Toutes nos félicitations! Vous avez installé avec succès Sandstorm sur CentOS 8 VPS. Sandstorm est un outil très utile pour les développeurs. Il les aide à déployer n'importe quelle application en un seul clic. Pour plus d'informations et de documentation sur Sandstorm, visitez leur documentation.