LEMP est un modèle open source de piles de services Web composé de quatre composants :Linux, Nginx, MariaDB et PHP. Une pile LEMP est utilisée pour développer et déployer des applications Web. La plupart des applications Web sont exécutées sur une pile LEMP, il est donc très important qu'un administrateur système puisse sécuriser une pile LEMP avec SSL. Si vous êtes un nouveau développeur de site Web ou un blogueur à la recherche d'un trafic Web organique amélioré, il est essentiel d'avoir un serveur Web compatible SSL pour le référencement (optimisation des moteurs de recherche).
Let's Encrypt est une autorité de certification gratuite et open source qui fournit des certificats SSL gratuits. Let's Encrypt est une autorité de certification à but non lucratif qui vise à créer un Web plus sécurisé en promouvant l'adoption généralisée du HTTPS.
Dans ce tutoriel, nous allons apprendre à sécuriser un serveur LEMP avec Let's Encrypt SSL gratuit sur Ubuntu 18.04 VPS.
Prérequis
- Un nouveau serveur VPS Ubuntu 18.04 sur Atlantic.net Cloud.
- Un nom de domaine valide pointant vers votre adresse IP VPS. Dans ce didacticiel, nous utiliserons example.com.
Étape 1 - Créer un serveur cloud Atlantic.Net
Tout d'abord, connectez-vous à votre serveur Atlantic.Net Cloud. Créez un nouveau serveur, en choisissant Ubuntu 18.04 comme système d'exploitation, avec au moins 2 Go de RAM. Connectez-vous à votre serveur cloud via SSH et connectez-vous à l'aide des informations d'identification mises en évidence en haut de la page.
Une fois que vous êtes connecté à votre serveur Ubuntu 18.04, exécutez la commande suivante pour mettre à jour votre système de base avec les derniers packages disponibles.
apt-get update -y
Étape 2 - Installer LEMP sur le serveur
Tout d'abord, installez LEMP sur le serveur en exécutant la commande suivante :
apt-get install nginx mariadb-server php php-common -y
Une fois tous les packages installés, démarrez le service Web Nginx et activez-le après le redémarrage du système avec la commande suivante :
systemctl start nginx
systemctl enable nginx
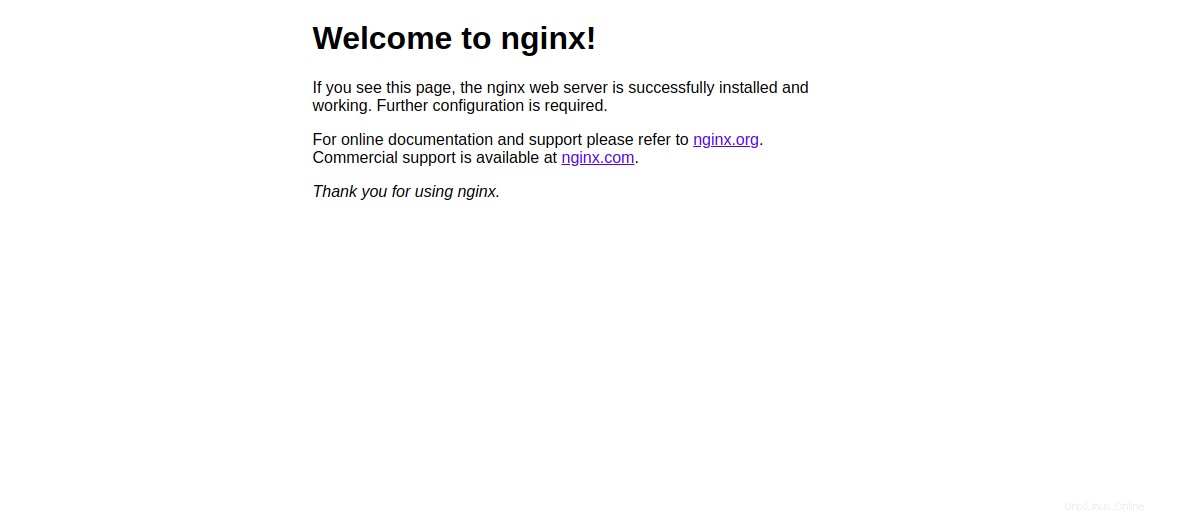
Ensuite, ouvrez votre navigateur Web et tapez l'URL http://example.com. Vous devriez voir la page par défaut de Nginx :
Étape 3 – Créer un site Nginx pour votre domaine
Ensuite, vous devrez créer un hôte virtuel Nginx pour votre domaine. Nous installerons le SSL gratuit Let's Encrypt sur ce site plus tard.
Vous pouvez le créer avec la commande suivante :
nano /etc/nginx/sites-available/example.com.conf
Ajoutez les lignes suivantes :
server {
   listen 80;

   root /var/www/html;

   index index.html;

   server_name example.com;

   location / {
      try_files $uri $uri/ =404;
   }

}
Enregistrez et fermez le fichier. Ensuite, activez un hôte virtuel Nginx avec la commande suivante :
ln -s /etc/nginx/sites-available/example.com.conf /etc/nginx/sites-enabled/
Ensuite, vérifiez Nginx pour toute erreur de syntaxe avec la commande suivante :
nginx -t
Si tout se passe bien, vous devriez voir le résultat suivant :
nginx: the configuration file /etc/nginx/nginx.conf syntax is ok
nginx: configuration file /etc/nginx/nginx.conf test is successful
Enfin, redémarrez le service Nginx pour appliquer les modifications de configuration :
systemctl restart nginx
Créez ensuite un fichier index.html pour votre domaine :
nano /var/www/html/index.html
Add the following lines:

<html>
Nginx web server is now secured with Let's Encrypt free SSL
</html>
Enregistrez et fermez le fichier. Ensuite, changez la propriété du fichier en www-data avec la commande suivante :
chown www-data: /var/www/html/index.html
Étape 4 :Installez Let's Encrypt sur votre domaine
Nginx est maintenant installé et en cours d'exécution. Il est temps de le sécuriser avec le SSL gratuit Let's Encrypt.
Tout d'abord, vous devrez installer l'outil Certbot pour obtenir le certificat SSL gratuit de Let's Encrypt et l'installer sur votre domaine. Certbot est un outil gratuit et complet qui automatise le processus d'obtention et d'installation de SSL sur votre domaine.
Vous pouvez ajouter le référentiel à l'aide de la commande suivante :
add-apt-repository ppa:certbot/certbot
Une fois le référentiel ajouté, mettez à jour le référentiel et installez Certbot avec la commande suivante :
apt-get update -y
apt-get install python-certbot-nginx -y
Une fois installé, exécutez la commande suivante pour obtenir et installer le certificat de votre domaine :
certbot --nginx -d example.com
Lors de l'installation, vous devrez fournir votre adresse e-mail et accepter les conditions d'utilisation comme indiqué ci-dessous :
Saving debug log to /var/log/letsencrypt/letsencrypt.log
Plugins selected: Authenticator nginx, Installer nginx
Enter email address (used for urgent renewal and security notices) (Enter 'c' to
cancel): example@unixlinux.online

- - - - - - - - - - - - - - - - - - - - - - - - - - - - - - - - - - - - - - - -
Please read the Terms of Service at
https://letsencrypt.org/documents/LE-SA-v1.2-November-15-2017.pdf. You must
agree in order to register with the ACME server at
https://acme-v02.api.letsencrypt.org/directory
- - - - - - - - - - - - - - - - - - - - - - - - - - - - - - - - - - - - - - - -
(A)gree/(C)ancel: A

- - - - - - - - - - - - - - - - - - - - - - - - - - - - - - - - - - - - - - - -
Would you be willing to share your email address with the Electronic Frontier
Foundation, a founding partner of the Let's Encrypt project and the non-profit
organization that develops Certbot? We'd like to send you email about our work
encrypting the web, EFF news, campaigns, and ways to support digital freedom.
- - - - - - - - - - - - - - - - - - - - - - - - - - - - - - - - - - - - - - - -
(Y)es/(N)o: N
Tapez N et appuyez sur Entrée continuer. Vous devriez voir le résultat suivant :
Obtaining a new certificate
Performing the following challenges:
http-01 challenge for example.com
Waiting for verification...
Cleaning up challenges
Deploying Certificate to VirtualHost /etc/nginx/sites-enabled/example.com.conf

Please choose whether or not to redirect HTTP traffic to HTTPS, removing HTTP access.
- - - - - - - - - - - - - - - - - - - - - - - - - - - - - - - - - - - - - - - -
1: No redirect - Make no further changes to the webserver configuration.
2: Redirect - Make all requests redirect to secure HTTPS access. Choose this for
new sites, or if you're confident your site works on HTTPS. You can undo this
change by editing your web server's configuration.
- - - - - - - - - - - - - - - - - - - - - - - - - - - - - - - - - - - - - - - -
Select the appropriate number [1-2] then [enter] (press 'c' to cancel):
Here, you will need to select option 1 or 2. Option 1 only downloads the Let's Encrypt certificate and does not change your web server configuration file.
Option 2 will download the Let's Encrypt certificate and configure your webserver config file to redirect all requests to secure HTTPS access.

Please select option 2 and hit Enter. Once the installation has been completed successfully, you should see the following output:

Redirecting all traffic on port 80 to ssl in /etc/nginx/sites-enabled/example.com.conf

- - - - - - - - - - - - - - - - - - - - - - - - - - - - - - - - - - - - - - - -
Congratulations! You have successfully enabled https://example.com

You should test your configuration at:
https://www.ssllabs.com/ssltest/analyze.html?d=example.com
- - - - - - - - - - - - - - - - - - - - - - - - - - - - - - - - - - - - - - - -

IMPORTANT NOTES:
- Congratulations! Your certificate and chain have been saved at:
/etc/letsencrypt/live/example.com/fullchain.pem
Your key file has been saved at:
/etc/letsencrypt/live/example.com/privkey.pem
Your cert will expire on 2019-11-17. To obtain a new or tweaked
version of this certificate in the future, simply run certbot again
with the "certonly" option. To non-interactively renew *all* of
your certificates, run "certbot renew"
- Your account credentials have been saved in your Certbot
configuration directory at /etc/letsencrypt. You should make a
secure backup of this folder now. This configuration directory will
also contain certificates and private keys obtained by Certbot so
making regular backups of this folder is ideal.
- If you like Certbot, please consider supporting our work by:

Donating to ISRG / Let's Encrypt: https://letsencrypt.org/donate
Donating to EFF: https://eff.org/donate-le
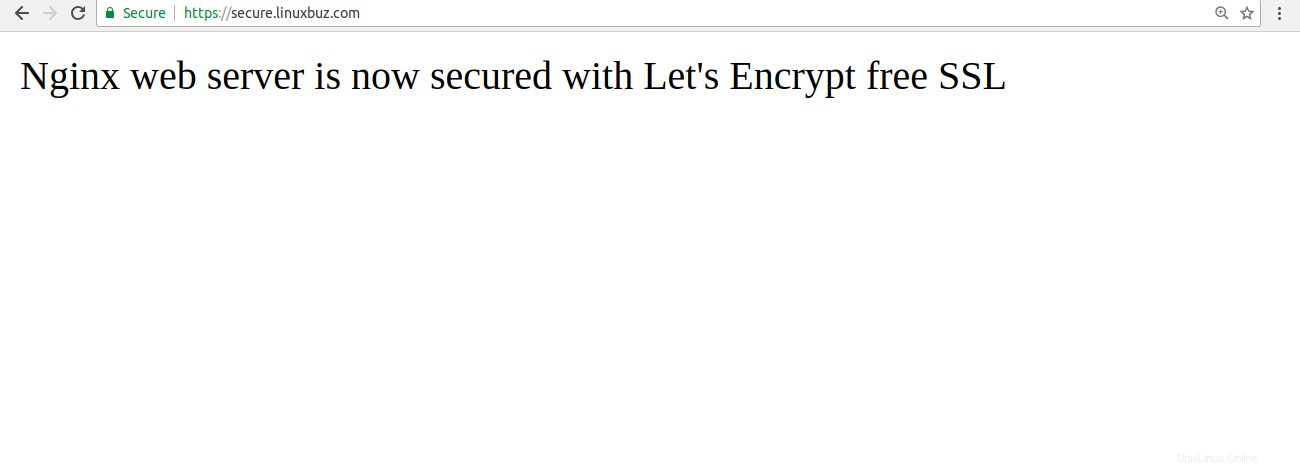
Maintenant, ouvrez votre navigateur Web et tapez l'URL https://example.com. Vous remarquerez qu'il indique que votre site est sécurisé.
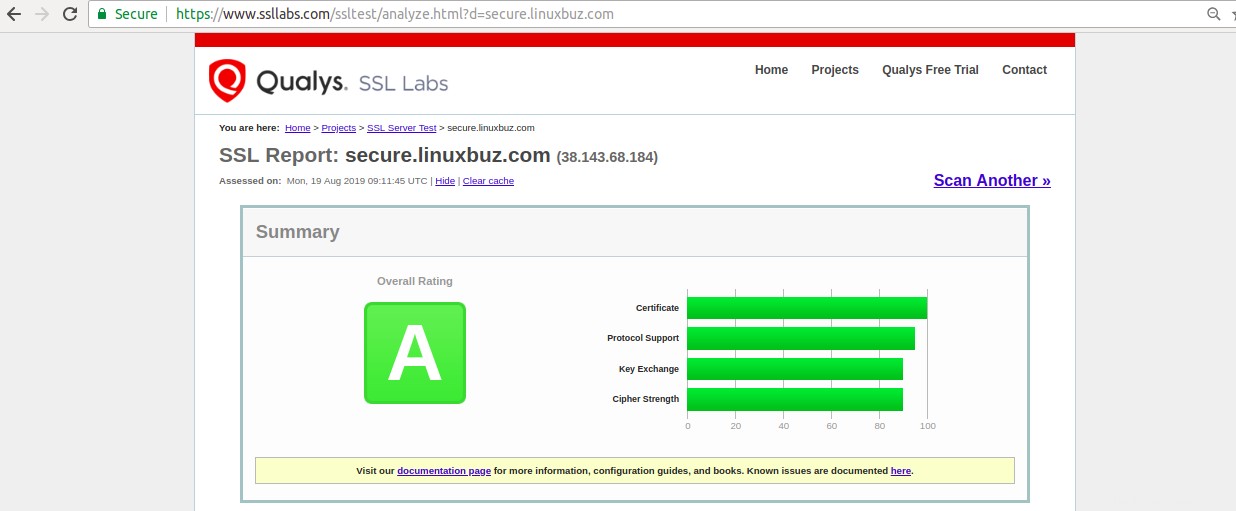
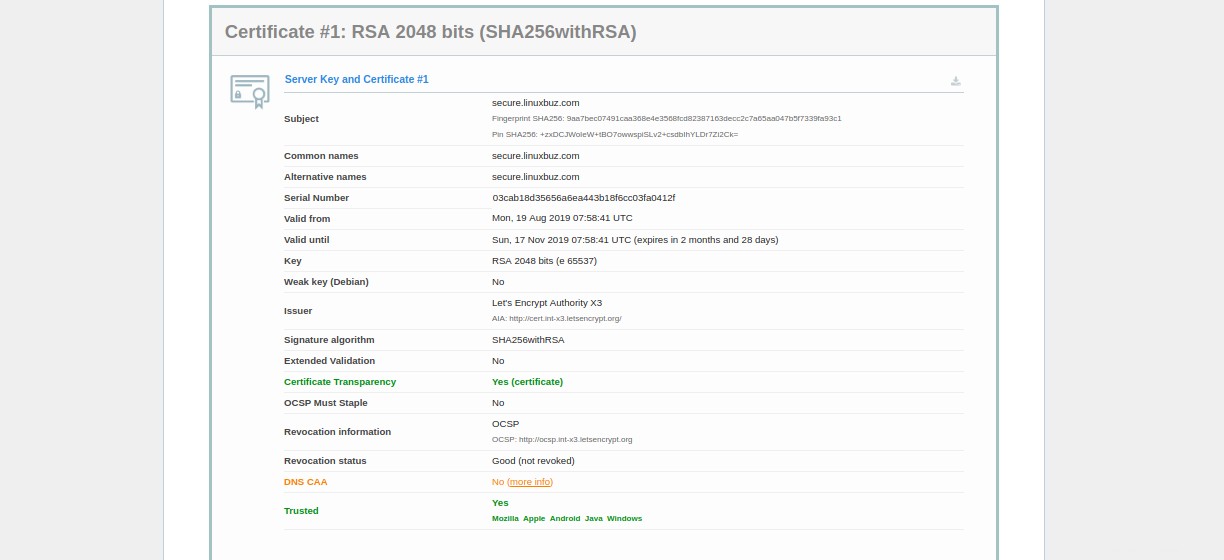
En attendant, vous pouvez également tester votre serveur en utilisant le SSL Labs Server Test :
Étape 5 - Configurer le renouvellement automatique du certificat SSL Let's Encrypt
Vous pouvez configurer le renouvellement automatique en modifiant le fichier crontab comme indiqué ci-dessous :
crontab -e
Ajoutez la ligne suivante :
12 8 * * * root /usr/bin/certbot renew >/dev/null 2>&1
Enregistrez et fermez le fichier lorsque vous avez terminé.
Vous pouvez également renouveler manuellement le certificat SSL avec la commande suivante :
certbot renew --dry-run
Si vous obtenez une erreur, certbot renouvellera automatiquement le certificat de votre site Web. Si le renouvellement automatique a échoué, vous serez averti sur l'adresse e-mail indiquée.
Conclusion
Dans l'article ci-dessus, vous avez appris comment sécuriser un serveur LEMP avec Let's Encrypt Free SSL sur Ubuntu 18.04. Si vous êtes prêt à démarrer avec un serveur privé virtuel pour l'hébergement de vos sites Web, visitez la page d'hébergement VPS d'Atlantic.Net pour trouver un forfait d'hébergement qui vous convient.