Cet article décrit et illustre les étapes d'installation et de configuration d'un httpd service pour diffuser du contenu via HTTPS. Le but d'utiliser HTTPS plutôt que HTTP de base est que le contenu est crypté pendant qu'il est en transit. Cela signifie que si quelqu'un capture le trafic entre votre système et le serveur Web, il ne pourra pas voir ce qui a été envoyé. Si vous accédiez à un serveur HTTP de base, ils pourraient voir le contenu.
Les prérequis
Pour commencer, l'environnement que nous allons utiliser est une machine virtuelle de base Red Hat Enterprise Linux (RHEL) 8.2. Assurez-vous que le système est enregistré sur un Red Hat Satellite ou sur le portail client Red Hat. Pour obtenir de l'aide, veuillez consulter l'assistant d'inscription.
Une fois le système enregistré et les bons abonnements joints, installez httpd et mod_ssl :
[root@webserver ~]# dnf install httpd mod_ssl
### Output truncated ###

Installed:
  apr-1.6.3-9.el8.x86_64                                                         apr-util-1.6.1-6.el8.x86_64
  apr-util-bdb-1.6.1-6.el8.x86_64                                                apr-util-openssl-1.6.1-6.el8.x86_64
  httpd-2.4.37-21.module+el8.2.0+5008+cca404a3.x86_64                            httpd-filesystem-2.4.37-21.module+el8.2.0+5008+cca404a3.noarch
  httpd-tools-2.4.37-21.module+el8.2.0+5008+cca404a3.x86_64                      mod_http2-1.11.3-3.module+el8.2.0+7758+84b4ca3e.1.x86_64
  mod_ssl-1:2.4.37-21.module+el8.2.0+5008+cca404a3.x86_64                        redhat-logos-httpd-81.1-1.el8.noarch

Complete!
[root@webserver ~]#
[ Les lecteurs ont également aimé : Survivre à un audit de sécurité avec Enterprise Linux ]
Générer des certificats
Une fois les RPM installés, générez des certificats à partir d'une autorité de certification de votre choix, si vous ne les avez pas déjà :
[root@webserver ~]# openssl req -newkey rsa:2048 -nodes -keyout /etc/pki/tls/private/httpd.key -x509 -days 3650 -out /etc/pki/tls/certs/httpd.crt
Generating a RSA private key
..............+++++
..........................................................................+++++
writing new private key to '/etc/pki/tls/private/httpd.key'
-----
You are about to be asked to enter information that will be incorporated
into your certificate request.
What you are about to enter is what is called a Distinguished Name or a DN.
There are quite a few fields, but you can leave some blank
For some fields, there will be a default value,
If you enter '.', the field will be left blank.
-----
Country Name (2 letter code) [XX]:US
State or Province Name (full name) []:North Carolina
Locality Name (eg, city) [Default City]:Holly Springs
Organization Name (eg, company) [Default Company Ltd]:Example Co
Organizational Unit Name (eg, section) []:Example Unit
Common Name (eg, your name or your server's hostname) []:webserver
Email Address []:root@localhost

[root@webserver ~]#
Vous pouvez vérifier que les fichiers ont été créés :
[root@webserver ~]# ls -l /etc/pki/tls/private/ /etc/pki/tls/certs/
/etc/pki/tls/certs/:
total 4
lrwxrwxrwx. 1 root root   49 Oct 18  2019 ca-bundle.crt -> /etc/pki/ca-trust/extracted/pem/tls-ca-bundle.pem
lrwxrwxrwx. 1 root root   55 Oct 18  2019 ca-bundle.trust.crt -> /etc/pki/ca-trust/extracted/openssl/ca-bundle.trust.crt
-rw-r--r--. 1 root root 1489 Oct  1 12:02 httpd.crt

/etc/pki/tls/private/:
total 4
-rw-------. 1 root root 1704 Oct  1 12:00 httpd.key
Maintenant que les certificats ont été générés, vous devez créer un répertoire à partir duquel votre serveur Web servira le contenu. Par exemple :
[root@webserver ~]# mkdir /var/www/https Vous pouvez mettre un exemple de contenu dans le index.html déposer ici :
[root@webserver ~]# echo secure content > /var/www/https/index.html
[root@webserver ~]# cat /var/www/https/index.html
secure content
[root@webserver ~]#
Sécurité SELinux
Vérifiez que le contexte SELinux correct est défini :
[root@webserver ~]# ll -Z /var/www
total 0
drwxr-xr-x. 2 root root system_u:object_r:httpd_sys_script_exec_t:s0 6 Dec  2  2019 cgi-bin
drwxr-xr-x. 2 root root system_u:object_r:httpd_sys_content_t:s0     6 Dec  2  2019 html
drwxr-xr-x. 2 root root unconfined_u:object_r:httpd_sys_content_t:s0 6 Oct  1 12:34 https

[root@webserver ~]#
Vérifiez également que le contexte SELinux est correct pour votre index.html fichier :
[root@webserver ~]# ll -Z /var/www/https/index.html
-rw-r--r--. 1 root root unconfined_u:object_r:httpd_sys_content_t:s0 15 Oct  1 15:07 /var/www/https/index.html

[root@webserver ~]#
Maintenant que vous avez les bons certificats, que le répertoire a été créé et que SELinux est correct, dites httpd pour utiliser les touches :
[root@webserver ~]# vi /etc/httpd/conf.d/ssl.conf
[root@webserver ~]# grep -e httpd.crt -e httpd.key /etc/httpd/conf.d/ssl.conf -B1
#SSLCertificateFile /etc/pki/tls/certs/localhost.crt
SSLCertificateFile /etc/pki/tls/certs/httpd.crt
--
#SSLCertificateKeyFile /etc/pki/tls/private/localhost.key
SSLCertificateKeyFile /etc/pki/tls/private/httpd.key
[root@webserver ~]#
[root@webserver ~]# grep DocumentRoot /etc/httpd/conf.d/ssl.conf
DocumentRoot "/var/www/https"
#DocumentRoot "/var/www/html"

[root@webserver ~]#
Paramètres du pare-feu
Le httpd service a maintenant été configuré, mais nous devons nous assurer que le trafic est autorisé à travers le pare-feu. Nous allons activer le port 443, puis recharger le pare-feu :
[root@webserver ~]# firewall-cmd --permanent --add-port=443/tcp
success

[root@webserver ~]# firewall-cmd --reload
success
Configuration finale et tests
Activer le httpd service pour démarrer au démarrage puis redémarrer le httpd service :
[root@webserver ~]# systemctl enable httpd
Created symlink /etc/systemd/system/multi-user.target.wants/httpd.service → /usr/lib/systemd/system/httpd.service.
[root@webserver ~]# systemctl restart httpd
[root@webserver ~]# systemctl status httpd
● httpd.service - The Apache HTTP Server
   Loaded: loaded (/usr/lib/systemd/system/httpd.service; enabled; vendor preset: disabled)
   Active: active (running) since Thu 2020-10-01 12:35:26 EDT; 1min 30s ago
     Docs: man:httpd.service(8)
 Main PID: 33387 (httpd)
   Status: "Total requests: 1; Idle/Busy workers 100/0;Requests/sec: 0.0112; Bytes served/sec:  40 B/sec"
    Tasks: 213 (limit: 74790)
   Memory: 35.6M
   CGroup: /system.slice/httpd.service
           ├─33387 /usr/sbin/httpd -DFOREGROUND
           ├─33390 /usr/sbin/httpd -DFOREGROUND
           ├─33391 /usr/sbin/httpd -DFOREGROUND
           ├─33392 /usr/sbin/httpd -DFOREGROUND
           └─33393 /usr/sbin/httpd -DFOREGROUND

Oct 01 12:35:26 webserver.example.com systemd[1]: Starting The Apache HTTP Server...
Oct 01 12:35:26 webserver.example.com systemd[1]: Started The Apache HTTP Server.
Oct 01 12:35:26 webserver.example.com httpd[33387]: Server configured, listening on: port 443, port 80

[root@webserver ~]#
Vous pouvez vérifier que le service est en cours d'exécution et écoute sur le port 443 en utilisant netstat :
[root@webserver ~]# netstat -tlpn
Active Internet connections (only servers)
Proto Recv-Q Send-Q Local Address           Foreign Address         State       PID/Program name
tcp        0      0 192.168.124.1:53        0.0.0.0:*               LISTEN      1505/dnsmasq
tcp        0      0 0.0.0.0:22              0.0.0.0:*               LISTEN      1438/sshd
tcp        0      0 127.0.0.1:631           0.0.0.0:*               LISTEN      1904/cupsd
tcp        0      0 0.0.0.0:111             0.0.0.0:*               LISTEN      1/systemd
tcp6       0      0 :::80                   :::*                    LISTEN      33387/httpd
tcp6       0      0 :::22                   :::*                    LISTEN      1438/sshd
tcp6       0      0 ::1:631                 :::*                    LISTEN      1904/cupsd
tcp6       0      0 :::443                  :::*                    LISTEN      33387/httpd
tcp6       0      0 :::111                  :::*                    LISTEN      1/systemd

[root@webserver ~]#
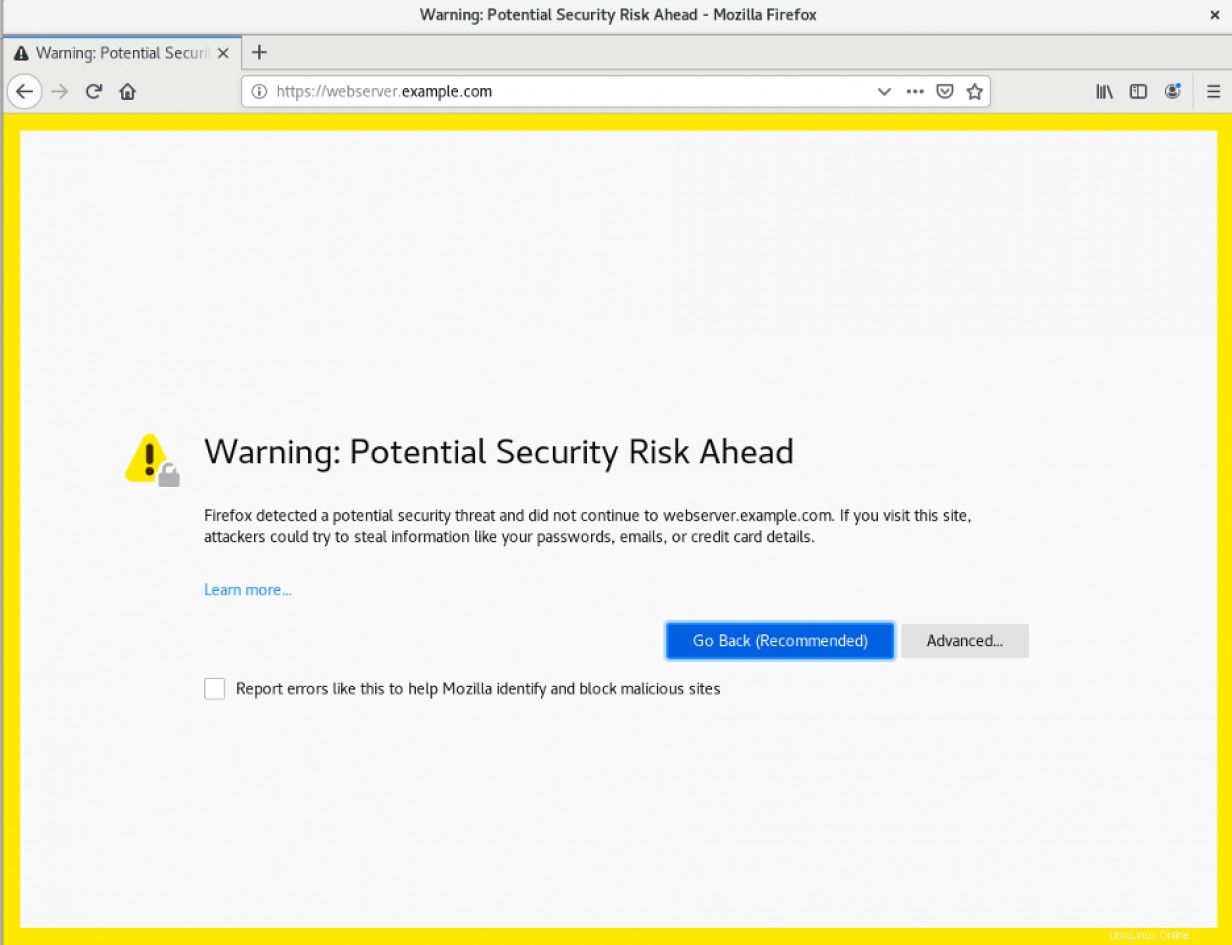
À ce stade, le service Web devrait fonctionner correctement et être visible pour vos clients. Pour vérifier cela, essayez d'utiliser votre navigateur Web pour accéder au site. Si vous utilisez un certificat auto-signé, vous devez l'accepter :

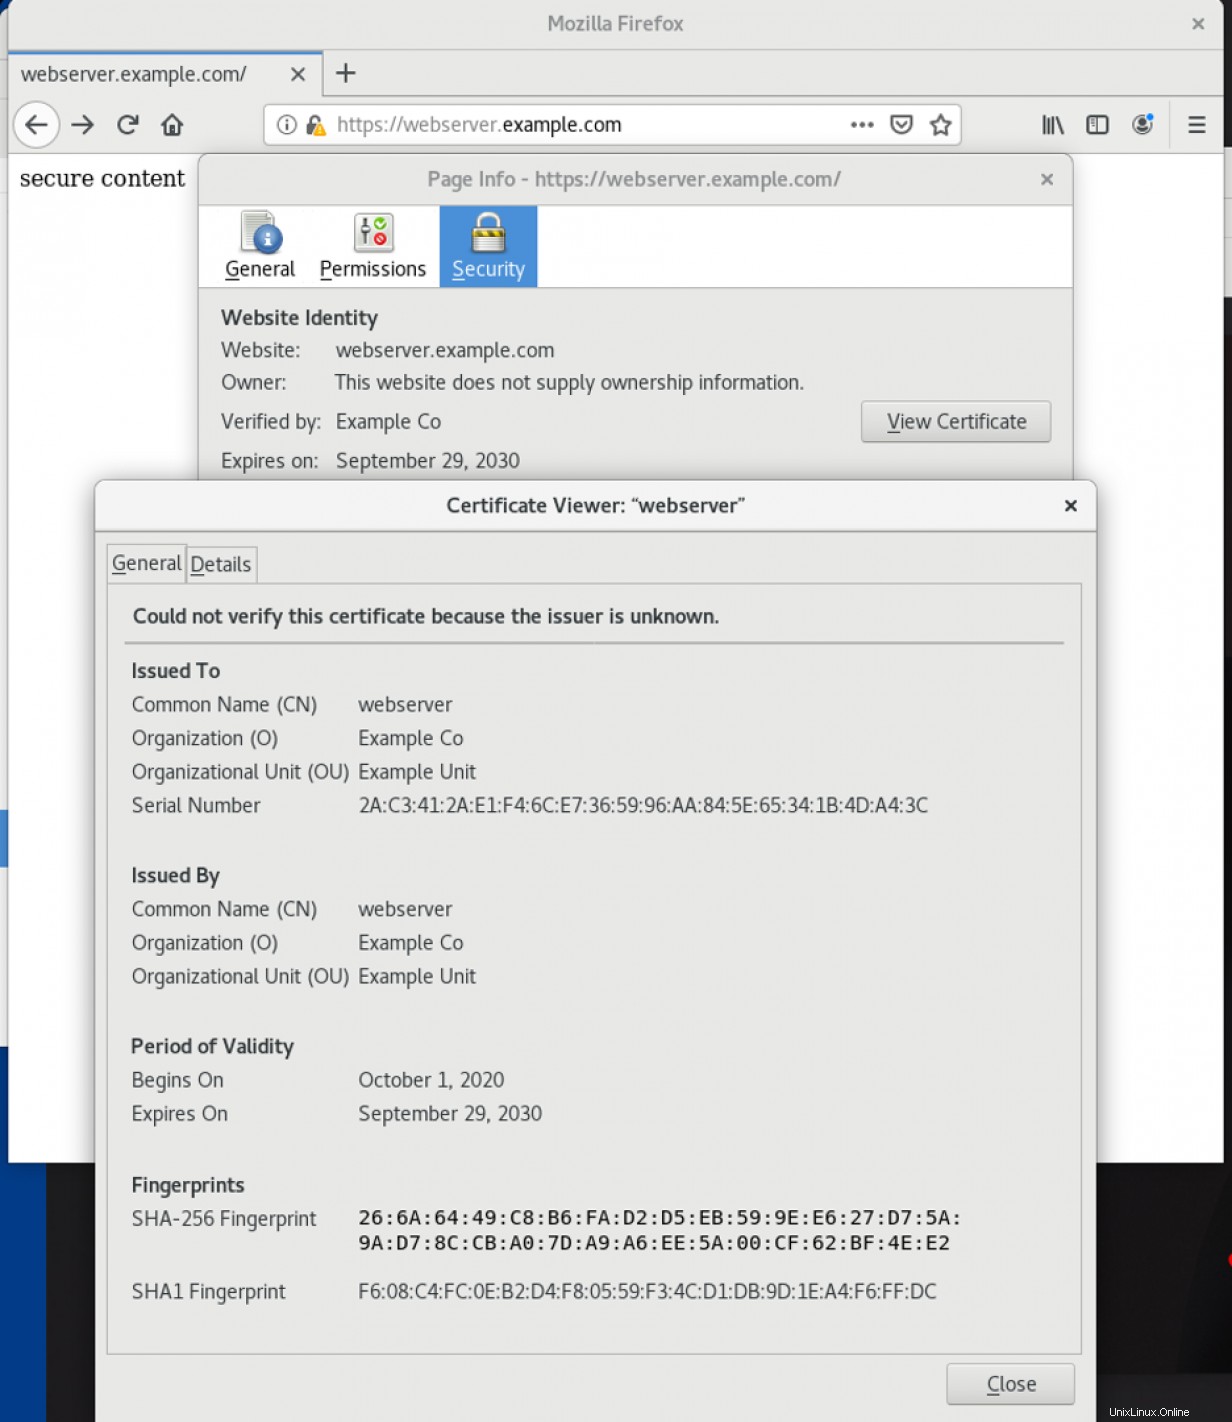
En cliquant sur l'icône de verrouillage dans la barre d'adresse, puis en sélectionnant "Afficher le certificat", vous verrez les informations de certificat que vous avez saisies :

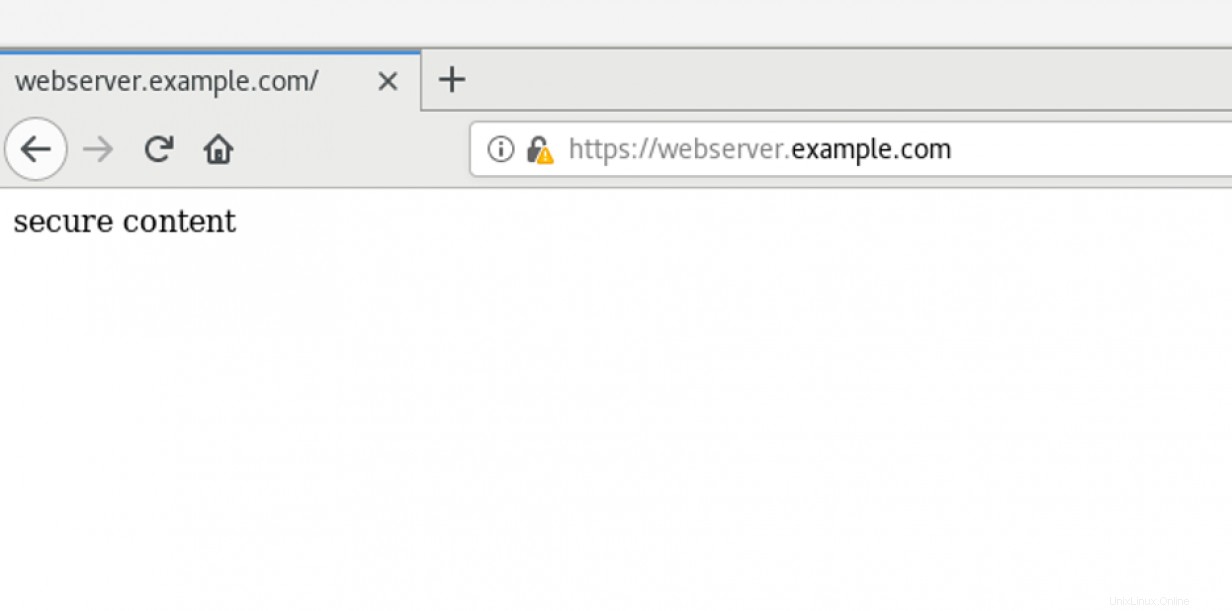
Vous pourrez voir le contenu dans le /var/www/https/index.html fichier qui vous est servi via HTTPS :

[ Vous voulez en savoir plus sur la sécurité ? Consultez la liste de vérification de la sécurité informatique et de la conformité. ]
Récapitulez
Cet article vous a montré comment installer et configurer un serveur HTTPS, puis vérifier que le service fonctionne correctement. Des configurations supplémentaires peuvent inclure la configuration de la journalisation à distance, l'activation de PHP ou la configuration d'une base de données pour le site Web.