La pile LEMP signifie la pile Linux, Nginx, MariaDB et PHP. C'est une pile technologique largement utilisée pour héberger des sites Web et des blogs.
Ce tutoriel vous montre comment installer Nginx avec le support PHP (via PHP-FPM) et le support MySQL sur Ubuntu 16.04.
Installer la pile LEMP
Installer Nginx
Téléchargez la clé de signature sur le site officiel.
wget http://nginx.org/keys/nginx_signing.key
Ajoutez-le pour éviter les avertissements lors de l'installation de nginx.
sudo apt-key add nginx_signing.key
Ajoutez le référentiel Nginx en plaçant les informations suivantes.
echo "deb http://nginx.org/packages/mainline/ubuntu xenial nginx" | sudo tee /etc/apt/sources.list.d/nginx.list
Mettre à jour les référentiels.
sudo apt-get update
Installez Nginx à l'aide de la commande suivante.
sudo apt-get install -y nginx
Démarrez le service Nginx après l'installation.
sudo systemctl start nginx
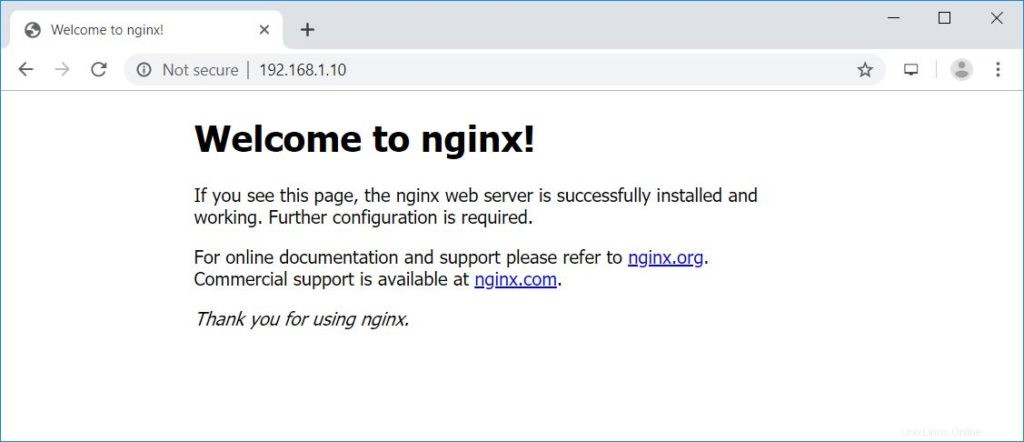
Ouvrez un navigateur Web et visitez http://votre-adresse-ip.
Vous devriez voir la page suivante, et cette page confirme que le Nginx est installé avec succès sur le serveur.
La racine de document nginx par défaut sur Ubuntu 16.04 est /usr/share/nginx/html/. Les fichiers de configuration se trouvent dans le répertoire /etc/nginx.
Installer MariaDB
Ubuntu 16.04 embarque MariaDB v10.0 qui est déjà en fin de vie. Nous allons donc installer MariaDB v10.4 à partir du référentiel officiel.
Ajoutez le référentiel MariaDB sur votre système.
sudo apt-get install -y software-properties-common

sudo apt-key adv --recv-keys --keyserver hkp://keyserver.ubuntu.com:80 0xF1656F24C74CD1D8

sudo add-apt-repository 'deb [arch=amd64,arm64,i386,ppc64el] http://nyc2.mirrors.digitalocean.com/mariadb/repo/10.4/ubuntu xenial main'

sudo apt-get update
Installez MariaDB à l'aide de la commande ci-dessous.
sudo apt-get install -y mariadb-server mariadb-client
Ensuite, sécurisez l'installation de MariaDB avec la commande mysql_secure_installation.
NOTE: RUNNING ALL PARTS OF THIS SCRIPT IS RECOMMENDED FOR ALL MariaDB
      SERVERS IN PRODUCTION USE!  PLEASE READ EACH STEP CAREFULLY!

In order to log into MariaDB to secure it, we'll need the current
password for the root user. If you've just installed MariaDB, and
haven't set the root password yet, you should just press enter here.

Enter current password for root (enter for none):  << No Password - Press Enter
OK, successfully used password, moving on...

Setting the root password or using the unix_socket ensures that nobody
can log into the MariaDB root user without the proper authorisation.

You already have your root account protected, so you can safely answer 'n'.

Switch to unix_socket authentication [Y/n] N << Disabling Unix Socket login and enabling password Login
 ... skipping.

You already have your root account protected, so you can safely answer 'n'.

Change the root password? [Y/n] Y  << Change MariaDB root password
New password:  << Enter Password
Re-enter new password:  << Re-Enter Password
Password updated successfully!
Reloading privilege tables..
 ... Success!


By default, a MariaDB installation has an anonymous user, allowing anyone
to log into MariaDB without having to have a user account created for
them.  This is intended only for testing, and to make the installation
go a bit smoother.  You should remove them before moving into a
production environment.

Remove anonymous users? [Y/n] Y  << Remove Anonymous users
 ... Success!

Normally, root should only be allowed to connect from 'localhost'.  This
ensures that someone cannot guess at the root password from the network.

Disallow root login remotely? [Y/n] Y  << Disallow root login remotely
 ... Success!

By default, MariaDB comes with a database named 'test' that anyone can
access.  This is also intended only for testing, and should be removed
before moving into a production environment.

Remove test database and access to it? [Y/n] Y  << Remove test database
 - Dropping test database...
 ... Success!
 - Removing privileges on test database...
 ... Success!

Reloading the privilege tables will ensure that all changes made so far
will take effect immediately.

Reload privilege tables now? [Y/n] Y  << Reload privilege
 ... Success!

Cleaning up...

All done!  If you've completed all of the above steps, your MariaDB
installation should now be secure.

Thanks for using MariaDB!
Installer PHP
Ensuite, installez PHP via PHP-FPM (PHP-FPM (FastCGI Process Manager), c'est une implémentation alternative de PHP FastCGI. Il a quelques fonctionnalités supplémentaires utiles pour les sites de toute taille, en particulier les sites les plus fréquentés).
Ubuntu 16.04 embarque PHP-FPM v7.0 qui est déjà en fin de vie. Nous allons donc installer PHP-FPM v7.3 à partir du référentiel Ondřej Surý.
LIRE : Comment installer PHP 7.3/7.2/7.1 sur Ubuntu 16.04
Ajoutez le référentiel.
sudo add-apt-repository ppa:ondrej/php

sudo apt-get update
Installez PHP-FPM v7.3 en utilisant la commande suivante.
sudo apt-get install -y php7.3-fpm php7.3-mysql php7.3-cli
Modifiez le fichier ci-dessous pour configurer PHP-FPM afin qu'il utilise une connexion TCP au lieu du socket Unix.
sudo nano /etc/php/7.3/fpm/pool.d/www.conf
Modifiez le paramètre d'écoute affiché comme ci-dessous.
listen = 127.0.0.1:9000
Tester la pile LAMP
Créons un hôte virtuel basé sur le nom sur le serveur Nginx pour les détails suivants.
Nom du serveur : serveur.itzgeek.local
Racine du document : /usr/share/nginx/html/server.itzgeek.local
Créez le fichier de configuration appelé virtual.conf sous le répertoire /etc/nginx/conf.d/.
sudo nano /etc/nginx/conf.d/virtual.conf
Ajoutez le contenu suivant.
server {
   server_name server.itzgeek.local;
   root /usr/share/nginx/html/server.itzgeek.local;

   location / {
       index index.html index.htm index.php;
   }

   location ~ \.php$ {
      include        /etc/nginx/fastcgi_params;
      fastcgi_pass   127.0.0.1:9000;
      fastcgi_index  index.php;
      fastcgi_param SCRIPT_FILENAME $document_root$fastcgi_script_name;
   }
}
Créez le répertoire racine du document.
sudo mkdir -p /usr/share/nginx/html/server.itzgeek.local
Pour tester le PHP, placez un fichier PHP à la racine du document de l'hôte virtuel créé.
Dans le terminal copiez/collez la ligne suivante :
echo "<?php phpinfo(); ?>" | sudo tee /usr/share/nginx/html/server.itzgeek.local/index.php
Redémarrez les services.
sudo systemctl restart nginx

sudo systemctl restart php7.3-fpm
Sur votre système client, créez une entrée d'hôte pour votre domaine (server.itzgeek.local) dans le fichier /etc/hosts au cas où votre environnement n'aurait pas de serveur DNS.
sudo nano /etc/hosts
L'entrée de l'hôte aimera ci-dessous
192.168.1.10 server.itzgeek.local
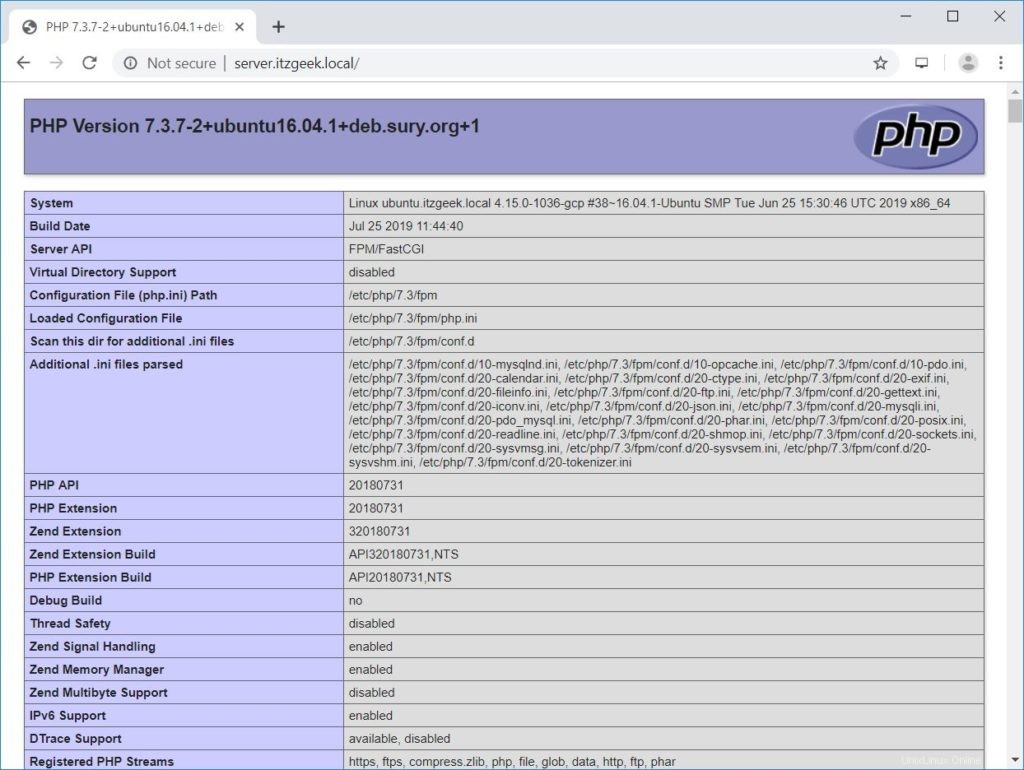
Ouvrez maintenant votre navigateur Web et saisissez votre domaine dans l'adresse Web :
http://server.itzgeek.localLa page ressemblera à ceci :
D'après la capture d'écran ci-dessus, PHP fonctionne, et il fonctionne via FPM/FastCGI, comme indiqué dans la ligne API du serveur.
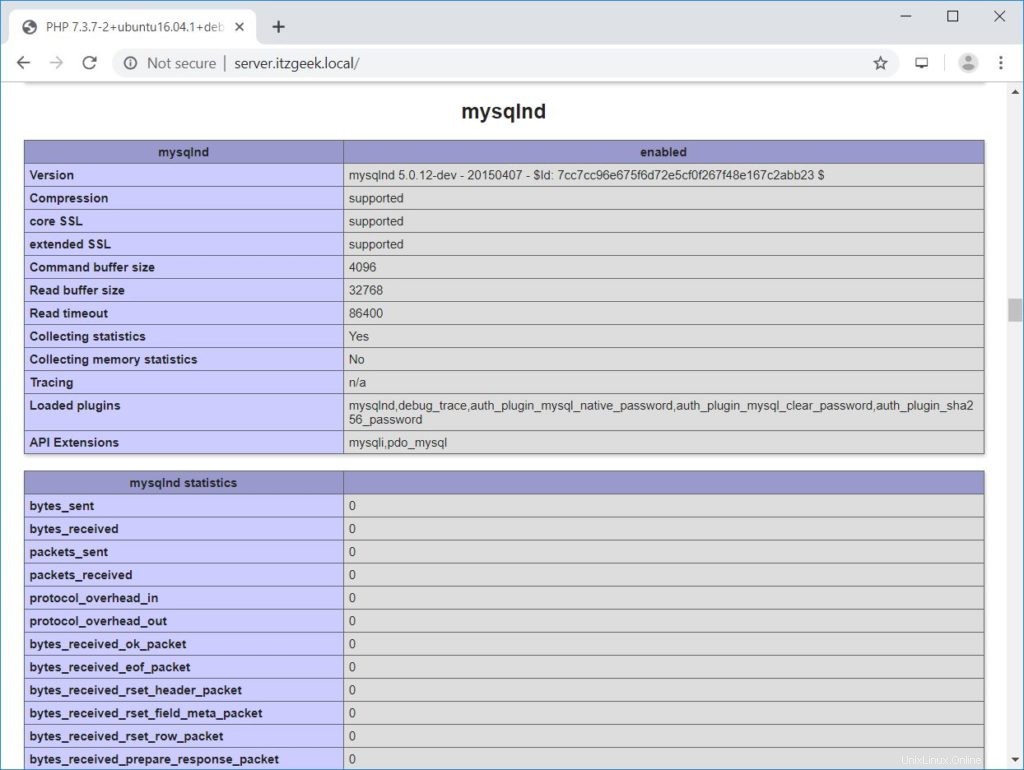
Si vous faites défiler plus bas, vous verrez tous les modules activés en PHP. La capture d'écran ci-dessous montre les informations du module MySQL.
Conclusion
C'est tout. J'espère que vous avez appris à installer LEMP Stack sur Ubuntu 16.04. Envisagez de configurer un certificat Let's Encrypt pour votre domaine afin d'améliorer la sécurité. Veuillez partager vos commentaires dans la section des commentaires.