Ceci est un "copier-coller" Comment ! La façon la plus simple de suivre ce tutoriel est d'utiliser un client en ligne de commande/client SSH (comme PuTTY pour Windows) et de simplement copier et coller les commandes (sauf si vous devez fournir vos propres informations comme les adresses IP, les noms d'hôte, les mots de passe,... ). Cela permet d'éviter les fautes de frappe.
ISP-ServerSetup -Ubuntu 5.10 "Breezy Badger"
Version 1.0
Auteur :Till Brehm
Ceci est une description détaillée des étapes à suivre pour configurer un Ubuntu basé sur un serveur (Ubuntu 5.10 - Breezy Badger) qui offre tous les services nécessaires aux FAI et aux hébergeurs (serveur Web (compatible SSL), serveur de messagerie (avec SMTP-AUTH et TLS !), serveur DNS, serveur FTP, serveur MySQL, POP3/POP3/ IMAP/IMAP, quota, pare-feu, etc.).
J'utiliserai les logiciels suivants :
- Serveur Web :Apache 2.0.x
- Serveur de messagerie :Postfix (plus facile à configurer que sendmail ; a un historique de failles de sécurité plus court que sendmail)
- Serveur DNS :BIND9
- Serveur FTP :proftpd
- POP3/POP3s/IMAP/IMAPs :dans cet exemple, vous pouvez choisir entre le format de boîte aux lettres UNIX traditionnel (nous utilisons ensuite ipopd/ uw-imapd) ou le format Maildir (dans ce cas nous utiliserons Courier-POP3/Courier-IMAP).
- Webalizer pour les statistiques de sites Web
En fin de compte, vous devriez avoir un système qui fonctionne de manière fiable et qui est prêt pour le panneau de contrôle d'hébergement Web gratuit ISPConfig (c'est-à-dire que ISPConfig s'exécute dessus à partir du boîte).
Je veux d'abord dire que ce n'est pas la seule façon de mettre en place un tel système. Il existe de nombreuses façons d'atteindre cet objectif, mais c'est la voie que je prends. Je n'émets aucune garantie que cela fonctionnera pour vous !
Exigences
Pour installer un tel système, vous aurez besoin des éléments suivants :
- Un CD d'installation d'Ubuntu (disponible ici :http://www.ubuntu.com/download/)
- Une connexion internet puisque je vais décrire une installation réseau dans ce document.
1 Système TheBase
Insérez votre CD d'installation d'Ubuntu dans votre système et démarrez à partir de celui-ci (entrez serveur à l'invite de démarrage pour installer uniquement un système de base adapté aux serveurs).
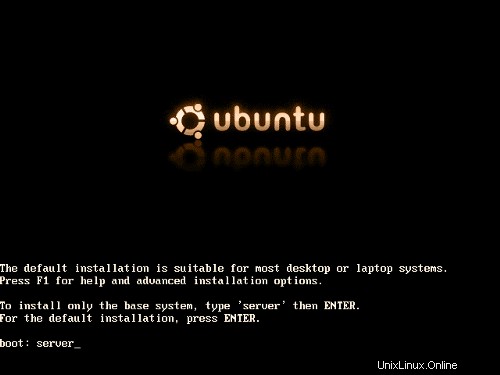
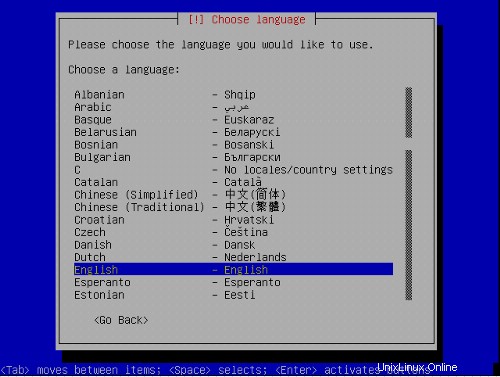
L'installation démarre, et vous devez d'abord choisir votre langue :
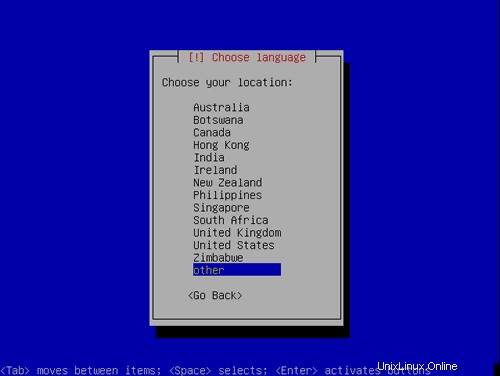
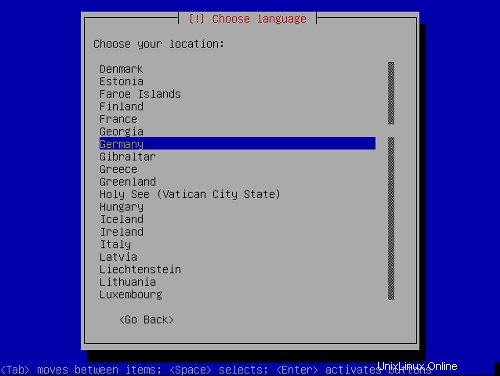
Choisissez votre emplacement :
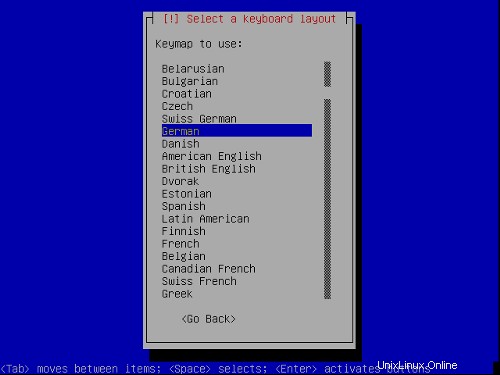
Choisissez une disposition de clavier :

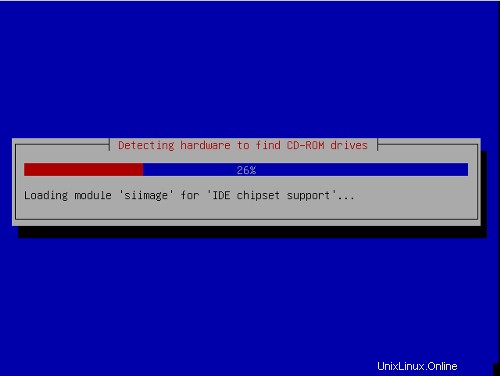
La détection du matériel commence :
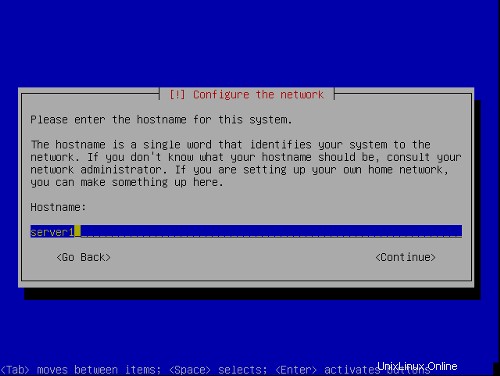
Entrez le nom d'hôte. Dans cet exemple, mon système s'appelle server1 .exemple.com , donc j'entre server1 :
Nous créons maintenant les partitions. Sélectionnez Modifier manuellement la table de partition . S'il y a déjà des partitions, supprimez-les d'abord en les sélectionnant, appuyez sur retour puis sélectionnez supprimer.

J'utiliserai le schéma de partition suivant :
/boot 50 Mo
/swap 1 Go
/ 10 Go
/var le reste du disque dur
Création d'une partition :Sélectionnez votre disque dur (dans mon cas SCSI1), appuyez sur Entrée, puis :

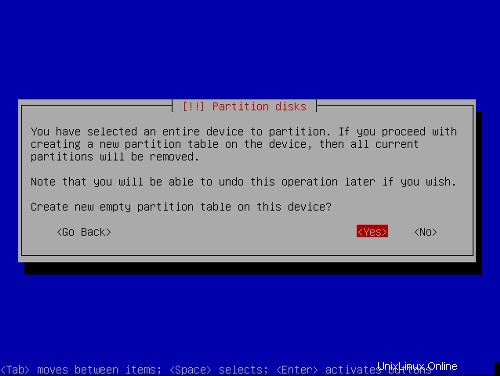
Création d'une table de partition :sélectionnez ESPACE LIBRE , appuyez sur Entrée, puis :

1) Sélectionnez Créer une nouvelle partition .
2) Saisissez la taille de la partition. Les valeurs peuvent être saisies en Mo et Go ou en pourcentage (%)
3) Sélectionnez le type de partition :primaire
4) Sélectionnez l'emplacement de la partition :début
5) Changer Utiliser comme :J'utiliserai EXT3 pour toutes les partitions sauf la partition de swap, qui est de type swap.
6) Changement :Sélectionnez le point de montage
7) Sélectionnez Configuration de la partition terminée
Répétez ceci pour toutes les partitions de la table de partition ci-dessus.
Maintenant, votre table de partition devrait ressembler à ceci :
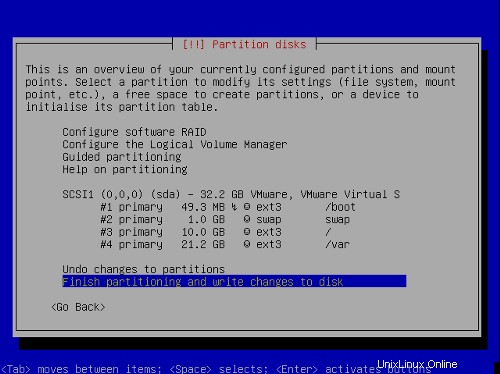
Sélectionnez Terminer le partitionnement et écrire les modifications sur le disque , puis Oui , pour passer à l'étape suivante.
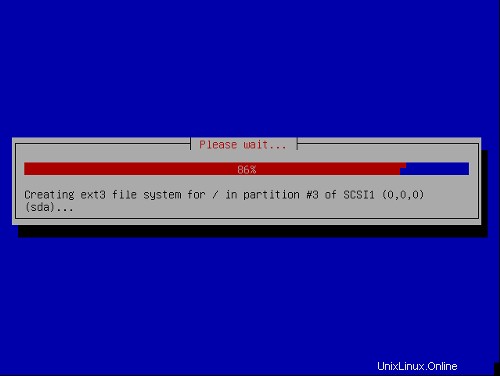
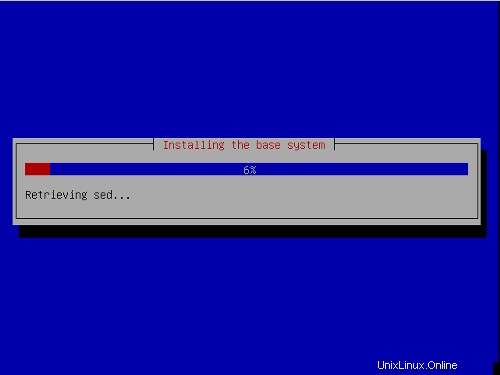
Maintenant, le système de base est en cours d'installation :
Configurez votre fuseau horaire :

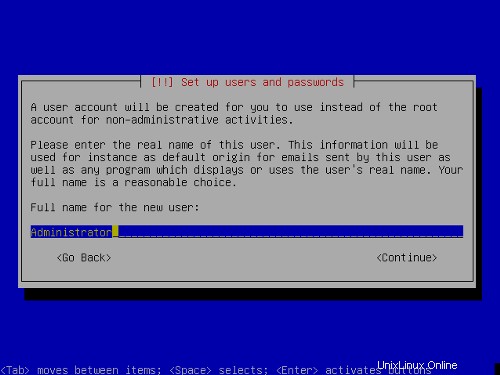
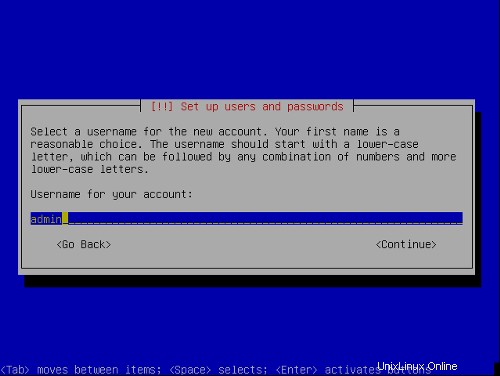
Configurer un utilisateur :

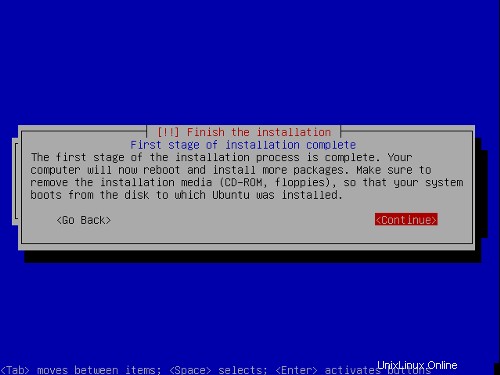
La première étape du processus d'installation est terminée et le serveur démarre dans le Linux Ubuntu installé.
2 Installation et configuration du reste du système
Activer l'utilisateur racine
Maintenant, je peux me connecter avec le nom d'utilisateur et le mot de passe que j'ai saisis ci-dessus. J'active d'abord l'utilisateur root pour faciliter l'installation. Vous pouvez le désactiver plus tard si vous le souhaitez.
racine sudopasswd
su
Nous sommes maintenant connectés en tant qu'utilisateur root.
Configurer TheNetwork
Parce que l'installateur Ubuntu a configuré notre système pour obtenir ses paramètres réseau via DHCP, nous devons changer cela maintenant car un serveur doit avoir une adresse IP statique . Modifier/etc/network/interfaces et ajustez-le à vos besoins (dans cet exemple de configuration, j'utiliserai l'adresse IP 192.168.0.100 ):
# This file describes the network interfaces available on your system |
Si vous souhaitez ajouter l'adresse IP 192.168.0.101 à l'interface eth0 vous devez modifier le fichier pour qu'il ressemble à ceci :
# This file describes the network interfaces available on your system |
Puis redémarrez votre réseau :
/etc/init.d/networkingrestart
Modifier /etc/hosts et ajoutez vos nouvelles adresses IP :
127.0.0.1 localhost.localdomain localhost server1 |
Définition du nom d'hôte
echo server1.example.com> /etc/hostname
/bin/hostname -F /etc/hostname
Modifiez /etc/apt/sources.listEt mettez à jour votre installation Linux
Modifier /etc/apt/sources.list .Il devrait ressembler à ceci :
# deb cdrom:[Ubuntu 5.10 _Breezy Badger_ - Release i386 (20051012)]/ breezy main restricted |
apt-get update
apt-get upgrade
Démon InstallSSH
apt-get install sshopenssh-server
Installer/Supprimer certains logiciels
Installons maintenant quelques logiciels dont nous aurons besoin plus tard et supprimons certains packages dont nous n'avons pas besoin :
apt-get install binutilscpp cpp-4.0 fetchmail flex gcc gcc-4.0 libarchive-zip-perl libc6-dev libcompress-zlib-perllibdb4.3 -dev libpcre3 libpopt-dev linux-kernel-headers lynx m4 make ncftp nmapopenssl perl perl-modules unzip zip zlib1g-dev autoconf automake1.9 libtoolbison autotools-dev cpp g++ (in1 Line !!)
Quota
quota d'installation apt-get
Modifier /etc/fstab pour ressembler à ceci (j'ai ajouté ,usrquota,grpquota aux partitions avec le point de montage / et /var ):
# /etc/fstab: static file system information. |
Ensuite, exécutez :
toucher /quota.user /quota.group
chmod 600 /quota.*
mount -o remount /
appuyez sur /var/quota.user /var/quota.group
chmod 600 /var/quota.*
mount -o remount /var
quotacheck -avugm
quotaon -avug
Serveur DNS
apt-getinstall bind9
Pour des raisons de sécurité, nous souhaitons exécuter BIND chrooté, nous devons donc suivre les étapes suivantes :
/etc/init.d/bind9 stop
Modifier le fichier /etc/default/bind9 afin que le démon s'exécute en tant qu'utilisateur non privilégié 'bind ', chrooté sur /var/lib/named .Modifiez la ligne :OPTS=" -ubind " pour qu'il affiche OPTIONS="-u bind-t /var/lib/named" :
OPTIONS="-u bind -t /var/lib/named" |
Créez les répertoires nécessaires sous /var/lib :
mkdir -p /var/lib/named/etc
mkdir /var/lib/named/dev
mkdir -p /var/lib/named/var/cache/bind
mkdir -p /var/lib/named/var/run/bind/run
Ensuite, déplacez le répertoire de configuration de /etc à /var/lib/named/etc :
mv /etc/bind /var/lib/named/etc
Créez un lien symbolique vers le nouveau répertoire de configuration à partir de l'ancien emplacement (pour éviter les problèmes lors de la mise à jour future de bindis) :
ln -s /var/lib/named/etc/bind/etc/bind
Rendez les périphériques nuls et aléatoires, et corrigez les autorisations des répertoires :
mknod /var/lib/named/dev/nullc 1 3
mknod /var/lib/named/dev /random c 1 8
chmod 666 /var/lib/named/dev/null /var/lib/named/dev/random
chown -R bind:bind /var/lib/named/var/ *
chown -R bind:bind /var/lib/named/etc/bind
Nous devons modifier le script de démarrage /etc/init.d/ sysklogd de sysklogd afin que nous puissions toujours obtenir des messages importants enregistrés dans les journaux système. Modifiez la ligne : SYSLOGD="-u syslog" de sorte qu'il indique :SYSLOGD="-u syslog -a /var/lib/named/dev/log" :
#! /bin/sh |
Redémarrez le démon de journalisation :
/etc/init.d/sysklogd restart
Démarrez BIND et vérifiez /var/log/syslog pour toute erreur :
/etc/init.d/bind9 start
MySQL
apt-getinstall mysql-server mysql-client libmysqlclient12-dev
mysqladmin -u root passwordyourrootsqlpassword
mysqladmin -h server1.example.com -u root password votrerootsqlpassword
Lorsque vous exécutez netstat-tap vous devriez maintenant voir une ligne comme celle-ci :
tcp 0 0 localhost.localdo:mysql *:* LISTEN 2449/mysqld |
ce qui signifie que MySQL est accessible sur le port 3306. Vous pouvez passer à la section suivante (Postfix). Si vous ne voyez pas cette ligne, modifiez /etc/mysql/my.cnf et commentez ignorer le réseau :
# skip-networking |
Si vous deviez modifier/etc/mysql/my.cnf vous devez redémarrer MySQL :
/etc/init.d/mysql restart
Suffixe
Pour installer Postfix avec SMTP-AUTH et TLS, procédez comme suit :
apt-get install postfixpostfix-tls libsasl2 sasl2-bin libsasl2-modules libdb3-util procmail (1 ligne !)
dpkg-reconfigurepostfix
<- Site Internet
<- AUCUN
<- server1.example.com
<- serveur1.exemple.com, hôte local.exemple.com, hôte local
<- Non
<- 127.0.0.0/8
<- 0
<- +
postconf -e 'smtpd_sasl_local_domain='
postconf -e 'smtpd_sasl_auth_enable =yes'
postconf -e 'smtpd_sasl_security_options =noanonymous'
postconf -e 'broken_sasl_auth_clients =yes'
postconf -e 'smtpd_recipient_restrictions =permit_sasl_authenticated,permit_mynetworks,reject_unauth_destination'
postconf -e 'inet_interfaces =all'
echo 'pwcheck_method :saslauthd'>> /etc/postfix/sasl/smtpd.conf
echo 'mech_list:plain login'>> /etc/postfix/sasl/smtpd.conf
mkdir /etc/postfix/ssl
cd /etc/postfix/ssl/
openssl genrsa - des3 -rand /etc/hosts -out smtpd.key 1024
chmod 600 smtpd.key
openssl req -new -key smtpd.key -out smtpd.csr
openssl x509 -req -days 3650 -in smtpd.csr -signkey smtpd.key -out smtpd.crt
openssl rsa -in smtpd.key -out smtpd.key.unencrypted
mv -f smtpd.key.unencrypted smtpd.key
openssl req -new -x509 -extensions v3_ca -keyout cakey.pem -out cacert.pem -days3650
postconf -e 'smtpd_tls_auth_only=no'
postconf -e 'smtp_use_tls =yes'
postconf - e 'smtpd_use_tls =yes'
postconf -e 'smtp_tls_note_starttls_offer =yes'
postconf -e 'smtpd_tls_key_file =/etc/postfix/ssl/smtpd.key'
postconf -e 'smtpd_tls_cert_file =/ etc/postfix/ssl/smtpd.crt'
postconf -e 'smtpd_tls_CAfile =/etc/postfix/ssl/cacert.pem'
postconf -e 'smtpd_tls_loglevel =1'
postconf -e 'smtpd_tls_received_header =yes'
postconf -e 'smtpd_tls_session_cache_timeout =3600s'
postconf -e 'tls_random_source =dev:/dev/urandom'
postconf -e 'myhostname =server1.example.com'
Le fichier /etc/postfix/main.cf devrait maintenant ressembler à ceci :
# See /usr/share/postfix/main.cf.dist for a commented, more complete version |
/etc/init.d/postfixrestart
L'authentification sera effectuée par saslauthd .Nous devons changer quelques éléments pour que cela fonctionne correctement. Parce que Postfix s'exécute dans /var/spool/postfix nous devons faire ce qui suit :
mkdir -p /var/spool/postfix/var/run/saslauthd
rm -fr /var/run/saslauthd
Nous devons maintenant éditer /etc/default/saslauthd afin d'activer saslauthd .Remove # in front of START=yes and add the line PARAMS="-m/var/spool/postfix/var/run/saslauthd" :
# This needs to be uncommented before saslauthd will be run automatically |
Finally we haveto edit /etc/init.d/saslauthd .Change the line
dir=`dpkg-statoverride --list $PWDIR` |
to
#dir=`dpkg-statoverride --list $PWDIR` |
Then change thevariables PWDIR and PIDFILE and add the variable dir at the beginning of the file:
PWDIR="/var/spool/postfix/var/run/${NAME}" |
/etc/init.d/saslauthd should now looklike this:
#!/bin/sh -e |
Now start saslauthd :
/etc/init.d/saslauthd start
To see if SMTP-AUTHand TLS work properly now run the following command:
telnetlocalhost 25
After you haveestablished the connection to your postfix mail server type
ehlolocalhost
If you see thelines
250-STARTTLS
and
250-AUTH
everything is fine.

Type
quit
to return to thesystem's shell.
Courier-IMAP/Courier-POP3
Install Courier-IMAP/Courier-IMAP-SSL(for IMAPs on port 993) and Courier-POP3/Courier-POP3-SSL (for POP3s on port995).
apt-get install courier-authdaemoncourier-base courier-imap courier-imap-ssl courier-pop courier-pop-ssl courier-sslgamin libgamin0 libglib2.0-0 (oneline!)
<- No
<- OK
Then configurePostfix to deliver emails to a user's Maildir:
postconf -e 'home_mailbox=Maildir/'
postconf -e 'mailbox_command ='
/etc/init.d/postfix restart
Please go sureto enable Maildir underManagement -> Settings -> EMail in the ISPConfig web interface.
Apache
Run
apt-get install apache2apache2-common apache2-doc apache2-mpm-prefork apache2-utils libapr0 libexpat1ssl-cert (1line!)
apt-get install autoconf automake1.4 autotools-dev libapache2-mod-php4 libkrb53php4 php4-common php4-dev php4-imagick php4-mcrypt php4-rrdtool php4-sqlitephp4-curl php4-domxml php4-gd php4-imap php4-ldap php4-mcal php4-mhash php4-mysqlphp4-odbc php4-pear php4-xslt (1 line!)
<- Yes
Edit /etc/apache2/apache2.conf . Change
DirectoryIndex index.html index.cgi index.pl index.php index.xhtml |
to
DirectoryIndex index.html index.htm index.shtml index.cgi index.php index.php3 index.pl index.xhtml |
Edit /etc/mime.types and comment out the following lines:
#application/x-httpd-php phtml pht php |
Edit /etc/apache2/mods-enabled/php4.conf and comment out the following lines:
<IfModule mod_php4.c> |
Edit /etc/apache2/ports.conf and add Listen 443 :
Listen 80 |
Now we have toenable some Apache modules (SSL , rewrite and suexec ):
a2enmod ssl
a2enmod rewrite
a2enmod suexec
a2enmod include
Reload Apacheconfiguration:
/etc/init.d/apache2force-reload
Proftpd
apt-getinstall proftpd proftpd-common ucf
<- standalone
For security reasonsyou can add the following lines to /etc/proftpd.conf (thanks to Reinaldo Carvalho; more information can be found here:http://proftpd.linux.co.uk/localsite/Userguide/linked/userguide.html):
DefaultRoot ~
IdentLookups off
ServerIdent on "FTP Server ready."
and restart Proftpd:
/etc/init.d/proftpd restart
Webalizer
apt-getinstall webalizer
Install somePerl Modules needed by SpamAssassin (comes with ISPConfig)
apt-get installlibhtml-parser-perl libdb-file-lock-perl libnet-dns-perl
On To TheNext Step...
The configurationof the server is now finished, and we go on by installing ISPConfigon it.
3 Installing ISPConfig
I will installthe current ISPConfig version. Download the current ISPConfig version from http://www.ispconfig.org/downloads.htmto your /tmp directory.
Unpack the ISPConfig-archiveand change to the directory install_ispconfig :
tarxvfz ISPConfig*.tar.gz
cd install_ispconfig
Start the setupscript
./setup
The installer willnow compile an Apache with PHP5 that will run on port 81 and is needed by theISPConfig system itself. It will not interfere with your existing Apache installationso you can go on unworried.
When the ISPConfigApache is built, a custom SSL certificate is built. Therefore you are askeda few questions. You can accept the default values, or you can enter new valuesthere, this does not matter:
In step 7 (EncryptingRSA private key of CA with a pass phrase for security [ca.key] ) andstep 8 (Encrypting RSA private keyof SERVER with a pass phrase for security [server.key] ) of the certificatecreation process you are asked if you want to encrypt the respective key now.Choose n there becauseotherwise you will always be asked for a password whenever you want to restartthe ISPConfig system which means it cannot be restarted without human interaction!
If the compilationfails, the setup is stopped and all compiled files are removed. From the errormessage you get you should be able to see the reason for the failure (in mostcases a package (like the MySQL header files) is missing). Try to solve theproblem and the re-run ./setup .
In case of successthe setup goes on:
Pleasechoose your language. This is the language of the ISPConfig interface.
Afterwards youare shown the ISPConfig licence (BSD licence). Please read it carefully! Youaccept it by typing y .If you do not want to accept the ISPConfig licence, type n ,and the installation routine stops.
As installation mode I chose expert becausei want to set the website root to /var/www .When you are asked for installation mode, type 2 and hit return.
Now you are askif the daemons like postfix etc. are recognized correctly and for their filelocations, chose yes y .
When you are asked:
Web-Root:/home/www
Is this correct? [y/n]
choose n and enter /var/www as Web-Root.
Now you are askedfor some installation settings:
Pleaseenter your MySQL server: localhost
Please enter your MySQL user: root
Please enter your MySQL password: (Enter the password you chose when setting up the MySQL Server)
Please enter a name for the ISPConfigdatabase (e.g. db_ispconfig): db_ispconfig
Please enter the IP addressof the ISPConfig web (e.g. 192.168.0.1): 192.168.0.100 (Enteryour IP here)
Now you are askto enter the host and domain of your server. If your server has a host and domainname,enter them now. As this is a test install in my local network, I leave the hostempty and enter my IP address instead of the domain.
Pleaseenter the host name (e.g. www):
Please enter the domain (e.g.xyz.de): 192.169.0.100
Pleaseselect the protocol (http or https (SSL encryption)) to use to access the ISPConfigsystem:
1) HTTPS
2) HTTP
Your Choice: 1
After you haveanswered the questions ISPConfig should be duly installed. If you indicated www as host and xyz.com as the domain during the installation, you will find the ISPConfig interfaceunder https://www.xyz.de:81 or http://www.xyz.de:81 .Here you can login first with the user name admin and password admin . Itis recommended to change the password immediately! This can be done in the ISPConfigweb interface under Tools -> Changepassword .
Then go to Management-> Server -> Settings in the ISPConfig control panel and tickthe Maildir checkbox onthe EMail tab.
If your serverhas more than one IP address, please check if your additional IP addresses havebeen correctly detected by the installation routine under Management-> Server ->
Settings on the tab Server-> IP List .
You can find thewhole ISPConfig installation instructions here:http://www.ispconfig.org/manual_installation.htm
The ISPConfig manualscan be found here:http://www.ispconfig.org/documentation.htm
Links
- http://www.ubuntu.com
- http://www.ispconfig.org