Aujourd'hui, vous apprendrez comment installer FileRun sur Ubuntu 20.04
FichierExécuter est une alternative auto-hébergée à Google Drive. Il s'agit d'un gestionnaire de fichiers Web complet avec une interface utilisateur facile à utiliser. Il est idéal pour gérer votre photo, film, collection audio ou partager des fichiers avec votre famille et vos amis.
FichierExécuter est une synchronisation et un partage de fichiers de bureau de gestion de fichiers fiable et performant
Il fonctionne parfaitement sur n'importe quel serveur, y compris les comptes d'hébergement ou les petits appareils comme Raspberry Pi. Accédez à vos fichiers depuis n'importe où (bureau, application mobile ou navigateur).
Installation
Suivez simplement les étapes ci-dessous pour commencer avec fileRun
- Mettre à jour et mettre à niveau vos packages système
sudo apt update && sudo apt upgrade- Installer le serveur LAMP (pile LAMP).
- Installez les modules php comme suit :
sudo apt install php-gd php-json php-mbstring php-mysqli php-xmlrpc php libapache2-mod-php php-common php-mbstring php-xmlrpc php-soap php-gd php-xml php-intl php libapache2-mod-php php-mysql php-mysql wget unzip php-cli php-zip php-curl -y- Vous devez également installer ionCube Module Loader pour PHP, vous pouvez suivre les étapes de ce guide ci-dessous pour l'installer
Comment installer ionCube Loader dans Ubuntu
- Installez le serveur Web apache et la base de données maria comme indiqué ci-dessous :
sudo apt install apache2 mariadb-server-10.3 -y- Démarrez et activez apache et mariadb.
systemctl start apache2 mariadb
systemctl enable apache2 mariadb
systemctl status apache2 mariadb- Configurez et sécurisez MariaDB comme suit :
mysql_secure_installation

NOTE: RUNNING ALL PARTS OF THIS SCRIPT IS RECOMMENDED FOR ALL MariaDB
      SERVERS IN PRODUCTION USE!  PLEASE READ EACH STEP CAREFULLY!

In order to log into MariaDB to secure it, we'll need the current
password for the root user.  If you've just installed MariaDB, and
you haven't set the root password yet, the password will be blank,
so you should just press enter here.

Enter current password for root (enter for none):
OK, successfully used password, moving on...

Setting the root password ensures that nobody can log into the MariaDB
root user without the proper authorisation.

Set root password? [Y/n] y
New password:
Re-enter new password:
Password updated successfully!
Reloading privilege tables..
 ... Success!


By default, a MariaDB installation has an anonymous user, allowing anyone
to log into MariaDB without having to have a user account created for
them.  This is intended only for testing, and to make the installation
go a bit smoother.  You should remove them before moving into a
production environment.

Remove anonymous users? [Y/n] y
 ... Success!

Normally, root should only be allowed to connect from 'localhost'.  This
ensures that someone cannot guess at the root password from the network.

Disallow root login remotely? [Y/n] y
 ... Success!

By default, MariaDB comes with a database named 'test' that anyone can
access.  This is also intended only for testing, and should be removed
before moving into a production environment.

Remove test database and access to it? [Y/n] y
 - Dropping test database...
 ... Success!
 - Removing privileges on test database...
 ... Success!

Reloading the privilege tables will ensure that all changes made so far
will take effect immediately.

Reload privilege tables now? [Y/n] y
 ... Success!

Cleaning up...

All done!  If you've completed all of the above steps, your MariaDB
installation should now be secure.

Thanks for using MariaDB!- Connectez-vous au shell MariaDB :
mysql -u root -pCREATE DATABASE filerun_db;
CREATE USER 'filerun_user'@'localhost' IDENTIFIED BY 'your_password';
GRANT ALL PRIVILEGES ON `filerun_db`.* TO 'filerun_user'@'localhost';
FLUSH PRIVILEGES;- Télécharger la dernière version de filerun avec la commande suivante :
wget -O FileRun.zip https://filerun.com/download-latest- décompressez le fichier téléchargé à l'aide de la commande suivante :
unzip FileRun.zip -d /var/www/html/filerun/- Modifiez les autorisations de certains dossiers comme suit :
chown -R www-data:www-data /var/www/html/filerun
chmod -R 755 /var/www/html/filerun- Créer un fichier de configuration PHP pour FileRun
vim /etc/php/7.4/apache2/conf.d/filerun.iniAjoutez ensuite la configuration suivante :
expose_php = Off
error_reporting = E_ALL & ~E_NOTICE
display_errors = Off
display_startup_errors = Off
log_errors = On
ignore_repeated_errors = Off
allow_url_fopen = On
allow_url_include = Off
variables_order = "GPCS"
allow_webdav_methods = On
memory_limit = 128M
max_execution_time = 300
output_buffering = Off
output_handler = ""
zlib.output_compression = Off
zlib.output_handler = ""
safe_mode = Off
register_globals = Off
magic_quotes_gpc = Off
upload_max_filesize = 20M
post_max_size = 20M
enable_dl = Off
disable_functions = ""
disable_classes = ""
session.save_handler = files
session.use_cookies = 1
session.use_only_cookies = 1
session.auto_start = 0
session.cookie_lifetime = 0
session.cookie_httponly = 1
date.timezone = "UTC"- Enregistrez et fermez le fichier.
- Redémarrez Apache.
sudo systemctl reload apache2Créez également un fichier de configuration d'hôte virtuel Apache pour FileRun .
vim /etc/apache2/sites-available/filerun.confAjoutez ensuite l'hôte virtuel suivant comme suit
<VirtualHost *:80>
        ServerName filerun.unixcop.com.com

        DocumentRoot /var/www/html/filerun

        <Directory "/var/www/html/filerun">
                Options Indexes FollowSymLinks
                AllowOverride All
                Require all granted
        </Directory>

        ErrorLog ${APACHE_LOG_DIR}/filerun.error.log
        CustomLog ${APACHE_LOG_DIR}/filerun.access.log combined
</VirtualHost>- Enregistrez et fermez le fichier puis redémarrez Apache avec les commandes ci-dessous :
sudo a2ensite filerun.conf
sudo a2enmod rewrite
sudo systemctl restart apache2- Ouvrez les ports 80 et 443 sur le pare-feu pour autoriser le trafic HTTP et HTTPS :
sudo ufw allow 80/tcp
sudo ufw allow 443/tcp
sudo ufw reload- Accéder à FileRun Interface Web en ouvrant votre navigateur Web et accédez-y à l'aide de l'URL https://filerun.unixcop.com
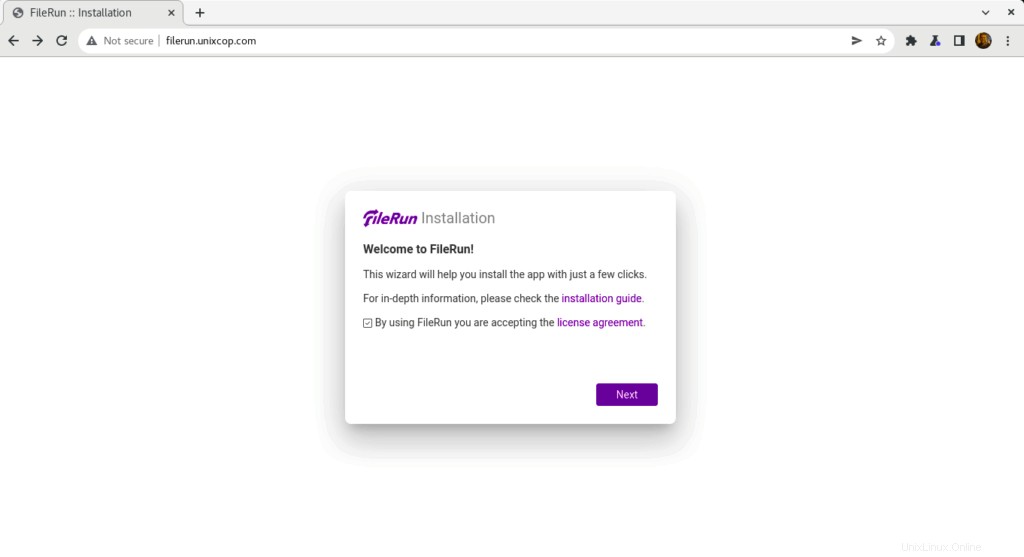
- Vous devriez voir ci-dessous, cliquez sur Suivant pour commencer avec le FileRun mise en place
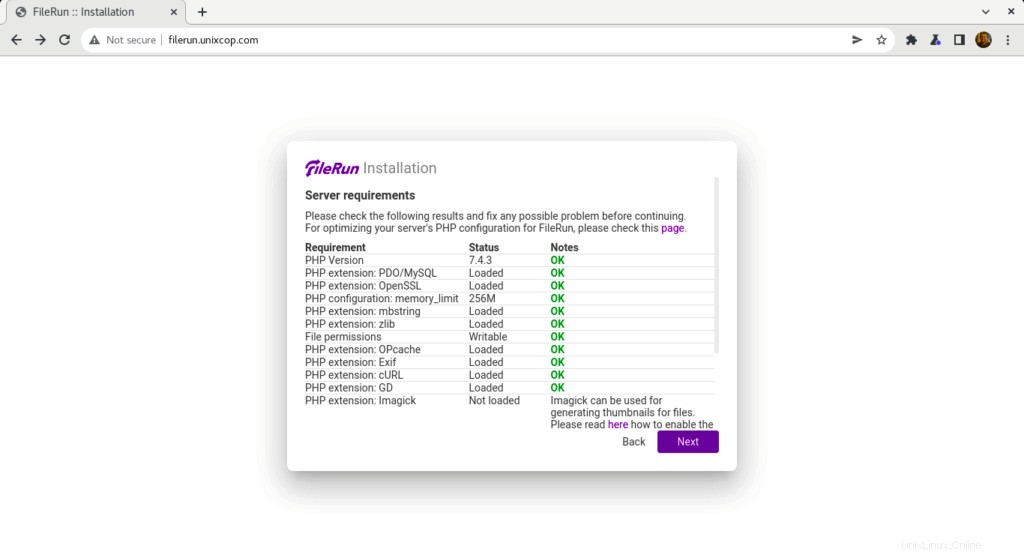
- FileRun vérifiera les exigences du serveur pour continuer l'installation comme indiqué ci-dessous
- Entrez vos informations de connexion à la base de données que nous avons créées auparavant, puis cliquez sur Suivant .

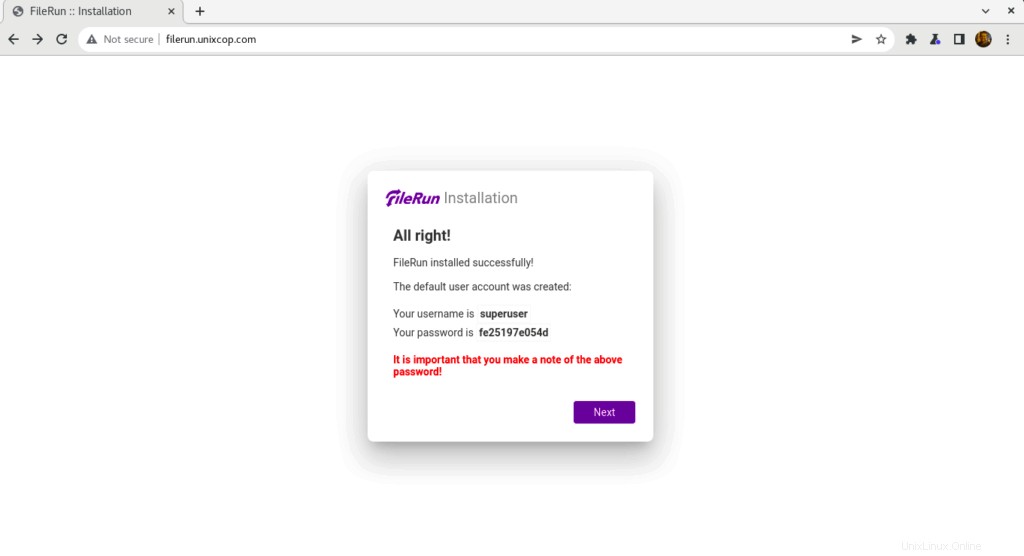
- L'utilisateur par défaut pour FileRun a été créé et vous devez noter ces informations d'identification pour pouvoir vous connecter à filerun
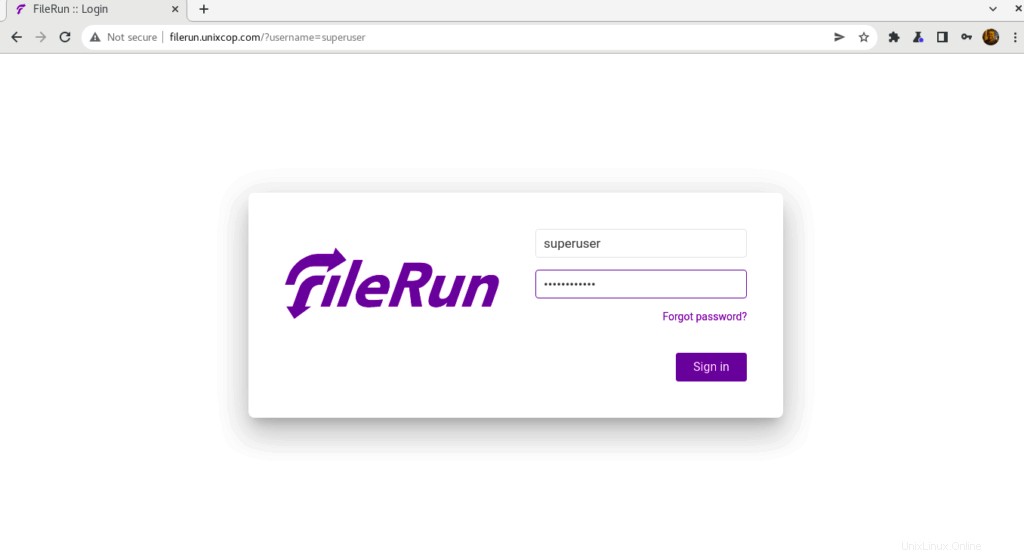
- Utilisez les informations d'identification comme indiqué ci-dessus dans la capture d'écran pour vous connecter à Filerun comme indiqué ci-dessous
- Vous serez dirigé vers le tableau de bord de FileRun
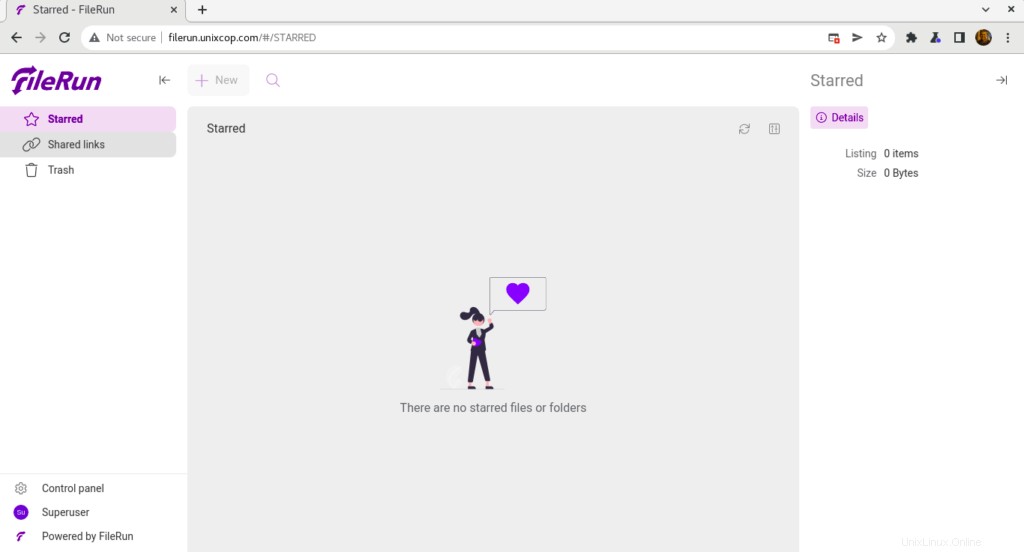
Toutes nos félicitations! Vous avez installé FileRun avec succès.
Conclusion
Voilà
Dans ce guide, nous vous avons montré comment installer FileRun sur Ubuntu 20.04
merci