Dans ce guide d'installation, nous allons vous montrer comment installer InvoicePlane sur les systèmes Ubuntu
Plan de facturation est une application open source auto-hébergée pour gérer vos devis, factures, clients et paiements.
Il est spécialement conçu pour les propriétaires d'entreprise pour créer et gérer leurs factures et paiements clients.
Installer InvoicePlane
Suivez simplement les étapes ci-dessous :
- Installer le serveur LAMP.
- Installez les modules php.
apt install php-gd php-json php-mbstring php-mysqli php-xmlrpc php libapache2-mod-php php-common php-mbstring php-xmlrpc php-soap php-gd php-xml php-intl php libapache2-mod-php php-mysql php-mysql wget unzip php-cli php-zip php-curl -y- Installez le serveur Web apache et la base de données maria comme indiqué ci-dessous :
apt install apache2
apt install mariadb-server-10.3- Démarrez et activez apache et mariadb.
systemctl start apache2 mariadb
systemctl enable apache2 mariadb
systemctl status apache2 mariadb- Configurez et sécurisez MariaDB comme suit :
mysql_secure_installation

NOTE: RUNNING ALL PARTS OF THIS SCRIPT IS RECOMMENDED FOR ALL MariaDB
      SERVERS IN PRODUCTION USE!  PLEASE READ EACH STEP CAREFULLY!

In order to log into MariaDB to secure it, we'll need the current
password for the root user.  If you've just installed MariaDB, and
you haven't set the root password yet, the password will be blank,
so you should just press enter here.

Enter current password for root (enter for none):
OK, successfully used password, moving on...

Setting the root password ensures that nobody can log into the MariaDB
root user without the proper authorisation.

Set root password? [Y/n] y
New password:
Re-enter new password:
Password updated successfully!
Reloading privilege tables..
 ... Success!


By default, a MariaDB installation has an anonymous user, allowing anyone
to log into MariaDB without having to have a user account created for
them.  This is intended only for testing, and to make the installation
go a bit smoother.  You should remove them before moving into a
production environment.

Remove anonymous users? [Y/n] y
 ... Success!

Normally, root should only be allowed to connect from 'localhost'.  This
ensures that someone cannot guess at the root password from the network.

Disallow root login remotely? [Y/n] y
 ... Success!

By default, MariaDB comes with a database named 'test' that anyone can
access.  This is also intended only for testing, and should be removed
before moving into a production environment.

Remove test database and access to it? [Y/n] y
 - Dropping test database...
 ... Success!
 - Removing privileges on test database...
 ... Success!

Reloading the privilege tables will ensure that all changes made so far
will take effect immediately.

Reload privilege tables now? [Y/n] y
 ... Success!

Cleaning up...

All done!  If you've completed all of the above steps, your MariaDB
installation should now be secure.

Thanks for using MariaDB!- Connectez-vous au shell MariaDB :
mysql -u root -pCREATE DATABASE invplane_db;
CREATE USER 'invplane'@'localhost' IDENTIFIED BY 'password';
GRANT ALL PRIVILEGES ON invplane_db.* TO 'invplane'@'localhost';
FLUSH PRIVILEGES;
EXIT- Télécharger la dernière version de InvoicePlane avec la commande suivante :
wget -c -O v1.5.11.zip https://invoiceplane.com/download/v1.5.11- Décompressez le fichier téléchargé.
mkdir /var/www/html/invoiceplane
unzip v1.5.11.zip -d /var/www/html/invoiceplane- Changez le répertoire vers le plan de facturation et copiez les fichiers requis dans le répertoire racine d'Apache
cd /var/www/html/invoiceplane
sudo cp ipconfig.php.example ipconfig.php
sudo cp htaccess .htaccess- Définir les autorisations appropriées pour le plan de facturation répertoire :
sudo chown -R www-data:www-data /var/www/html/invoiceplane/
sudo chmod -R 755 /var/www/html/invoiceplane/
find /var/www/html/invoiceplane/ -type f -exec chmod -v 0644 '{}' \;- Créer un fichier d'hôte virtuel Apache pour InvoicePlane
vim /etc/apache2/sites-available/invoiceplane.conf- Ensuite, ajoutez ce qui suit
<VirtualHost *:80>
     ServerAdmin [email protected]
     DocumentRoot /var/www/html/invoiceplane
     ServerName example.com

     <Directory /var/www/html/invoiceplane/>
          Options +FollowSymlinks
          AllowOverride All
          Require all granted
     </Directory>

     ErrorLog ${APACHE_LOG_DIR}/error.log
     CustomLog ${APACHE_LOG_DIR}/access.log combined

</VirtualHost>- Activer le fichier d'hôte virtuel apache et le module de réécriture
sudo a2ensite invoiceplane.conf
sudo a2enmod rewrite- Redémarrez le service Apache pour appliquer toutes les modifications
systemctl restart apache2- Accédez à InvoicePlane en ouvrant votre navigateur Web et saisissez l'URL http://example.com OU http://IP_Address/invoiceplane/index.php/welcome
Vous serez dirigé comme suit :
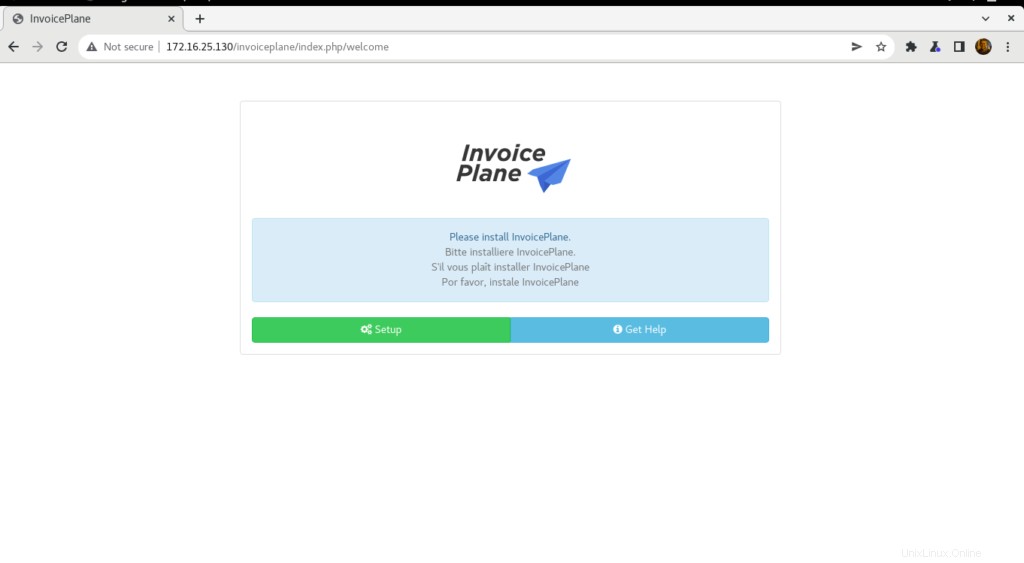
- Cliquez sur Configuration puis choisissez une langue puis cliquez sur Continuer
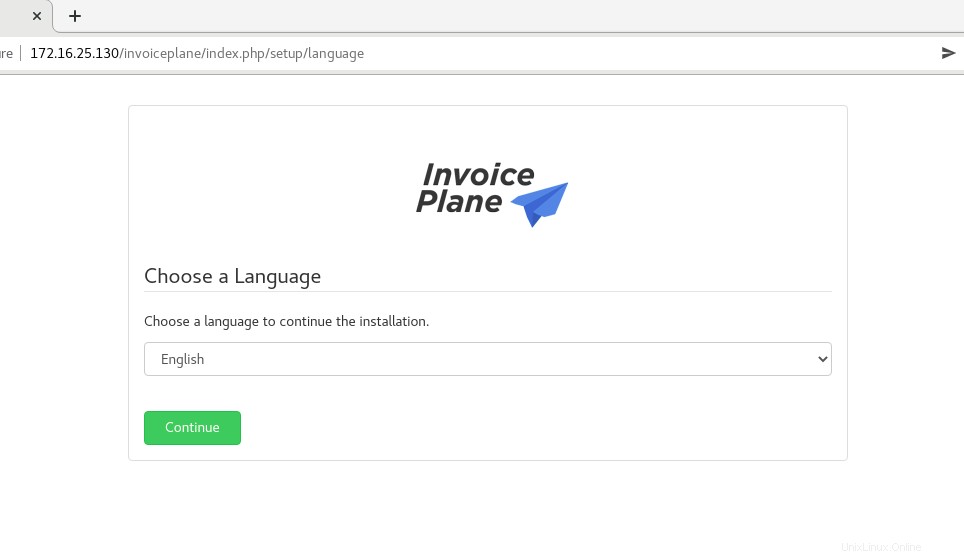
- Ensuite, cliquez sur Continuer
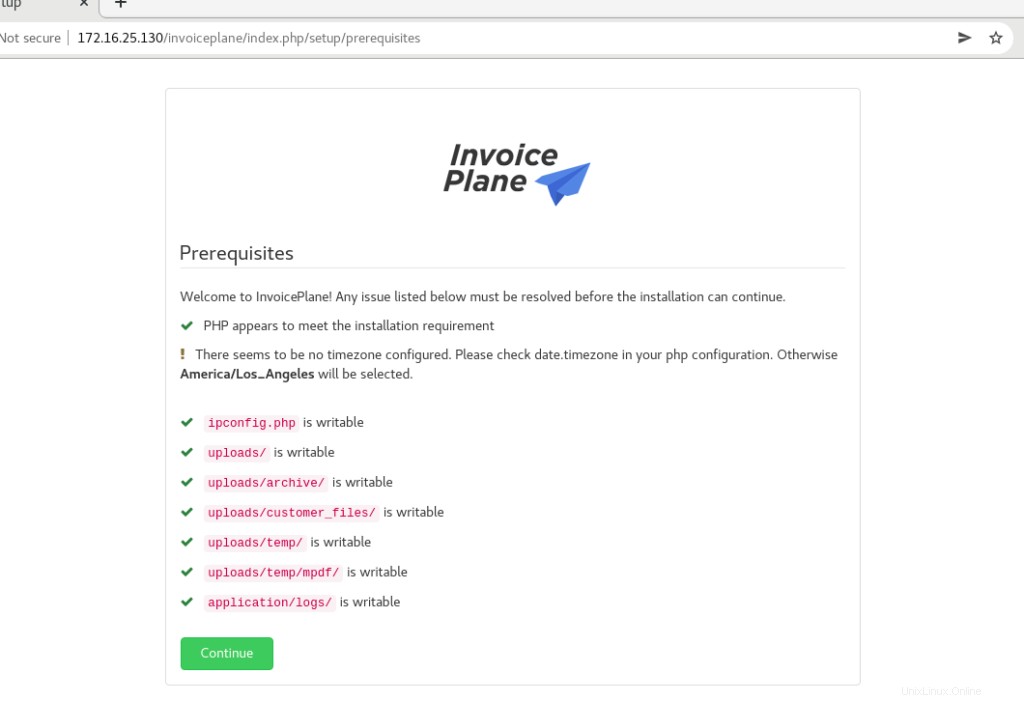
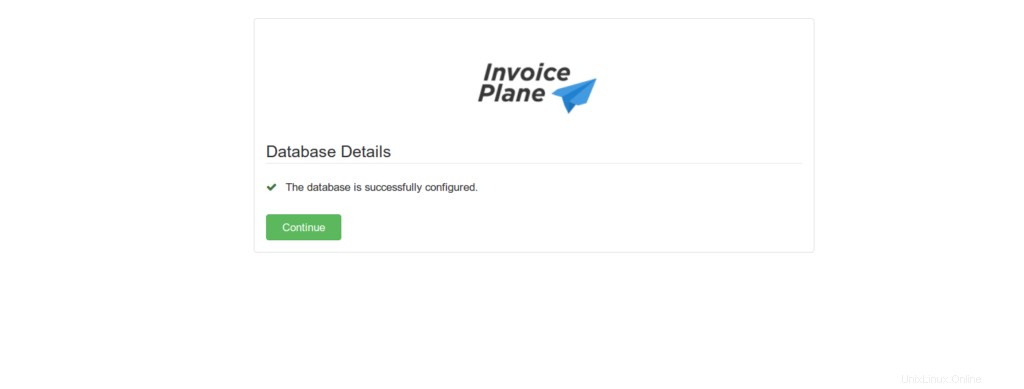
- Fournissez les détails de votre base de données et cliquez sur Réessayer
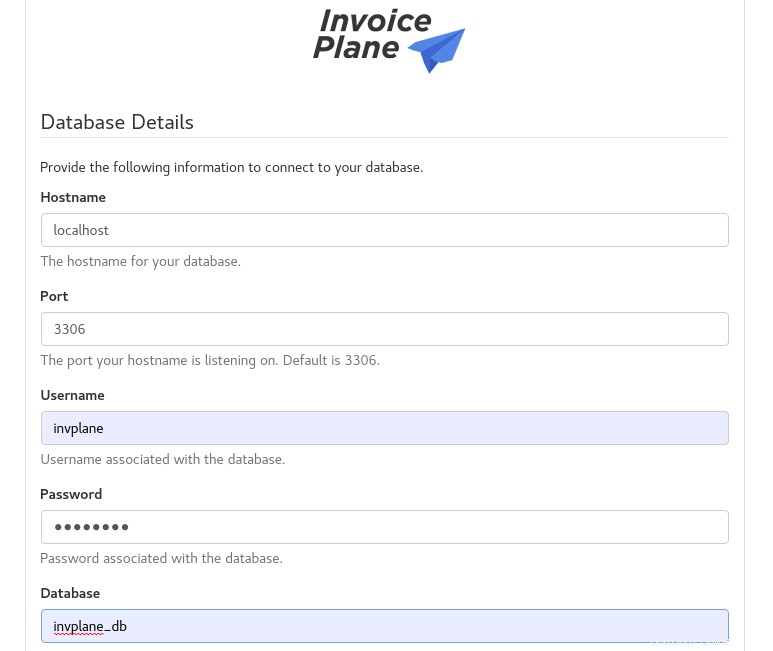
- La base de données est configurée avec succès comme indiqué ci-dessous. Cliquez sur Continuer
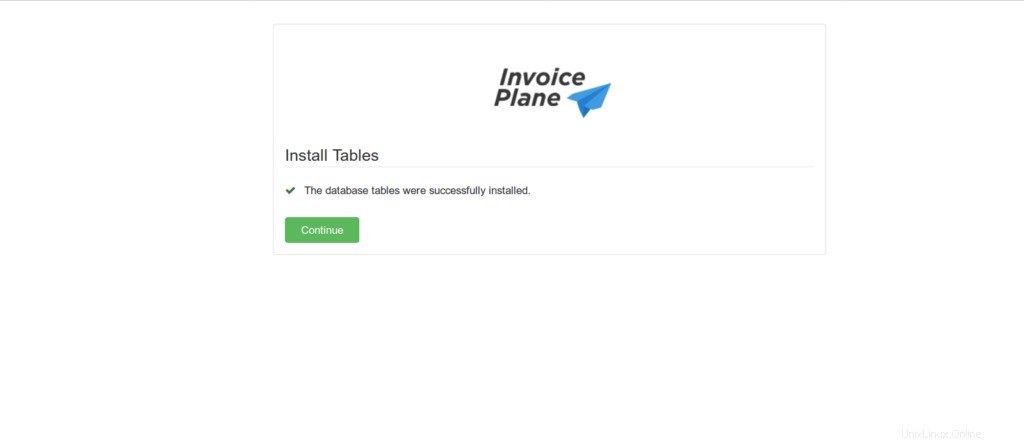
- Cliquez également sur Continuer .
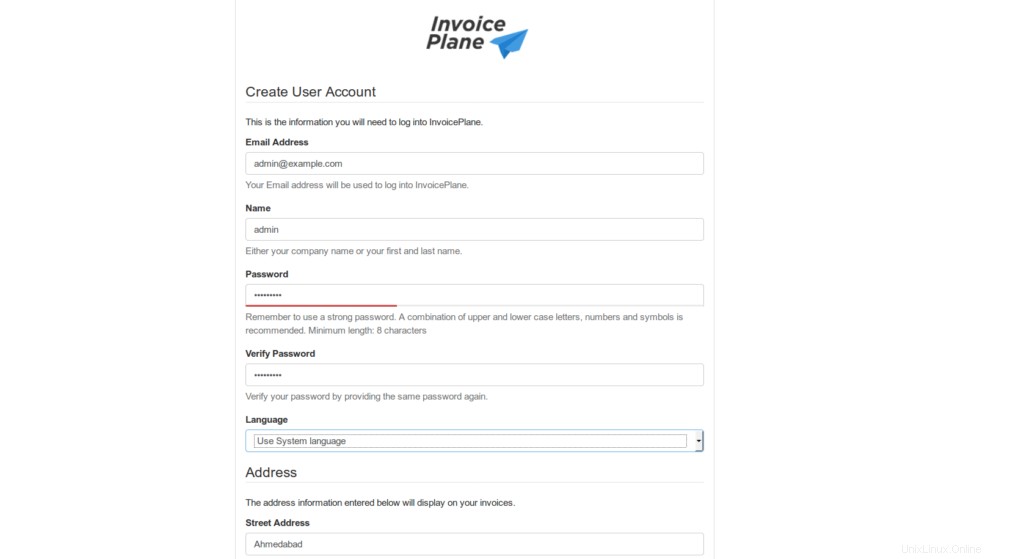
- Fournissez tous les détails requis, puis cliquez sur Continuer comme indiqué ci-dessous.
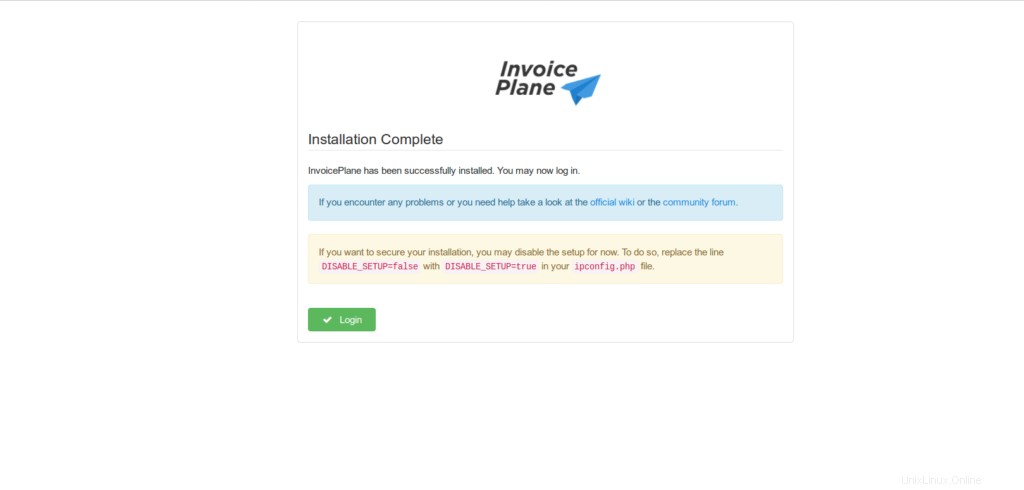
- Installation terminée, cliquez sur connexion
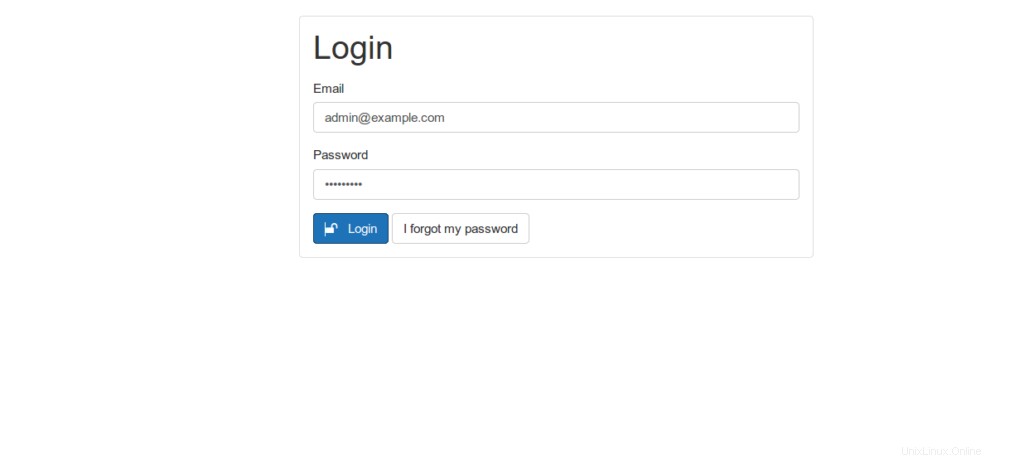
- Entrez votre nom d'utilisateur et votre mot de passe d'administrateur, puis cliquez sur Connexion
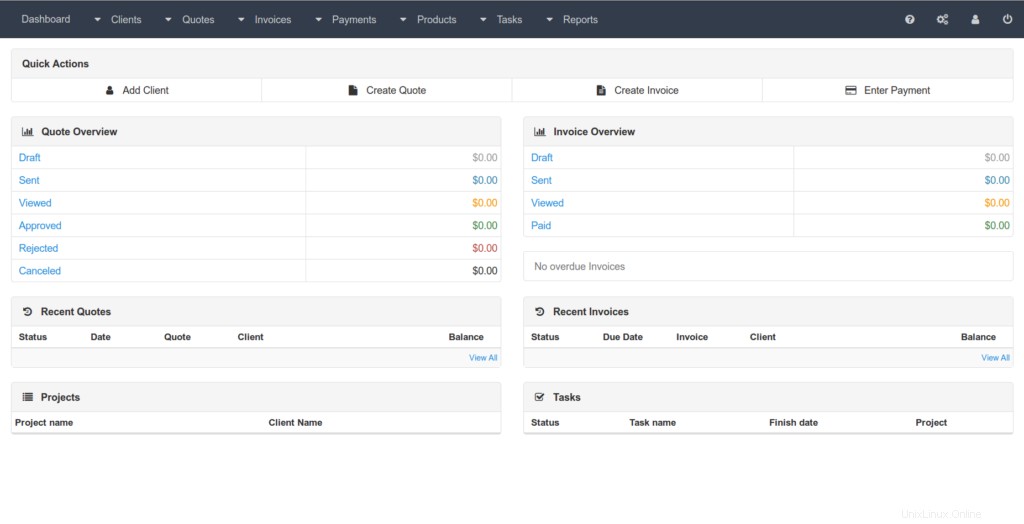
- Vous serez redirigé vers le tableau de bord InvoicePlane comme indiqué ci-dessous.
Conclusion
C'est tout
Dans cet article, nous avons illustré comment installer et configurer Invoiceplan dans Ubuntu 20.04
Merci