Matomo anciennement connu sous le nom de Piwik est une application d'analyse Web gratuite qui peut être utilisée pour suivre les visites en ligne sur un ou plusieurs sites Web et afficher des rapports sur ces visites à des fins d'analyse. Matomo est livré avec de nombreuses fonctionnalités, notamment Google AdWords, Facebook Ads, Yahoo! Search Marketing, API de suivi et de création de rapports, coût par clic (CPC) et bien d'autres.
Dans ce tutoriel, je vais vous expliquer comment installer Matomo sur le serveur Ubuntu 18.04 LTS.
Exigences
- Un serveur exécutant Ubuntu 18.04 LTS.
- Un utilisateur non root avec des privilèges sudo.
Installer le serveur LAMP
Matomo fonctionne sur le serveur Web, écrit en langage PHP et utilise MariaDB pour stocker leurs données. Vous devrez donc installer Apache, MariaDB, PHP et les autres modules PHP requis sur votre système.
Mettez à jour le référentiel Ubuntu et installez PHP avec Apache et MariaDB avec la commande suivante :
sudo apt-get update -ysudo apt-get install apache2 mariadb-server php7.2 libapache2-mod-php7.2 php7.2-common php7.2-sqlite php7.2-curl php7.2-intl php7. 2-mbstring php7.2-xmlrpc php7.2-mysql php7.2-gd php7.2-xml php7.2-cli php7.2-zip wget unzip git -y
Une fois tous les packages installés, démarrez les services Apache et MariaDB et activez-les au démarrage avec la commande suivante :
sudo systemctl start apache2sudo systemctl enable apache2sudo systemctl start mariadbsudo systemctl enable mariadb
Ensuite, vous devrez modifier le fichier php.ini. Vous pouvez le faire avec la commande suivante :
sudo nano /etc/php/7.2/apache2/php.ini
Effectuez les modifications suivantes :
memory_limit =256Mupload_max_filesize =200Mmax_execution_time =360date.timezone =Europe/Berlin
Enregistrez et fermez le fichier lorsque vous avez terminé.
Configurer MariaDB
Ensuite, vous devrez sécuriser votre installation MariaDB. Vous pouvez le faire en exécutant le script suivant :
sudo mysql_secure_installation
Répondez à toutes les questions comme indiqué ci-dessous :
Entrez le mot de passe actuel pour root (entrez pour aucun) :Définir le mot de passe root ? [O/n] : N Supprimer les utilisateurs anonymes ? [O/n] :O Interdire la connexion root à distance ? [O/n] :O Supprimer la base de données de test et y accéder ? [O/n] :O Recharger les tables de privilèges maintenant ? [O/n] :O
Une fois MariaDB sécurisée, connectez-vous au shell MariaDB :
mysql -u racine
Créez une base de données et un utilisateur avec la commande suivante :
MariaDB [(aucun)]> CRÉER BASE DE DONNÉES matomodb;MariaDB [(aucun)]> CRÉER UTILISATEUR matomo;
Ensuite, accordez des privilèges à la base de données Matomo avec la commande suivante :
MariaDB [(none)]> ACCORDER TOUS LES PRIVILÈGES SUR matomodb.* À 'matomo'@'localhost' IDENTIFIÉ PAR 'mypassword' ;
Remplacez le mot « mypassword » par un mot de passe sécurisé de votre choix. Ensuite, videz les privilèges avec la commande suivante :
MariaDB [(aucun)]> PRIVILÈGES FLUSH ;
Ensuite, quittez la console MariaDB avec la commande suivante :
MariaDB [(aucun)]> quitter
Installer Matomo
Tout d'abord, téléchargez la dernière version de Matomo depuis leur site officiel vers le répertoire /tmp :
cd /tmpwget https://builds.matomo.org/piwik.zip
Ensuite, décompressez le fichier téléchargé avec la commande suivante :
décompressez piwik.zip
Copiez ensuite le répertoire extrait dans le répertoire racine d'Apache et accordez les autorisations appropriées :
sudo cp -r piwik /var/www/html/matomosudo chown -R www-data:www-data /var/www/html/matomo/sudo chmod -R 755 /var/www/html/matomo/Enfin, créez un fichier de configuration Apache pour Matomo avec la commande suivante :
sudo nano /etc/apache2/sites-available/matomo.confAjoutez les lignes suivantes :
ServerAdmin [email protected] DocumentRoot /var/www/html/matomo ServerName example.com Options FollowSymlinks AllowOverride All Exiger que tous soient accordés ErrorLog ${APACHE_LOG_DIR}/matomo_error.log CustomLog ${APACHE_LOG_DIR}/matomo_access.log combiné Remplacez example.com et l'adresse e-mail [email protected] par votre propre nom de domaine et adresse e-mail. Enregistrez et fermez le fichier, puis activez le fichier d'hôte virtuel et le module de réécriture Apache avec la commande suivante :
sudo a2ensite matomosudo a2enmod réécritureRedémarrez le service Web Apache pour appliquer toutes les modifications :
sudo systemctl redémarrer apache2Activer SSL avec Let's encrypt for Matomo
Dans cette étape, nous allons activer SSL pour Matomo en utilisant un certificat SSL Let's encrypt gratuit. La première étape consiste à installer le client certbot Let’s encrypt que nous utiliserons pour obtenir le certificat SSL.
sudo apt-get install certbot python-certbot-apacheDemandez le certificat SSL avec cette commande :
sudo certbot --apacheIMPORTANT :Le nom de domaine ou le sous-domaine que vous utilisez pour le site Web RoundCube doit être accessible depuis Internet pour obtenir un certificat SSL. Certbot va maintenant poser quelques questions.
[email protected]: certbot --apache Saving debug log to /var/log/letsencrypt/letsencrypt.log Plugins selected: Authenticator apache, Installer apache Enter email address (used for urgent renewal and security notices) (Enter 'c' to cancel): [email protected]------------------------------------------------------------------------------- Please read the Terms of Service at https://letsencrypt.org/documents/LE-SA-v1.2-November-15-2017.pdf. You must agree in order to register with the ACME server at https://acme-v01.api.letsencrypt.org/directory ------------------------------------------------------------------------------- (A)gree/(C)ancel: a------------------------------------------------------------------------------- Would you be willing to share your email address with the Electronic Frontier Foundation, a founding partner of the Let's Encrypt project and the non-profit organization that develops Certbot? We'd like to send you email about EFF and our work to encrypt the web, protect its users and defend digital rights. ------------------------------------------------------------------------------- (Y)es/(N)o: nWhich names would you like to activate HTTPS for? ------------------------------------------------------------------------------- 1: example.com ------------------------------------------------------------------------------- Select the appropriate numbers separated by commas and/or spaces, or leave input blank to select all options shown (Enter 'c' to cancel): 1 Obtaining a new certificate Performing the following challenges: http-01 challenge for example.com Waiting for verification... Cleaning up challenges Created an SSL vhost at /etc/apache2/sites-available/matomo-le-ssl.conf Enabled Apache socache_shmcb module Enabled Apache ssl module Deploying Certificate to VirtualHost /etc/apache2/sites-available/matomo-le-ssl.conf Enabling available site: /etc/apache2/sites-available/matomo-le-ssl.confPlease choose whether or not to redirect HTTP traffic to HTTPS, removing HTTP access. ------------------------------------------------------------------------------- 1: No redirect - Make no further changes to the webserver configuration. 2: Redirect - Make all requests redirect to secure HTTPS access. Choose this for new sites, or if you're confident your site works on HTTPS. You can undo this change by editing your web server's configuration. ------------------------------------------------------------------------------- Select the appropriate number [1-2] then [enter] (press 'c' to cancel): 2 Redirecting vhost in /etc/apache2/sites-enabled/matomo.conf to ssl vhost in /etc/apache2/sites-available/matomo-le-ssl.conf------------------------------------------------------------------------------- Congratulations! You have successfully enabled https://example.comYou should test your configuration at: https://www.ssllabs.com/ssltest/analyze.html?d=example.com -------------------------------------------------------------------------------IMPORTANT NOTES: - Congratulations! Your certificate and chain have been saved at: /etc/letsencrypt/live/example.com/fullchain.pem Your key file has been saved at: /etc/letsencrypt/live/example.com/privkey.pem Your cert will expire on 2019-07-10. To obtain a new or tweaked version of this certificate in the future, simply run certbot again with the "certonly" option. To non-interactively renew *all* of your certificates, run "certbot renew" - Your account credentials have been saved in your Certbot configuration directory at /etc/letsencrypt. You should make a secure backup of this folder now. This configuration directory will also contain certificates and private keys obtained by Certbot so making regular backups of this folder is ideal. - If you like Certbot, please consider supporting our work by:Donating to ISRG / Let's Encrypt: https://letsencrypt.org/donate Donating to EFF: https://eff.org/donate-leLe vhost Matomo est désormais accessible en https.
Accéder à Matomo
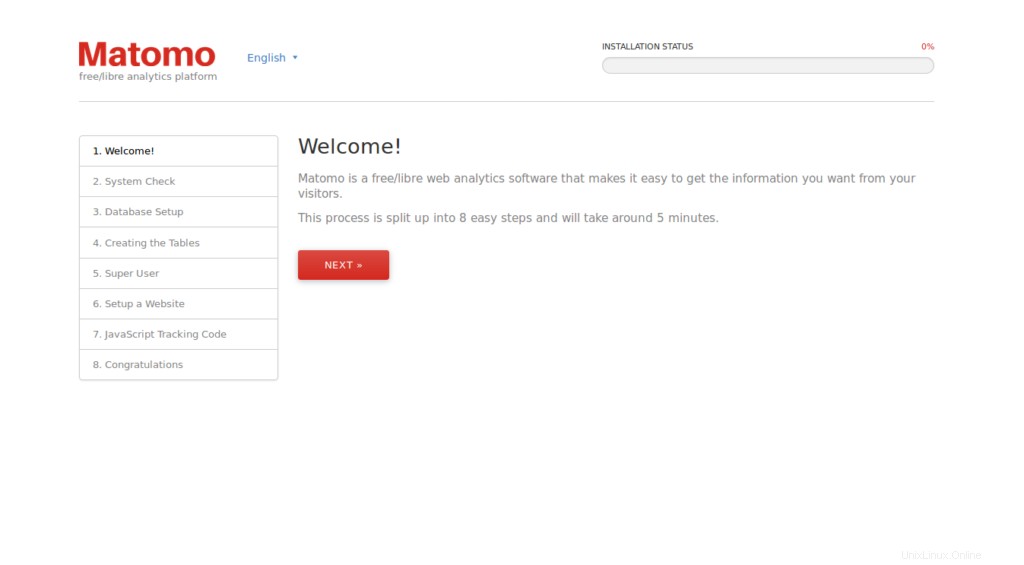
Maintenant, ouvrez votre navigateur Web et tapez l'URL https://example.com, vous serez redirigé vers la page d'accueil de Matomo :
Maintenant, cliquez sur Suivant bouton. Vous devriez voir la page suivante :
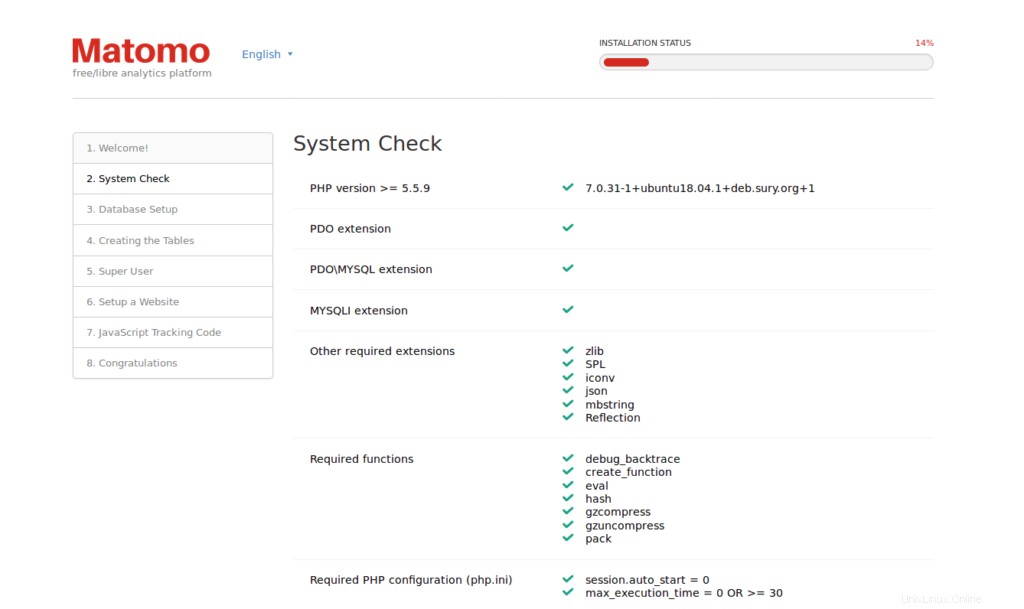
Ici, assurez-vous que tous les modules requis ont été installés. Cliquez ensuite sur Suivant bouton. Vous devriez voir la page suivante :
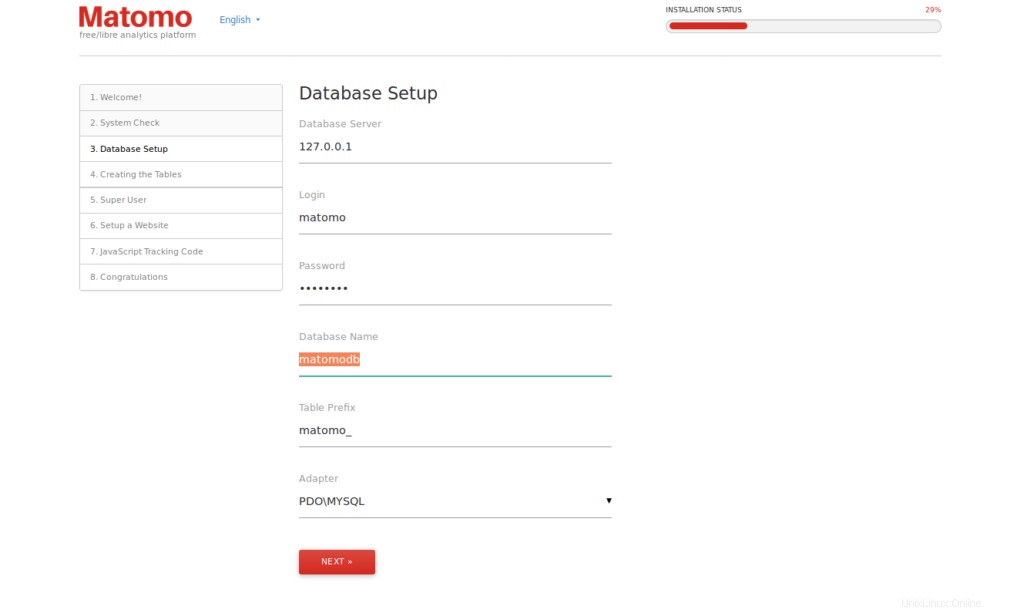
Ici, fournissez votre base de données Matomo et votre nom d'utilisateur. Cliquez ensuite sur Suivant bouton. Vous devriez voir la page suivante :
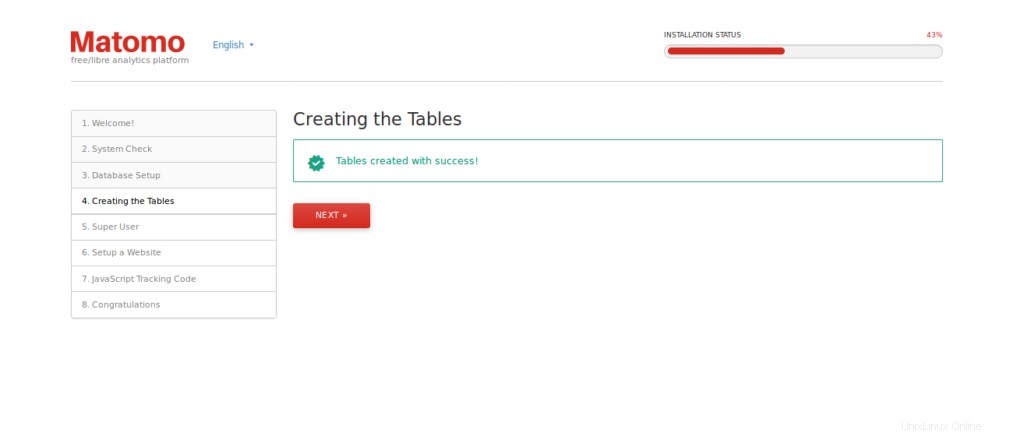
Maintenant, cliquez sur Suivant bouton. Vous devriez voir la page suivante :
Ici, fournissez votre nom d'utilisateur et votre mot de passe d'administrateur. Cliquez ensuite sur Suivant bouton. Vous devriez voir la page suivante :
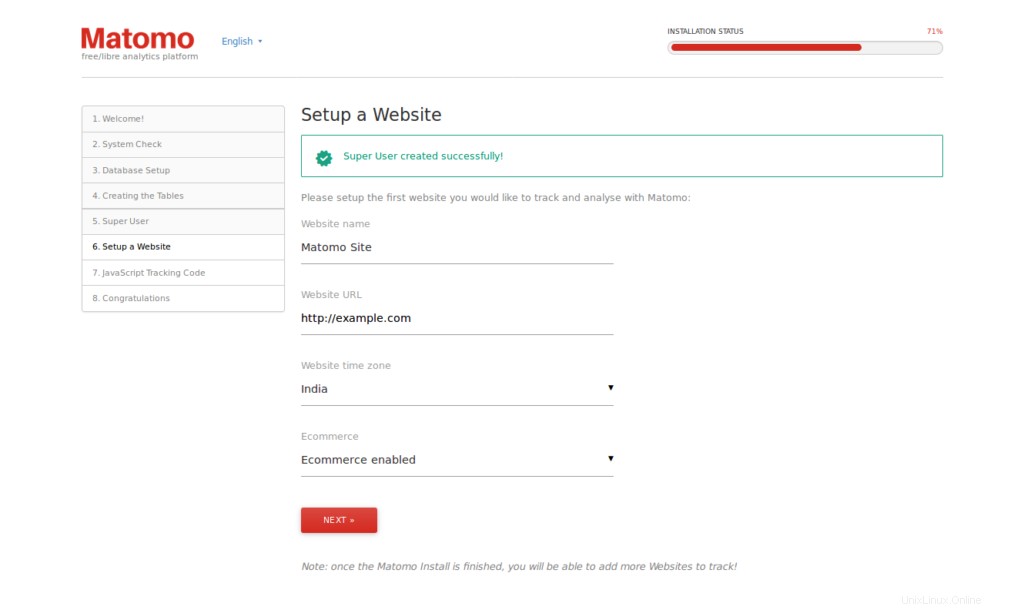
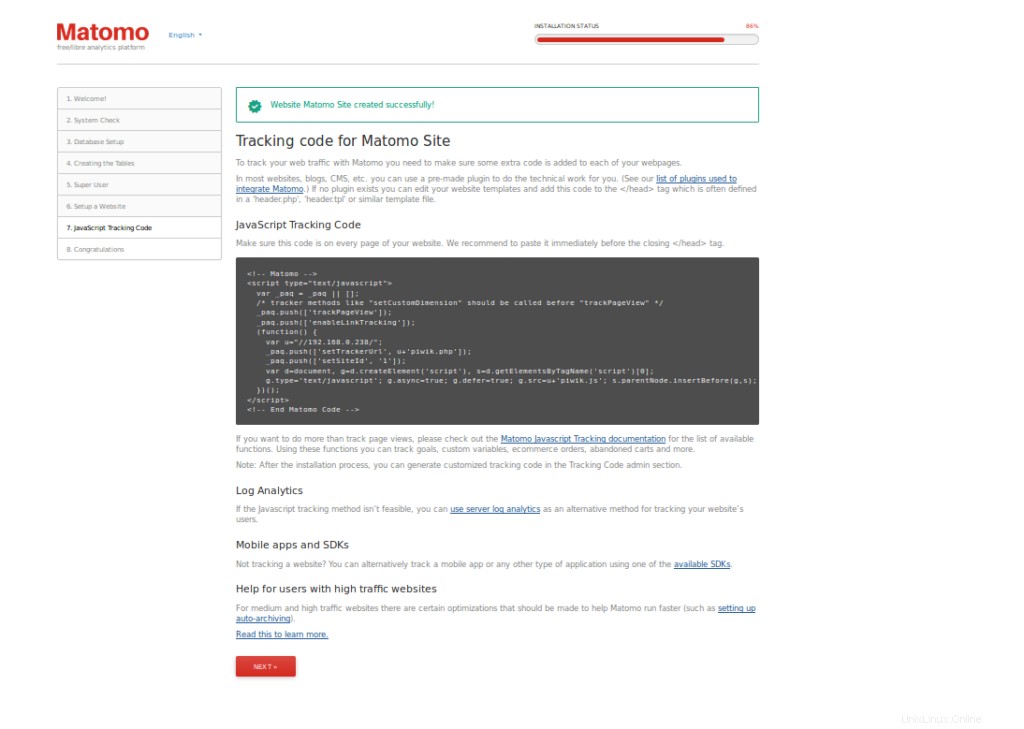
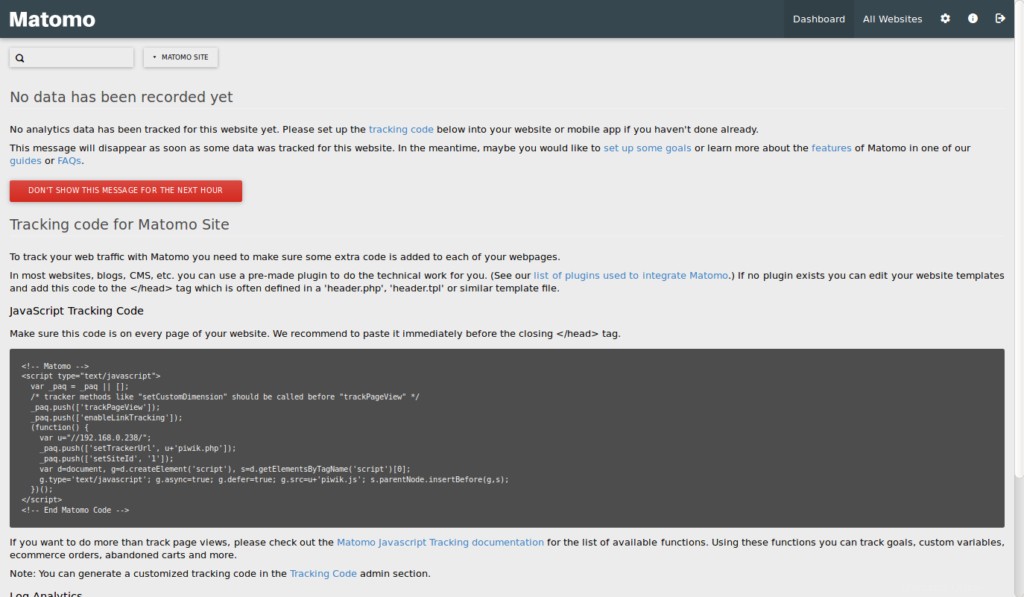
Maintenant, indiquez le nom du site, l'URL du site Web. Cliquez ensuite sur Suivant bouton. Vous devriez voir le code de suivi du site Matomo sur la page suivante :
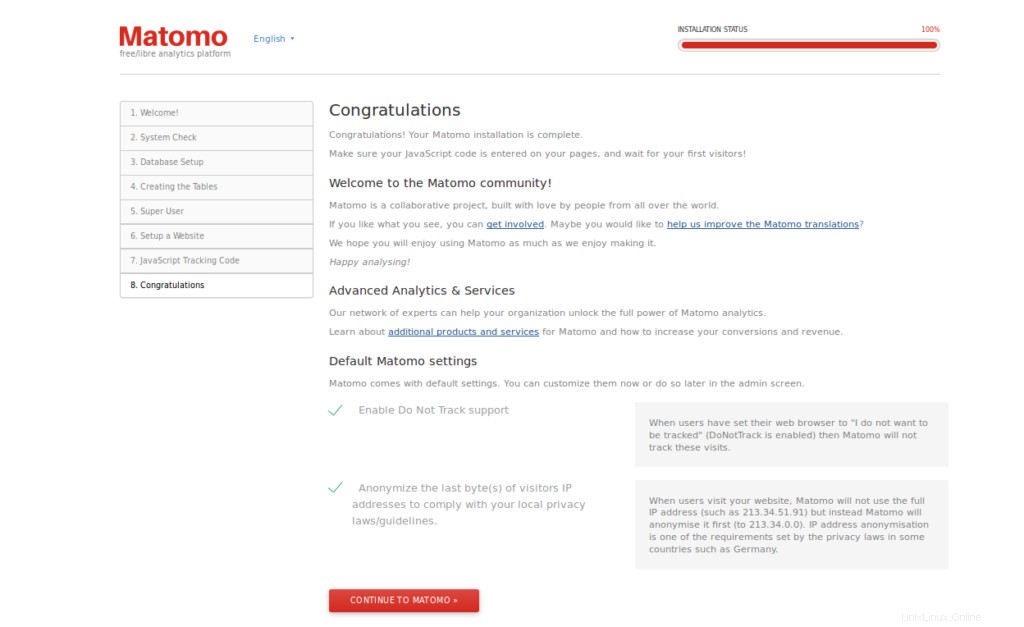
Maintenant, cliquez sur Suivant bouton. Une fois l'installation terminée. Vous devriez voir la page suivante :
Maintenant, cliquez sur CONTINUER VERS MATOMO bouton. Vous devriez voir la page suivante :
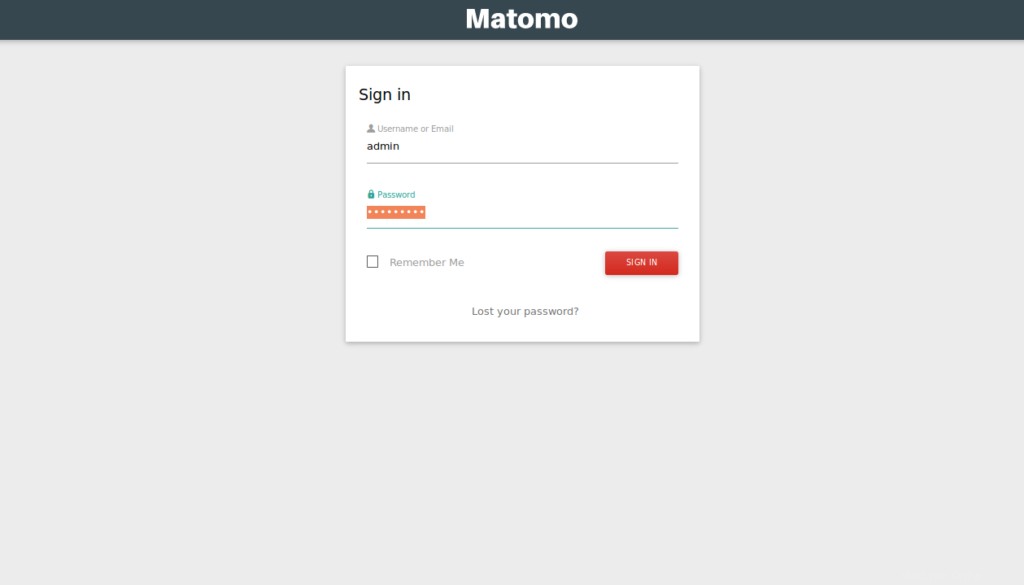
Maintenant, fournissez les identifiants de connexion administrateur et cliquez sur CONNEXION bouton. Vous devriez voir le tableau de bord Matomo sur la page suivante :