Présentation
JIRA est un outil de gestion de projet développé par Atlassian. Il est également utilisé pour le suivi des problèmes et le suivi des bogues liés à votre développement logiciel et à d'autres projets. Ce guide vous guidera tout au long de l'installation de Jira sur CentOS 8 / RHEL 8 Linux.
Installer Java
Jira nécessite que Java soit installé sur votre machine CentOS 8 / RHEL 8 pour fonctionner. exécutez donc cette commande pour installer java-openjdk.
[root@unixcop ~]# yum install java-11-openjdk.x86_64Confirmez l'installation avec la version Java :
[root@unixcop ~]# java -version
openjdk version "11.0.12" 2021-07-20 LTS
OpenJDK Runtime Environment 18.9 (build 11.0.12+7-LTS)
OpenJDK 64-Bit Server VM 18.9 (build 11.0.12+7-LTS, mixed mode, sharing)
[root@unixcop ~]#
Jira ne fonctionne pas avec le serveur de base de données MySQL 8, installez donc MySQL 5.7 .
Une fois le serveur de base de données installé, démarrez-le et connectez-vous en tant qu'utilisateur root et créez une base de données et un utilisateur pour Jira :
[root@unixcop ~]# mysql -u root -p
Enter password:
Welcome to the MySQL monitor.  Commands end with ; or \g.
Your MySQL connection id is 8
Server version: 8.0.21 Source distribution

Copyright (c) 2000, 2020, Oracle and/or its affiliates. All rights reserved.

Oracle is a registered trademark of Oracle Corporation and/or its
affiliates. Other names may be trademarks of their respective
owners.

Type 'help;' or '\h' for help. Type '\c' to clear the current input statement.

mysql>
mysql> CREATE DATABASE jira CHARACTER SET utf8mb4 COLLATE utf8mb4_bin;
Query OK, 1 row affected (0.01 sec)

mysql> CREATE USER 'jira'@'localhost' IDENTIFIED BY 'strong@UnIxcop(PasswoRD@';
Query OK, 0 rows affected (0.00 sec)

mysql> GRANT ALL ON jira.* TO 'jira'@'localhost';
Query OK, 0 rows affected (0.01 sec)

mysql> FLUSH PRIVILEGES;
Query OK, 0 rows affected (0.00 sec)

mysql> \q
Bye
[root@unixcop ~]#
Télécharger et installer JIRA
Nous avons installé Java et un serveur de base de données, l'action suivante consiste à télécharger le fichier binaire de JIRA. Vérifiez la dernière version sur la page Téléchargements Jira.
La dernière version de Jira en ce moment est 8.18x. mais jira-8.13 est un support à long terme, nous allons donc le télécharger et l'installer.
[root@unixcop ~]# wget https://product-downloads.atlassian.com/software/jira/downloads/atlassian-jira-software-8.8.1-x64.bin -O atlassian-jira-software.bin

--2021-08-23 11:00:13--  https://product-downloads.atlassian.com/software/jira/downloads/atlassian-jira-software-8.8.1-x64.bin
Resolving product-downloads.atlassian.com (product-downloads.atlassian.com)... 52.222.144.160, 2600:9000:20fe:a600:1f:ab86:b4a:17e1, 2600:9000:20fe:4200:1f:ab86:b4a:17e1, ...
Connecting to product-downloads.atlassian.com (product-downloads.atlassian.com)|52.222.144.160|:443... connected.
HTTP request sent, awaiting response... 200 OK
Length: 402401644 (384M) [application/octet-stream]
Saving to: 'atlassian-jira-software.bin'

atlassian-jira-software.bin           100%[=======================================================================>] 383.76M   943KB/s    in 12m 54s

2021-08-23 11:13:07 (263 KB/s) - 'atlassian-jira-software.bin' saved [402401644/402401644]

[root@unixcop ~]#
Donner au fichier l'autorisation d'exécution
chmod +x atlassian-jira-software.binLancez ensuite le programme d'installation :
Pour démarrer la configuration de Jira, appuyez sur ENTRÉE :
Appuyez ensuite sur [1] pour utiliser les paramètres d'installation express :
Tapez je ou Entrée pour démarrer l'installation.
Enfin, acceptez pour démarrer les services Jira.
[root@unixcop ~]# ./atlassian-jira-software.bin
Unpacking JRE ...
Starting Installer ...

This will install Jira Software 8.8.1 on your computer.
OK [o, Enter], Cancel [c]

Click Next to continue, or Cancel to exit Setup.

Choose the appropriate installation or upgrade option.
Please choose one of the following:
Express Install (use default settings) [1], Custom Install (recommended for advanced users) [2, Enter], Upgrade an existing Jira installation [3]
1

Select the folder where you would like Jira Software to be installed.
Where should Jira Software be installed?
[/opt/atlassian/jira]


Default location for Jira Software data
[/var/atlassian/application-data/jira]


Configure which ports Jira Software will use.
Jira requires two TCP ports that are not being used by any other
applications on this machine. The HTTP port is where you will access Jira
through your browser. The Control port is used to startup and shutdown Jira.
Use default ports (HTTP: 8080, Control: 8005) - Recommended [1, Enter], Set custom value for HTTP and Control ports [2]


Jira can be run in the background.
You may choose to run Jira as a service, which means it will start
automatically whenever the computer restarts.
Install Jira as Service?
Yes [y, Enter], No [n]


Details on where Jira Software will be installed and the settings that will be used.
Installation Directory: /opt/atlassian/jira
Home Directory: /var/atlassian/application-data/jira
HTTP Port: 8080
RMI Port: 8005
Install as service: Yes
Install [i, Enter], Exit [e]
i

Extracting files ...


Please wait a few moments while Jira Software is configured.

Installation of Jira Software 8.8.1 is complete
Start Jira Software 8.8.1 now?
Yes [y, Enter], No [n]


Please wait a few moments while Jira Software starts up.
Launching Jira Software ...


Installation of Jira Software 8.8.1 is complete
Your installation of Jira Software 8.8.1 is now ready and can be accessed
via your browser.
Jira Software 8.8.1 can be accessed at http://localhost:8080
Finishing installation ...
[root@unixcop ~]#
Installer le connecteur Java MySQL
[root@unixcop ~]# wget https://dev.mysql.com/get/Downloads/Connector-J/mysql-connector-java-8.0.18.zip
--2021-08-23 11:32:23--  https://dev.mysql.com/get/Downloads/Connector-J/mysql-connector-java-8.0.18.zip
Resolving dev.mysql.com (dev.mysql.com)... 137.254.60.11
Connecting to dev.mysql.com (dev.mysql.com)|137.254.60.11|:443... connected.
HTTP request sent, awaiting response... 302 Found
Location: https://cdn.mysql.com//archives/mysql-connector-java-8.0/mysql-connector-java-8.0.18.zip [following]
--2021-08-23 11:32:24--  https://cdn.mysql.com//archives/mysql-connector-java-8.0/mysql-connector-java-8.0.18.zip
Resolving cdn.mysql.com (cdn.mysql.com)... 2.18.1.85
Connecting to cdn.mysql.com (cdn.mysql.com)|2.18.1.85|:443... connected.
HTTP request sent, awaiting response... 200 OK
Length: 4573467 (4.4M) [application/zip]
Saving to: 'mysql-connector-java-8.0.18.zip'

mysql-connector-java-8.0.18.zip       100%[=======================================================================>]   4.36M   333KB/s    in 13s

2021-08-23 11:32:37 (357 KB/s) - 'mysql-connector-java-8.0.18.zip' saved [4573467/4573467]

[root@unixcop ~]#
Redémarrez ensuite Jira avec les commandes suivantes :
Arrêtez.
# /etc/init.d/jira stopEnsuite, démarrez-le avec :
[root@unixcop ~]# /etc/init.d/jira start

To run Jira in the foreground, start the server with start-jira.sh -fg
executing using dedicated user: jira

                  `sMMMMMMMMMMMMMM+
                     MMMMMMMMMMMMMM
                     :sdMMMMMMMMMMM
                             MMMMMM
          `sMMMMMMMMMMMMMM+  MMMMMM
             MMMMMMMMMMMMMM  +MMMMM
              :sMMMMMMMMMMM   MMMMM
                     MMMMMM    `UOJ
   `sMMMMMMMMMMMMM+  MMMMMM
     MMMMMMMMMMMMMM  +MMMMM
      :sdMMMMMMMMMM   MMMMM
             MMMMMM    `UOJ
             MMMMMM
             +MMMMM
              MMMMM
               `UOJ

      Atlassian Jira
      Version : 8.8.1


If you encounter issues starting or stopping Jira, please see the Troubleshooting guide at https://docs.atlassian.com/jira/jadm-docs-088/Troubleshooting+installation


Server startup logs are located in /opt/atlassian/jira/logs/catalina.out
Using CATALINA_BASE:   /opt/atlassian/jira
Using CATALINA_HOME:   /opt/atlassian/jira
Using CATALINA_TMPDIR: /opt/atlassian/jira/temp
Using JRE_HOME:        /opt/atlassian/jira/jre/
Using CLASSPATH:       /opt/atlassian/jira/bin/bootstrap.jar:/opt/atlassian/jira/bin/tomcat-juli.jar
Using CATALINA_PID:    /opt/atlassian/jira/work/catalina.pid
Tomcat started.
[root@unixcop ~]#
Configuration du proxy Nginx pour JIRA
Installez Nginx et activez le service.
# yum -y install nginx
# systemctl enable --now nginx
Configurer Nginx
Créez un nouveau fichier de configuration Nginx pour Jira.
# vim /etc/nginx/conf.d/jira.confAjoutez ce qui suit :
server {
    listen 80;
    server_name jira.unixcop.com;
    location / {
        proxy_set_header X-Forwarded-Host $host;
        proxy_set_header X-Forwarded-Server $host;
        proxy_set_header X-Forwarded-For $proxy_add_x_forwarded_for;
        proxy_pass http://localhost:8080;
        client_max_body_size 10M;
    }
}
Désactivez Nginx et redémarrez-le en plus de Jira
# setenforce 0
# systemctl restart jira
# systemctl restart nginx
Autoriser également le port http dans le pare-feu :
[root@unixcop ~]# firewall-cmd --add-service=http --permanent
success
[root@unixcop ~]# firewall-cmd --reload
success
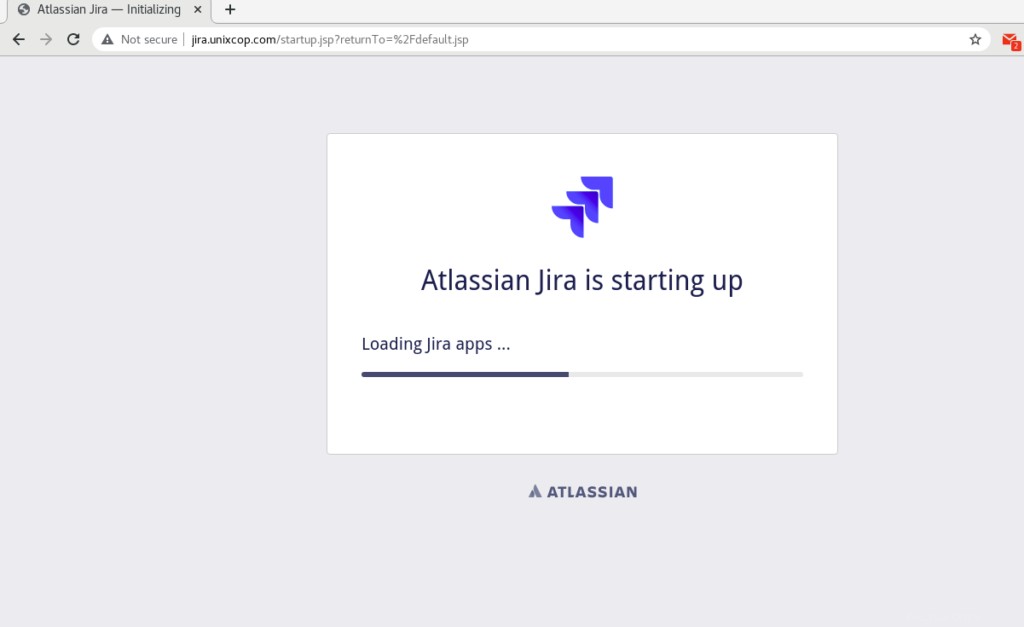
[root@unixcop ~]#Une fois l'installation terminée, rendez-vous sur jira.unixcop.com dans votre navigateur pour commencer le processus de configuration.
Méthode d'installation de MyAltassian "Configurez-le pour moi" :
La sélection par défaut est "Configurez-le pour moi".
Comme indiqué ci-dessous, MyAtlassian effectuera une configuration rapide pour vous.

Cliquez ensuite pour continuer o MyAtlassian .

Cliquez sur Suivant pour configurer les propriétés de l'application.
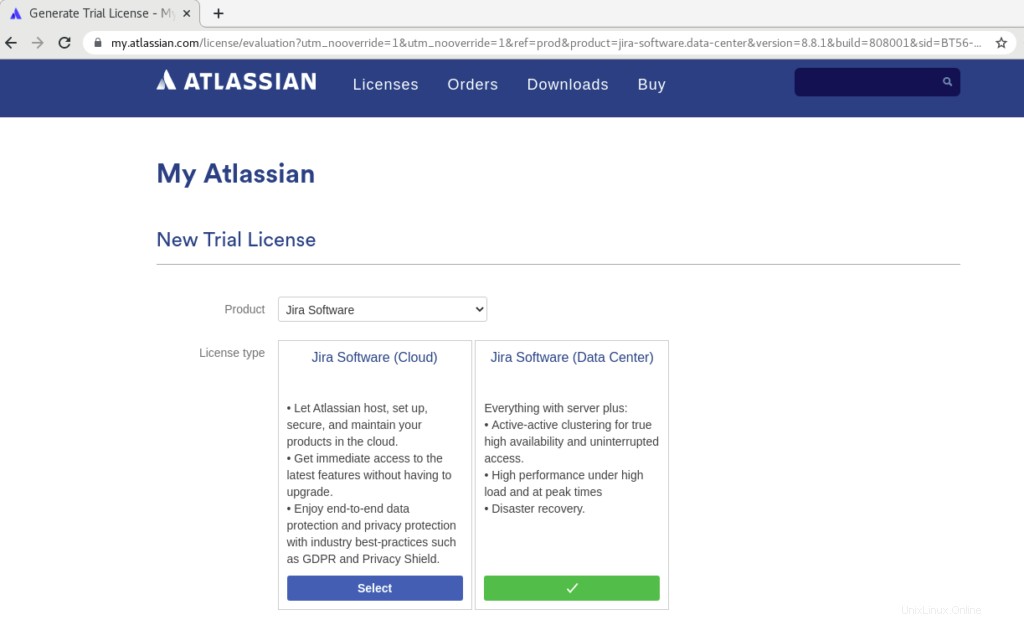
Vous serez redirigé vers le site officiel ATLASSIAN pour obtenir une nouvelle licence d'essai comme indiqué ci-dessus.
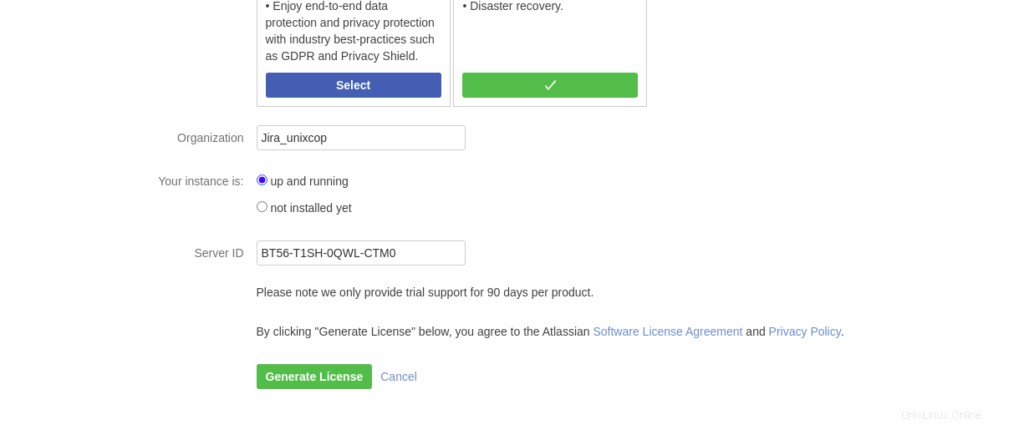
Ajoutez le nom de l'organisation et cliquez sur Générer une licence .
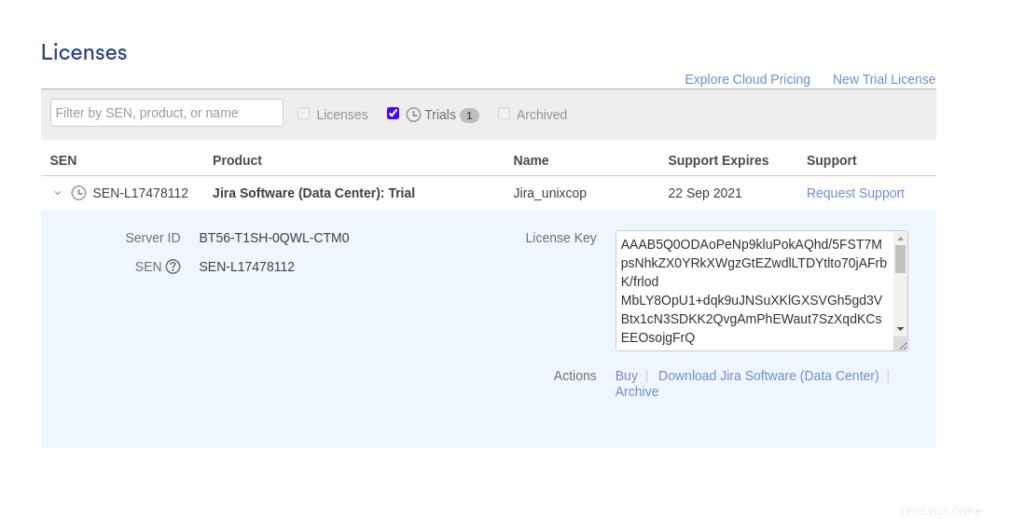
Copiez la clé de licence, puis revenez en arrière pour continuer la configuration.
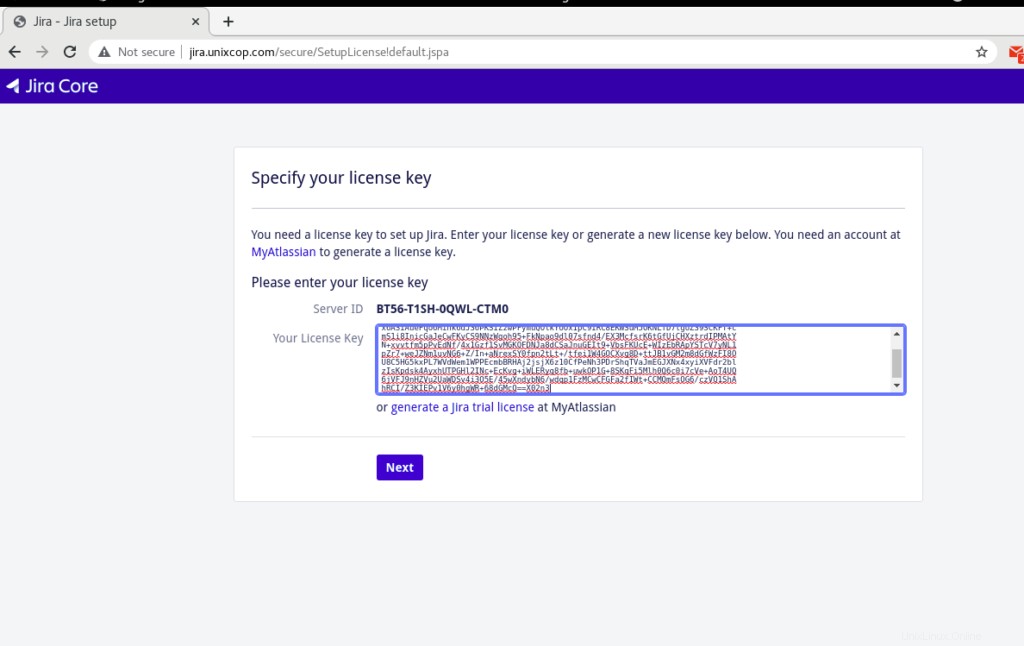
Collez la clé de licence comme indiqué ci-dessus, puis cliquez sur Suivant.
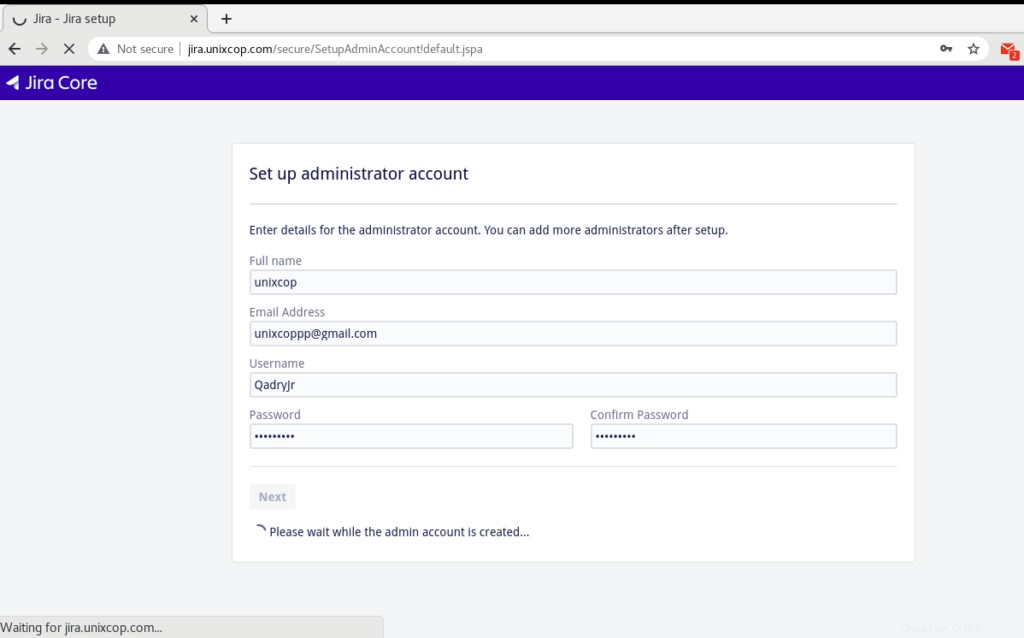
La finale consiste à configurer un compte administrateur.
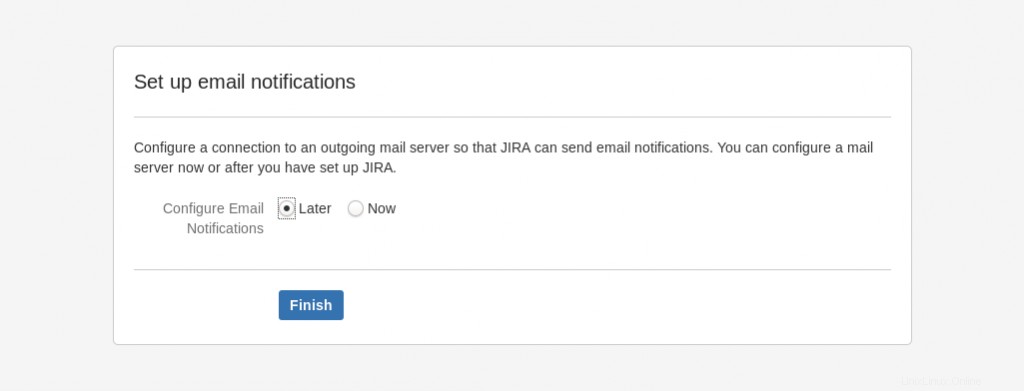
Ensuite, choisissez de configurer ou non la notification par e-mail et cliquez sur le bouton "Terminer".
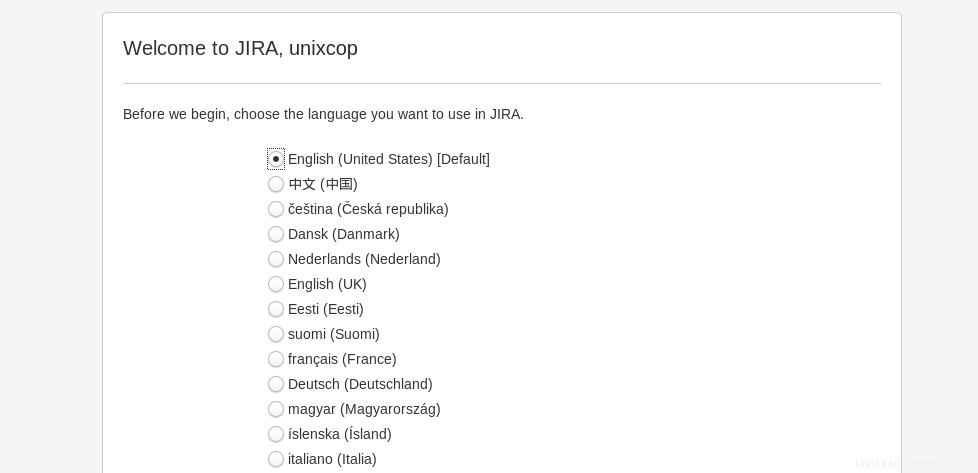
sélectionnez votre langue et cliquez sur Suivant comme indiqué ci-dessous.

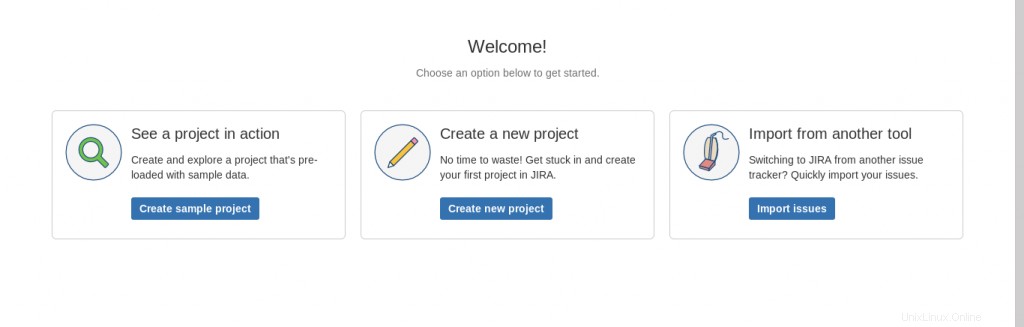
Ensuite, vous serez dirigé vers le tableau de bord.
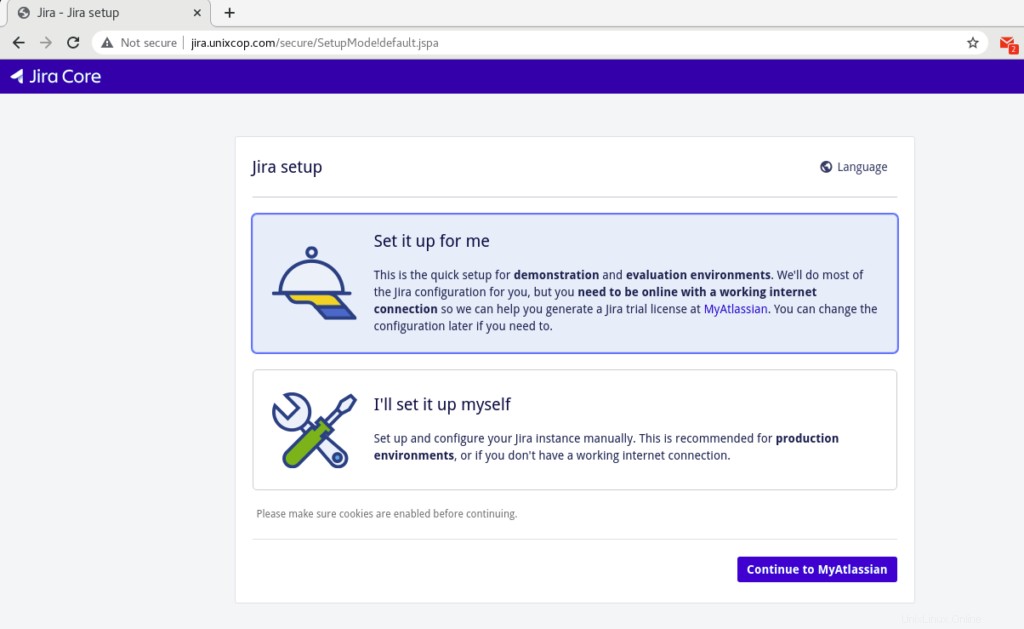
Je vais le configurer moi-même. Méthode d'installation :
Vous pouvez également sélectionner "Je vais le configurer moi-même " dans la capture d'écran ci-dessous à la première étape de l'installation.
Cliquez sur "Suivant" et fournissez les informations d'identification de la base de données MySQL. Pour le type, choisissez "Ma propre base de données"
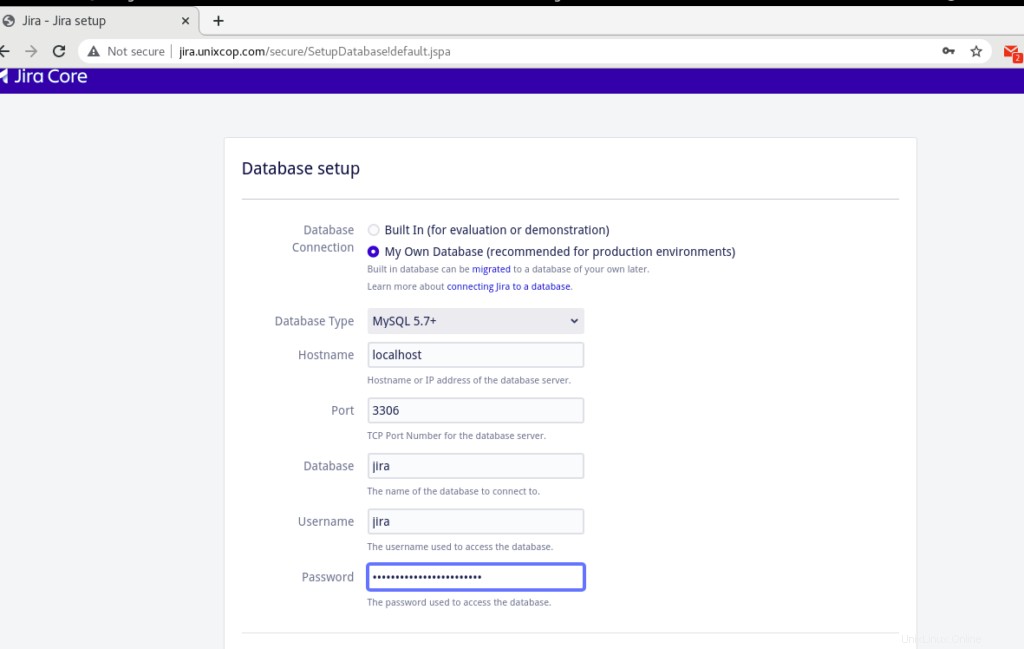
Cliquez sur Tester la connexion et un message de connexion réussie devrait_s'afficher.
Dans les pages suivantes, remplissez le champ "Titre de l'application ', 'Mode ', licence JIRA, compte administrateur, notification par e-mail. La dernière page vous demandera de sélectionner la langue par défaut.
Accédez ensuite au tableau de bord Jira Admin pour créer plus d'utilisateurs.
Conclusion
JIRA peut être une excellente source d'informations ou pour connaître l'état d'avancement du projet en cours. Comme toute l'équipe qui y travaillait, et serait d'accord sur les points qui y sont mentionnés. Il continue à donner des rappels ou à mettre à jour l'état d'exécution du projet. Donc, si vous êtes nouveau sur JIRA et que vous travaillez dans le développement ou les tests de logiciels et que vous ne savez pas comment installer et utiliser efficacement JIRA, nous espérons qu'à la fin de ce didacticiel, vous pourrez désormais installer JIRA sans aucun problème. Si vous rencontrez toujours un problème, n'hésitez pas à nous contacter ici.