Présentation
TermRecord est un outil open source simple écrit en Python, permet d'enregistrer des sessions de terminal dans un fichier HTML autonome facile à partager.
Dans ce guide, nous vous montrerons comment installer TermRecord sur CentOS 8.
Prérequis
Python installé sur votre système.
Installer TermRecord à l'aide de pip
- Installer Python sur notre système
dnf install python3Vérifiez également l'installation de pip-tools en cours d'exécution :
pip3 --version
A l'aide de pip, installez le TermRecord sur votre système en exécutant la commande suivante en tant que root sur le terminal :
pip3 install TermRecordqadry@rhel-pc:~$ pip3 install TermRecord
WARNING: Running pip install with root privileges is generally not a good idea. Try `pip3 install --user` instead.
Collecting TermRecord
Downloading https://files.pythonhosted.org/packages/54/72/59139ff485c52ea829fb8e3c846c04c01ef513ad2b3f07d0594a4b6e9bad/TermRecord-1.2.5.tar.gz (51kB)
100% |████████████████████████████████| 61kB 636kB/s
Collecting Jinja2>=2.6 (from TermRecord)
Downloading https://files.pythonhosted.org/packages/94/42/d8bca8e99789bcc35dfa9b03acaa8b518720d6e060163745bc2bf2ead842/Jinja2-3.0.2-py3-none-any.whl (133kB)
100% |████████████████████████████████| 143kB 214kB/s
Collecting MarkupSafe>=2.0 (from Jinja2>=2.6->TermRecord)
Downloading https://files.pythonhosted.org/packages/fc/d6/57f9a97e56447a1e340f8574836d3b636e2c14de304943836bd645fa9c7e/MarkupSafe-2.0.1-cp36-cp36m-manylinux1_x86_64.whl
Installing collected packages: MarkupSafe, Jinja2, TermRecord
Running setup.py install for TermRecord ... done
Successfully installed Jinja2-3.0.2 MarkupSafe-2.0.1 TermRecord-1.2.5
qadry@rhel-pc:~$ L'installation de TermRecord se terminera sur votre système.
Comment fonctionne TermRecord
Pour commencer à enregistrer les commandes ou tâches du terminal, tapez la commande suivante :
TermRecord -o unixcop.html
Ainsi, le unixcop.html fichier, toutes les activités du terminal seront enregistrées sous la forme d'une vidéo.
Une fois l'enregistrement terminé, tapez exit commande sur le terminal et appuyez sur Entrée clé.
exit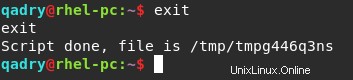
puis ouvrez le HTML fichier et vous obtiendrez le résultat comme la sortie suivante
file:///home/qadry/unixcop.html
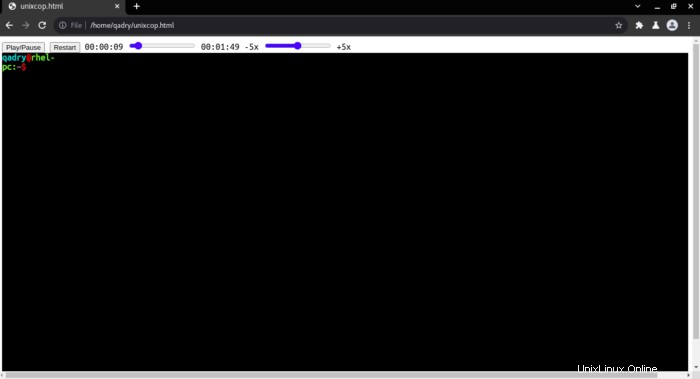
Il détecte automatiquement la taille de la fenêtre du terminal.
Il dispose également de boutons interactifs pour lire l'enregistrement tels que jouer , mettre en pause , Redémarrer et la possibilité de ralentir et accélérer .
Conclusion
Le TermRecord vous permet de profiter du contenu enregistré du Terminal.
Dans cet article, nous avons illustré comment installer l'application TermRecord sur CentOS 8 et comment l'utiliser.